
 Pin it
Little chunks of juicy chicken wrapped in a crispy, golden shell are just about impossible to stop eating. These easy-to-make popcorn chicken bites serve up all that mall food nostalgia, only you’re using better stuff and way tastier spices. The trick? Double dipping and a good soak in buttermilk, so every piece stays tender inside with a super crunchy outside. Just grab some basics from your pantry, and suddenly plain chicken breast turns into a crave-worthy snack that disappears the minute you put it out for friends or family.
I accidentally nailed this method when a bunch of friends and their famously fussy kids showed up for movie night. Guess what disappeared first? Yep, these chicken pops. Both grownups and kids wanted the lowdown, and honestly, it’s that perfectly crisp shell and juicy middle that keeps everyone reaching for more and more.
Craveable Quality Ingredients
- Chicken breast: Go for big, fresh boneless breasts and chop them against the grain into small, even pieces so they cook nice and tender.
- Buttermilk: Real buttermilk is a game changer—it gently softens the chicken and adds flavor without making the texture mushy.
- All purpose flour: This creates the first sticky layer, letting the next coats grab on and keeps the juices locked in while frying.
- Panko breadcrumbs: These Japanese crumbs are bigger and puffier than regular breadcrumbs, so you get that unbeatable crunch and beautiful color.
- Garlic powder: Tossed into the flour for a savory boost with zero chance of burning (unlike slicing up fresh garlic).
- Kosher salt: The big flakes spread out in your coating so every bite is well-seasoned and tasty.
- Neutral cooking oil: Pick something like peanut, canola, or vegetable oil—anything that can get hot without giving the chicken a weird flavor.
Flawless Method
- Get prepped:
- Slice chicken breast against the grain into about one inch bites and pat them really dry. Too much moisture and your coating won’t stick.
- Soak in buttermilk:
- Drop those chicken pieces into buttermilk and let them chill for at least a half hour, or overnight if you’ve got time. This breaks down the meat and keeps things juicy.
- Coat like a pro:
- Set up three bowls—one for seasoned flour, one for more buttermilk, and one for panko. Dip chicken in flour first, then buttermilk, then really press into the panko so they’re totally covered.
- Watch your oil:
- Heat oil up to 350°F. Use a deep fryer thermometer if you have one. Keep the temp just right so the chicken cooks through and the outside gets crisp but not greasy.
- Don’t crowd the pan:
- Fry a few pieces at a time (maybe 8-10), giving each space to cook evenly. Check the heat between batches to keep everything consistent.
- Drain the right way:
- Move the fried chunks to a paper towel-lined tray in a single layer. Don’t pile them up or they’ll go soggy. Hit them with some salt while they’re still steaming for max flavor boost.
 Pin it
This buttermilk trick for popcorn chicken is straight from my grandma. She grew up on a farm in Georgia where there was always plenty around, and put it in everything from chicken to biscuits. At first, I didn’t think it would matter much, but after tasting side-by-side, I was totally sold. The way it makes the chicken so tender and flavor-packed is incredible—you’ll never skip it again once you try.
Tasty Meal Ideas
Turn these crispy bites into a filling dinner with tasty sides. Make a chicken bowl with hot rice, roasted broccoli, and a drizzle of teriyaki. Go classic with homemade mac and cheese on the side for the coziest combo. If you want something fresher, toss the hot chicken on a green salad with ranch dressing—it’s so much more exciting than your usual salad.
Pro Tips
When you drain fried chicken, try setting a wire rack on top of your paper towels to keep the bottoms crispy and avoid sogginess from steam. To check oil temp fast, toss in a tiny chunk of bread—it should sizzle right away and brown up in a minute if the oil is ready. Add extra seasoning to your flour and panko since frying mutes some of the flavor.
 Pin it
Making this popcorn chicken at home is straight-up comfort food done right. The juicy inside and crunchy outside combo nails those cravings for snappy texture. Setting up the dip stations takes a few extra minutes but cooking goes fast, and the payoff is food that tastes way fresher than anything store-bought. Everybody—kids and adults—loves these, so you’ll want to make them again and again.
Frequently Asked Questions
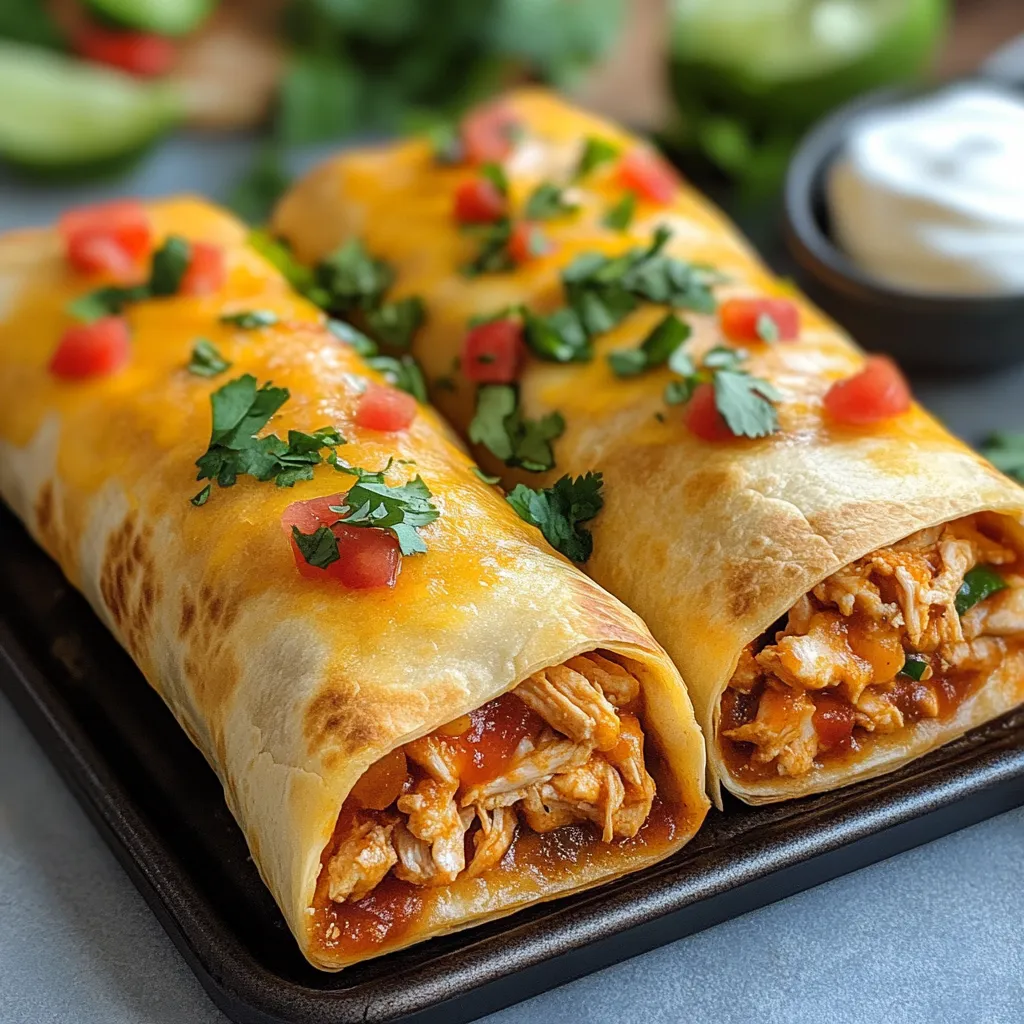
- → Is it possible to get the filling ready a day or two ahead?
- Absolutely! Toss the filling together up to 2 days early and stash it in the fridge. You can also prep and wrap the chimichangas, then cover and chill them for a day. Just tack on five extra minutes when baking if they're cold.
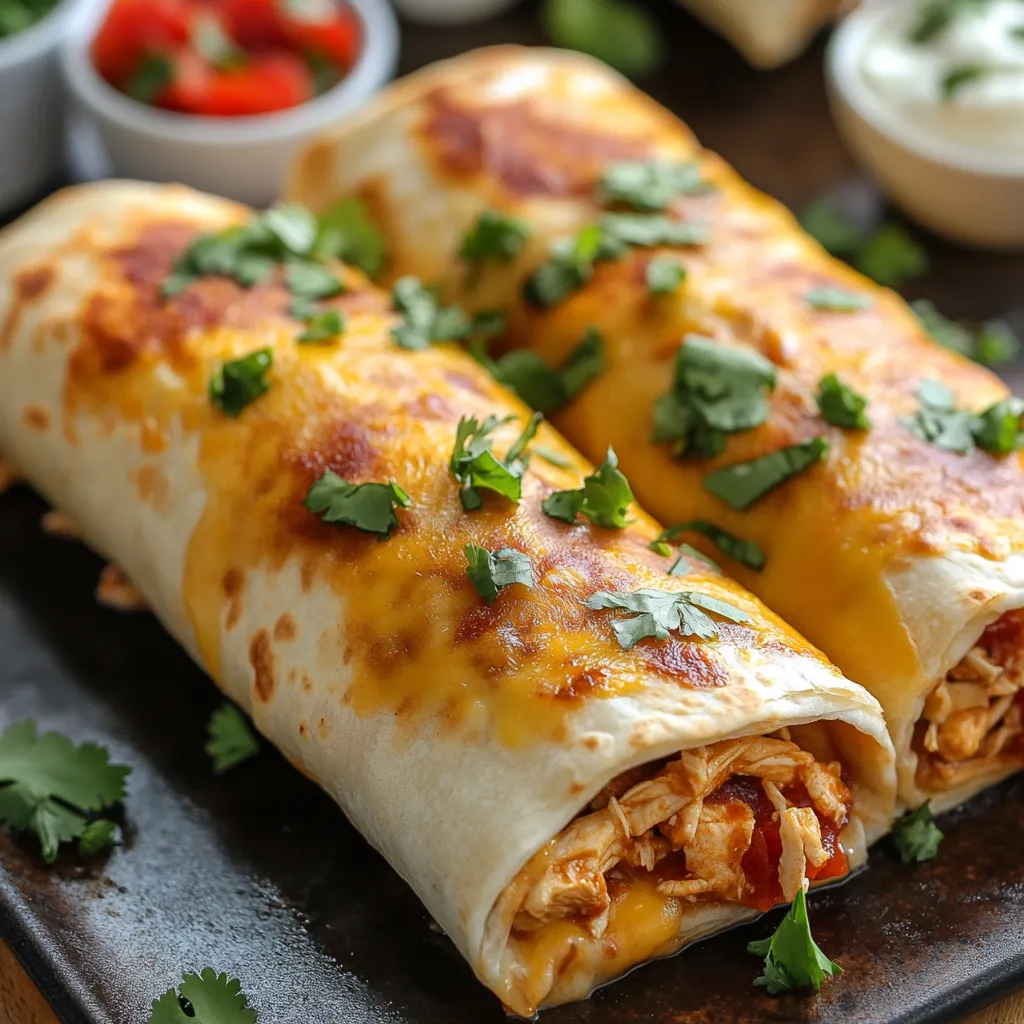
- → How do I make leftover chimichangas crispy again?
- Pop leftovers into a 350°F oven for 10 to 15 minutes for max crunch. Skip the microwave if you can—if you must use it, wrap them up in a paper towel and heat on half power, then toss in a hot pan for a quick crisp at the end.
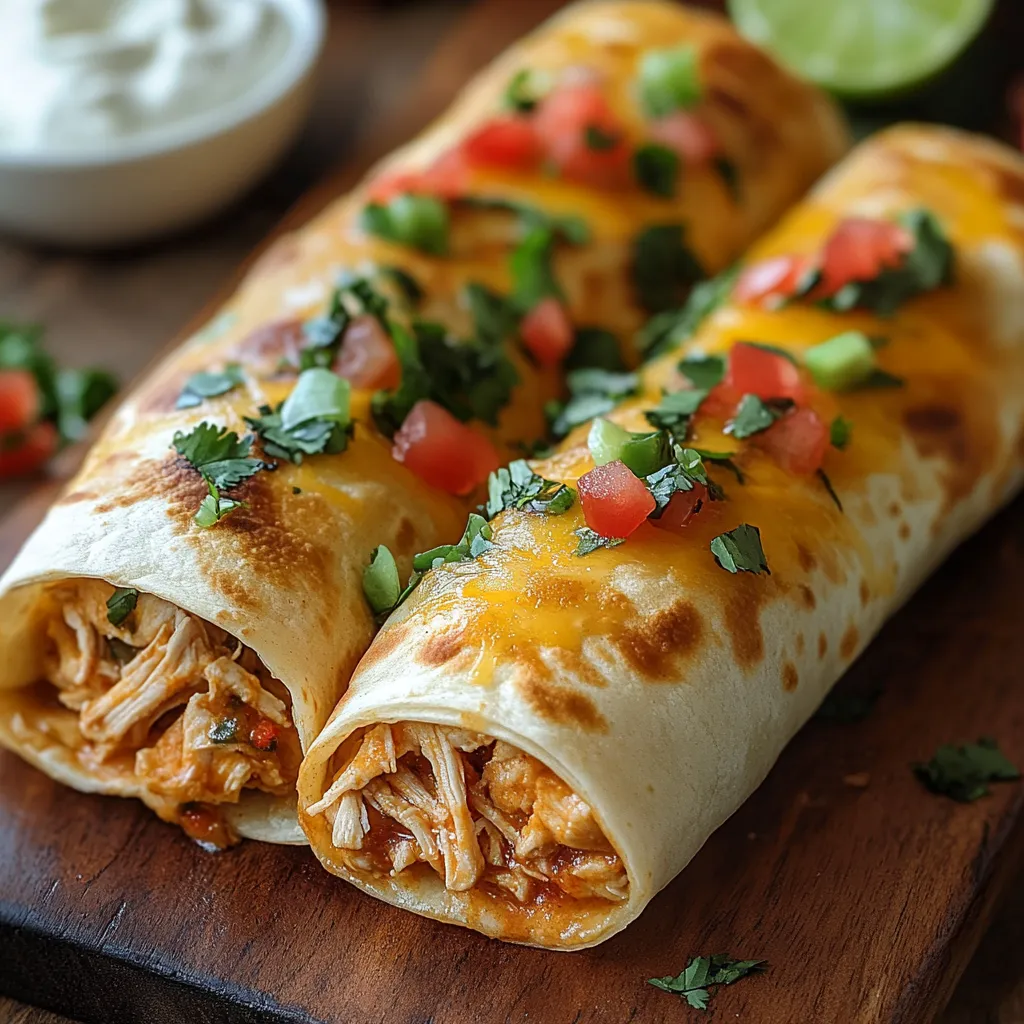
- → Can I swap in corn tortillas?
- Corn tortillas break and crack when folded, so they're not the best choice. For a gluten-free swap, grab gluten-free flour tortillas instead—they'll work just as well.
- → What's a good replacement for the chicken?
- You can use ground turkey or beef instead of chicken. Go for black beans and rice or sautéed veggies like onions, peppers, or zucchini if you want a meat-free option. Pulled pork or beef are both tasty, too.
- → How do I avoid soggy bottoms?
- Make sure the filling's not drippy—get rid of any extra liquid. Heat up your baking sheet before setting the chimichangas on it so the bottom starts crisping up right away. Lay down parchment paper for better airflow instead of foil.