
 Pin it
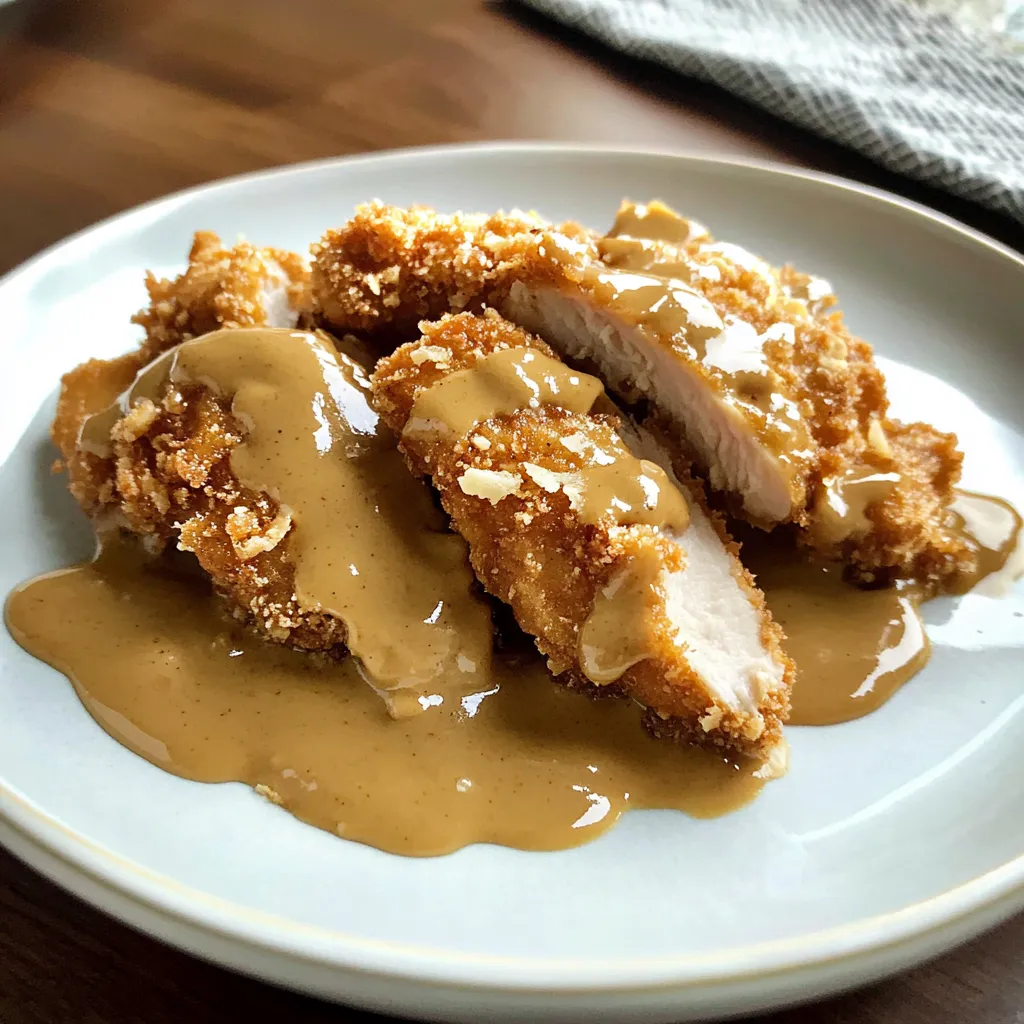
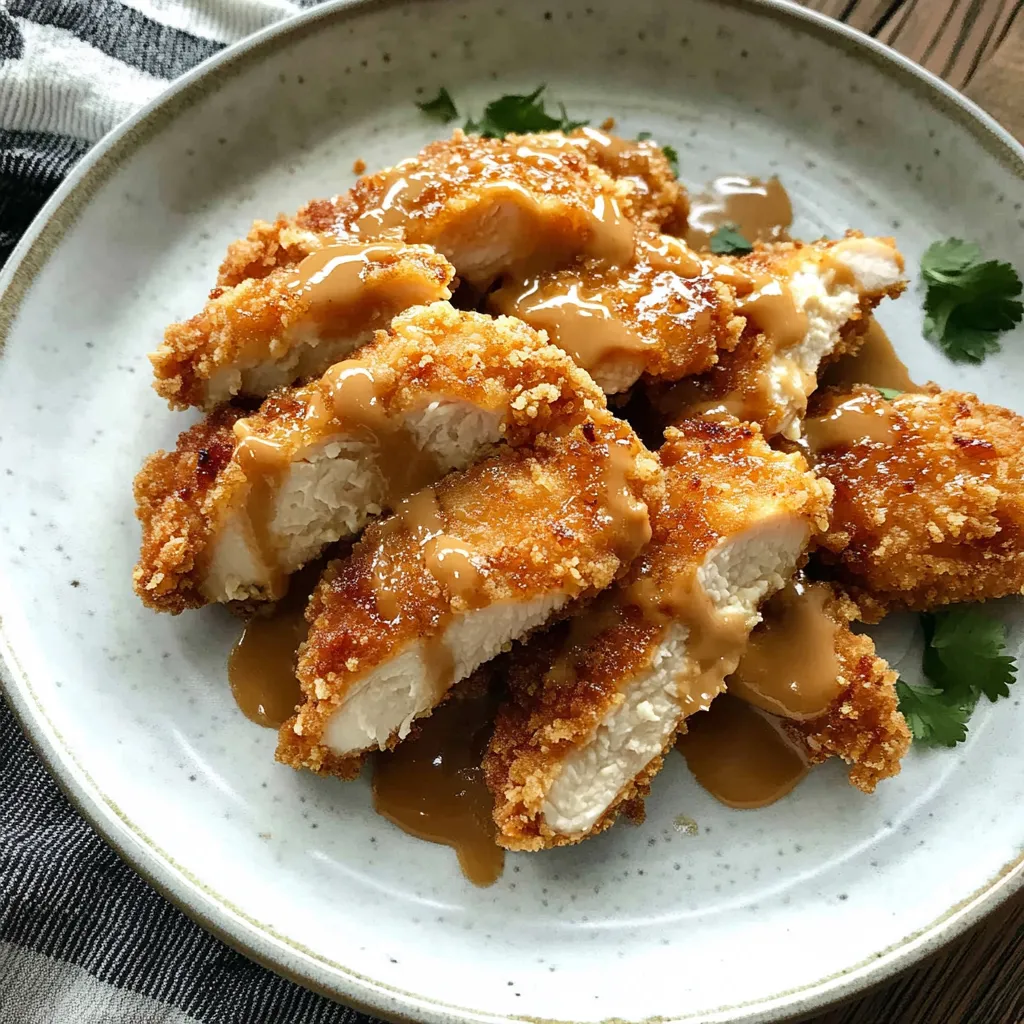
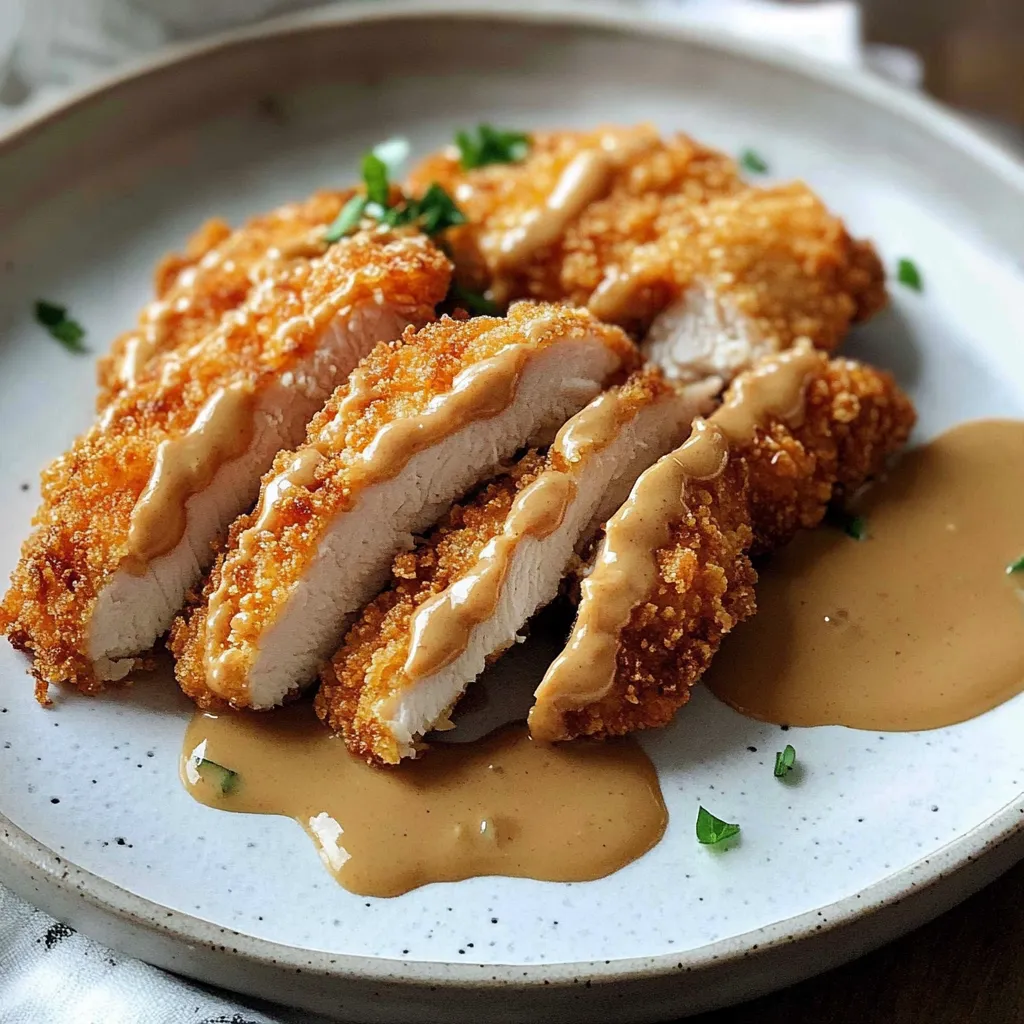
Golden-crusted, plump chicken bites dipped in dreamy peanutty goodness might just be the coziest comfort food you’ll ever try. When those crunchy chicken pieces hit that sweet-savory, smooth sauce, you won’t believe how irresistible the combo is—honestly, nothing from any takeout place I’ve been to comes close. This gem got its start in my childhood kitchen, thanks to my dad’s obsession with recreating our favorite restaurant treat at home, after countless delicious trial runs that never disappointed.
My childhood weekends were spent scanning the buffet for one thing only—the golden chicken that left sticky sauce all over my cheeks (sorry, Mom). When Dad started making it at home, the kitchen filled with crunchy sounds and that nutty smell. Watching him reveal all his tricks for getting it to taste “just like the place down the street” became our little family tradition, one secret at a time.
Must-Have Ingredients
- Japanese panko breadcrumbs: These give the chicken its signature crunch—and that crunch actually sticks around even once sauced up.
- Sweetened condensed milk: Delivers all the creamy, sweet flavor—substitutes just don’t cut it for that classic taste.
- Creamy peanut butter: The main flavor player, bringing lots of nutty richness and slippers-smooth sauce every time.
- Light soy sauce: Cuts through the sweetness, adding savory depth and keeping flavors in balance.
- All purpose flour: Makes sure the chicken gets properly prepped so everything sticks together through frying.
- Boneless chicken thighs: Stay juicy and tender, perfect for frying up crisp while keeping every bite rich.
Straightforward Method
- Frying the Chicken:
- Get a Dutch oven out, fill it with oil, and use a thermometer to get it right to 350°F. Carefully drop in the breaded pieces but don't crowd them. Let them fry for two minutes per side, keeping the temp between 325–350°F, until they’re deep golden and hit 165°F inside. Lay them on some paper towels to soak up the extra oil.
- Coating Chicken:
- Work with just a few pieces at a time. First, dip the chicken in the flour and salt mixture so both sides get a light coat. Next, dunk it right into the egg-peanut butter batter, let the extra drip off, and then press it firmly into the panko so every part is covered. Transfer coated chicken to a rack while repeating for the rest.
- Breading Setup:
- Line up your breading spots. Put 1 cup flour with 1 teaspoon salt in a dish for the first step. For the second, whisk two eggs, 2 tablespoons peanut butter, 1/4 cup flour, and a pinch of salt in another bowl till it’s smooth. Spread 2 cups panko breadcrumbs in a shallow dish or plate for the final coat.
- Getting Chicken Ready:
- Trim the extra fat off a pound of boneless thighs. Put them between plastic wrap and gently flatten them to about half an inch thick with a mallet or rolling pin. Cut the chicken into three-inch-long pieces so they cook even and quick, plus they’re perfect bite size.
 Pin it
I learned the hard way that fancy peanut butter doesn’t always work. My college attempts using the pricier organic stuff ended in greasy, gloopy sauce and frustration. I called my dad desperate for answers; he just chuckled and told me, ‘Sometimes the reliable versions just work better for this kind of thing.’ Honestly, he was right. Some old-school, store-bought basics are what make restaurant copycat meals really shine.
Signature Sauce
- Finishing the Sauce:
- After you’ve got everything whisked together and it’s looking pretty smooth, keep stirring over low heat for about five minutes. Sauce will gently thicken as it heats. If it thickens too much, just splash in more water a tablespoon at a time. It’ll set up even more as it cools, so stop cooking when it’s just a little runnier than you want it finally.
- Sauce Base:
- Ready for that classic peanut butter sauce? Drop half a cup of creamy peanut butter into a saucepan and put it on medium-low heat. Stir in a quarter cup sweetened condensed milk slowly until it’s all blended. Don’t freak out if it looks gritty—it’ll smooth out as you keep going.
- Texture & Taste:
- Keep the sauce moving with your whisk while you pour in a quarter cup warm water. The more you whisk, the silkier and pourable it’ll get. Add in two tablespoons soy sauce (taste to tweak the salt if needed) and sprinkle in half a teaspoon garlic powder plus a quarter teaspoon ground ginger. Whisk again until everything’s well combined and glossy.
Inviting Serving Ideas
Pile up the crispy chicken on a big plate and pour the rich, warm peanut sauce over the top. Toss on a handful of chopped green onions and some smashed peanuts for a little crunch and color. Don’t forget to keep extra sauce handy for big-time dunkers at the table.
Fun Twists
Bring some heat with a spoonful of sriracha or chili garlic sauce in the mix. Swap regular flour for rice flour and use gluten-free crumbs to keep it gluten-free. Want it lighter? Pop the breaded chicken into the air fryer at 400°F for about eight minutes, flipping once for crunchy bites with way less oil.
Storage Tips
Store leftover chicken and peanut sauce in their own sealed containers for best results. Pop the chicken in the fridge for up to three days, and the sauce can chill for five. For reheating, use the oven at 350°F for around ten minutes to crisp the chicken back up. Gently warm the sauce on the stove with a quick stir until it’s smooth and pourable again.
 Pin it
Making this dish at home comforts me and brings back tons of great memories, plus it just hits all my food cravings. It never fails—simple ingredients come together and somehow make crazy-good flavor. I love watching friends light up the first time they get that crunchy chicken and creamy peanut sauce together. That surprise and happiness keeps me coming back to making it again and again.
Frequently Asked Questions
- → Could I use chicken breasts instead of thighs?
- Absolutely, you can swap in chicken breasts, just flatten them to about half an inch thick and shave a little time off the cook—you’ll want to keep an eye on them since breasts cook a bit faster than thighs. They won’t be quite as juicy but you’ll still end up with something tasty.
- → How do I change the thickness of the peanut sauce?
- If you need your sauce thinner, drizzle in a tablespoon of water at a time and mix ‘til it looks right. Want it thicker? Add more peanut butter, one spoonful at a time. The sauce usually thickens up a tad while it stands around too.
- → Is it possible to make this ahead?
- You bet, the peanut sauce keeps well in the fridge for up to three days. For the chicken, it’s best to fry it up fresh for crunch, but you can get the chicken breaded and stashed in the fridge for a few hours if you need to prep early.
- → What sides should I serve with Creamy Peanut Chicken?
- It’s awesome with basic white rice, fried rice, or some stir-fried noodles. For veggies, toss in steamed broccoli, some bok choy, or a crisp cucumber salad—perfect for cutting through the richness.
- → Can this chicken be baked instead of fried?
- For sure! Lay out the chicken on a rack set over a tray and bake at 400°F for 15–20 minutes (aim for 165°F inside). The crunch isn’t exactly like frying, but it’s still a hit with that peanut sauce on top.