
 Pin it
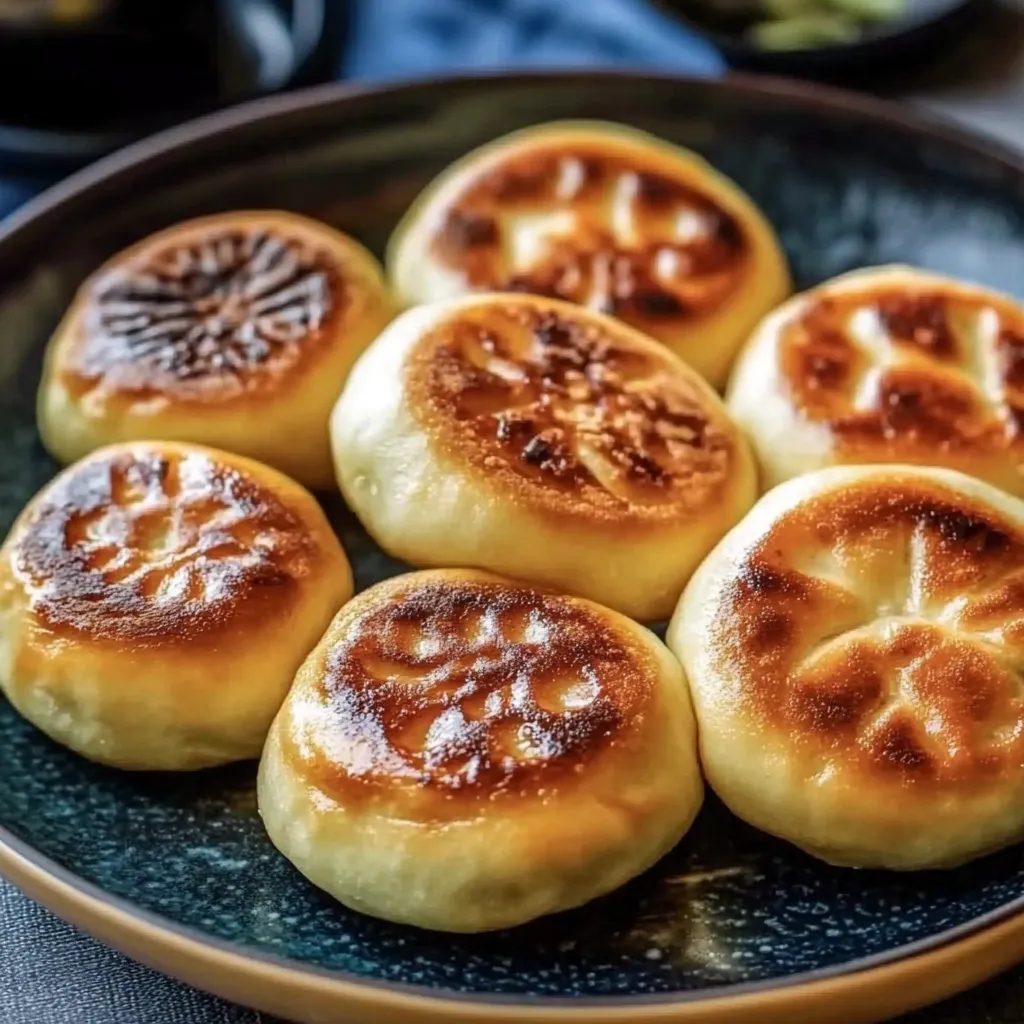
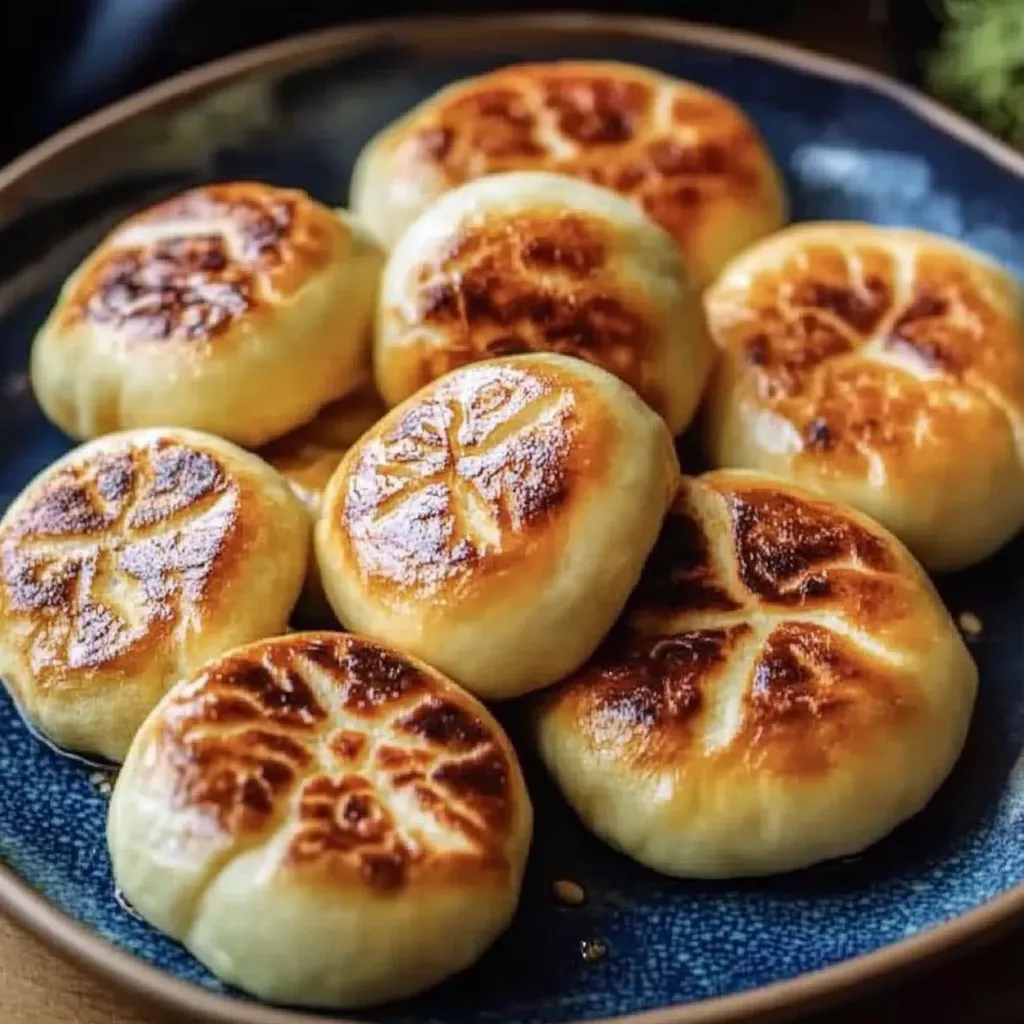
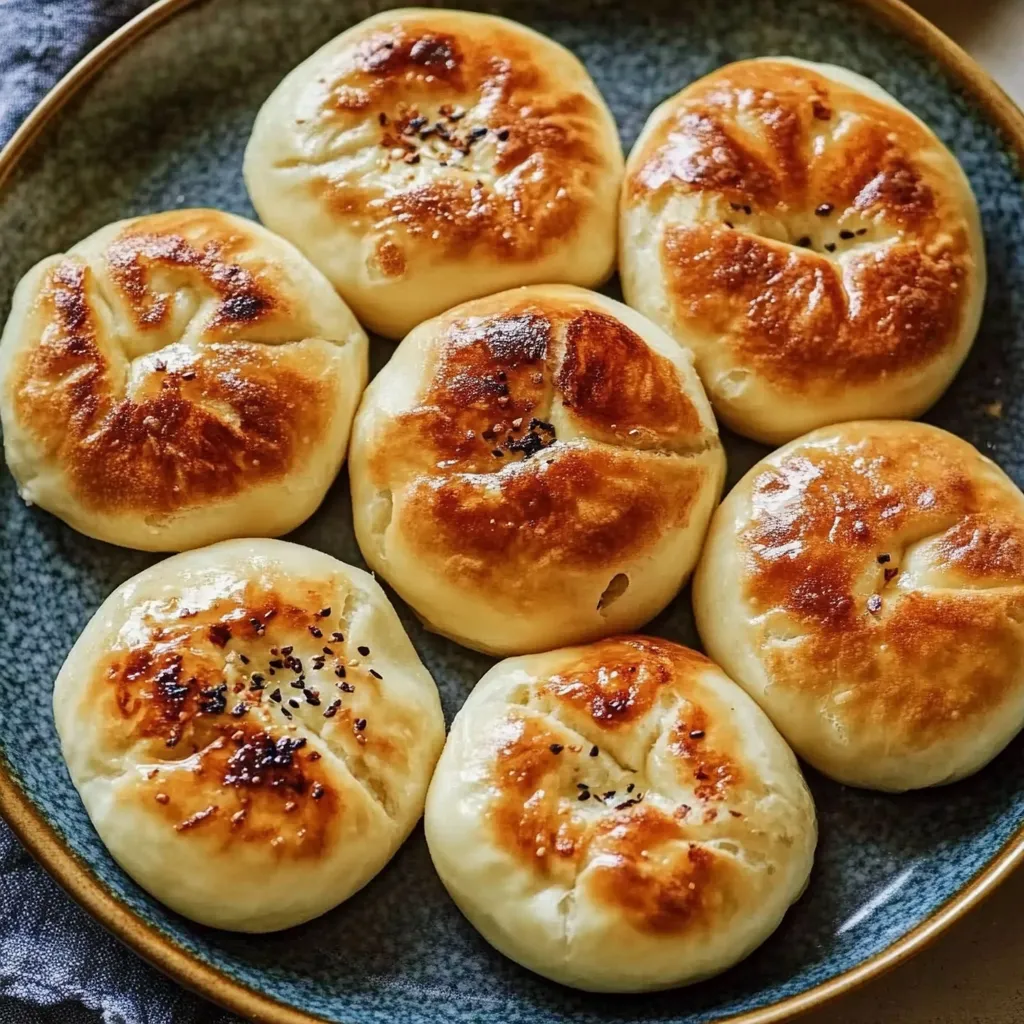
These stuffed veggie and noodle pockets turn ordinary cabbage into delicious, soft bundles packed with tasty vegetables and noodles. They've got that amazing combo of tender insides with crispy edges that makes them perfect for any meal or snack time.
I came up with these pockets when trying to use up leftover cabbage from dinner earlier that week. My family loved them so much they're now our weekend cooking project, and everyone fights for a turn to seal them up.
Ingredients
- All-purpose flour: Makes a tender dough that turns crispy when fried
- Instant dry yeast: Helps the dough puff up without waiting too long
- Cabbage: Forms most of the filling and gets slightly sweet when cooked
- Vermicelli noodles: Give a nice bite and soak up all the yummy flavors
- Sesame oil: Adds that rich, nutty taste that makes these pockets taste Asian-inspired
- Sesame seeds: Bring a nice crunch and look pretty on top
- Carrots: Add some sweetness and bright color to the mix
- Scallions or chives: Give a light oniony kick that goes great with cabbage
Step-by-Step Instructions
- Prepare the Dough:
- Mix all your dry stuff in a big bowl and make a hole in the middle. Pour your warm milk and oil in while stirring until you get a nice dough. It should feel a bit sticky but not too much. Roll it into a ball, put it in a bowl, cover with a damp cloth, and let it sit for about 2 hours till it doubles. This slow rise makes the dough taste better and stay soft.
- Cook the Filling:
- Put vermicelli in hot water for 7-8 minutes till soft. Drain well and cut into tiny bits about half an inch long so they mix in better. Heat some oil in a big pan on medium-high. Throw in chives, carrots, and cabbage, cooking for 4-5 minutes till they're soft but still have some bite. Add your chopped noodles, soy sauce, salt, and sesame oil, mixing everything around to spread the flavors. Cook another 2-3 minutes till it's all mixed up nicely. Dump the filling in a strainer to get rid of extra water so your pockets don't get soggy.
- Roll the Wrappers:
- Pull your risen dough into a ring shape and cut it into 12-16 equal chunks. Roll each piece into a ball, then flatten with a rolling pin, pushing from the middle outward in every direction. Try to make them about 3-5 inches across, depending on how big you want your pockets. Sprinkle a bit of flour between them if you stack them, and cover with a cloth so they don't dry out.
- Fill and Shape Buns:
- Spoon 2-3 tablespoons of cooled filling right in the middle of each wrapper. Going around the edge, make folds by grabbing and pinching the dough with your fingers. Keep making folds till the pocket is totally closed, then twist the gathered edges to finish it off. Press down gently to flatten after sealing.
- Pan-Fry to Perfection:
- Warm up some oil in a pan that has a good lid. Put the pockets folded-side down and cook on medium for 4-5 minutes till they're golden. Flip them over and cook the other side till it looks the same. Using the lid as a shield, carefully pour some water into the pan and quickly cover it to trap the steam. Let the pockets steam for 5-6 minutes till the water's gone, giving you that perfect combo of soft insides and crispy edges.
 Pin it
That sesame oil really makes all the difference. My grandma taught me to put it in both the dough and filling to create amazing nutty flavor that makes plain cabbage taste incredible. When I cook these pockets, that smell always reminds me of standing in her tiny kitchen learning how to cook as a kid.
Storage Solutions
These pockets keep their texture surprisingly well after they're refrigerated. Put cooled ones in a sealed container in the fridge for up to 5 days. To warm them up, fry with a tiny bit of water and the lid on for 3-4 minutes, or put them in the oven at 350°F for about 10 minutes until they're hot. Funny enough, reheating actually makes them even crunchier than when you first cooked them.
Filling Variations
What's great about these pockets is you can change them up so easily. Try swapping cabbage for spinach or kale for different nutrients. Want more protein? Toss in some scrambled eggs, crumbled tofu, or ground seitan with your veggies. If you're into spicy food, kimchi works great instead of fresh cabbage. Just remember to squeeze out extra moisture from whatever filling you use so your pockets don't get soggy.
Dipping Sauce Pairings
These pockets taste great by themselves, but adding a simple dipping sauce makes them feel fancy. Mix equal amounts of rice vinegar and soy sauce with a bit of chili oil for something spicy. If you like sweeter sauces, stir together soy sauce with a little honey, fresh ginger, and lime juice. I can't get enough of my go-to sauce made with creamy tahini, garlic and lemon that really brings out the sesame flavors in the pockets.
 Pin it
Have fun making these tasty pockets and watch how impressed your family and friends will be!
Frequently Asked Questions
- → Can I make these buns ahead of time?
You can definitely make these ahead. Cooked buns stay good in the fridge for about 5 days if stored in a sealed container. Want to keep them longer? Freeze them by placing them apart on a tray until they're solid, then pop them in a storage bag. When you're ready to eat, just reheat them by frying in a pan, warming in the oven, or steaming them again.
- → What can I substitute for vermicelli noodles?
If you don't have vermicelli, try using thin rice noodles, skinny egg noodles, or even break up some spaghetti. Just make sure whatever you use is cooked first and cut into small bits before you mix it with your veggies.
- → How do I prevent the dough from sticking when rolling?
Sprinkle some flour on your counter and rolling pin. If you need to stack your rolled dough pieces, add a bit of flour between each one and don't stack more than 4-5 together. If they'll be sitting around for more than half an hour, better to lay them out on a tray instead of stacking them up.
- → What's the best dipping sauce to serve with these buns?
Mix some soy sauce with a bit of sugar, hot sauce, and sesame seeds for a quick and tasty dip. You might also like trying a tangy vinegar sauce or some hot chili oil if you want something different.
- → Can I make these buns with a gluten-free flour?
The standard recipe calls for regular flour, but you can try using gluten-free flour mixes meant for bread making. You'll probably need to tweak how much liquid you add, and remember the dough will feel and handle differently than regular dough.
- → How can I tell when the buns are properly cooked?
Look for a nice golden-brown color on both sides after frying. Once you've added water and covered the pan, they're done when all the water has boiled away (takes about 5-6 minutes) and the dough feels firm but still soft when you touch it.