
 Pin it
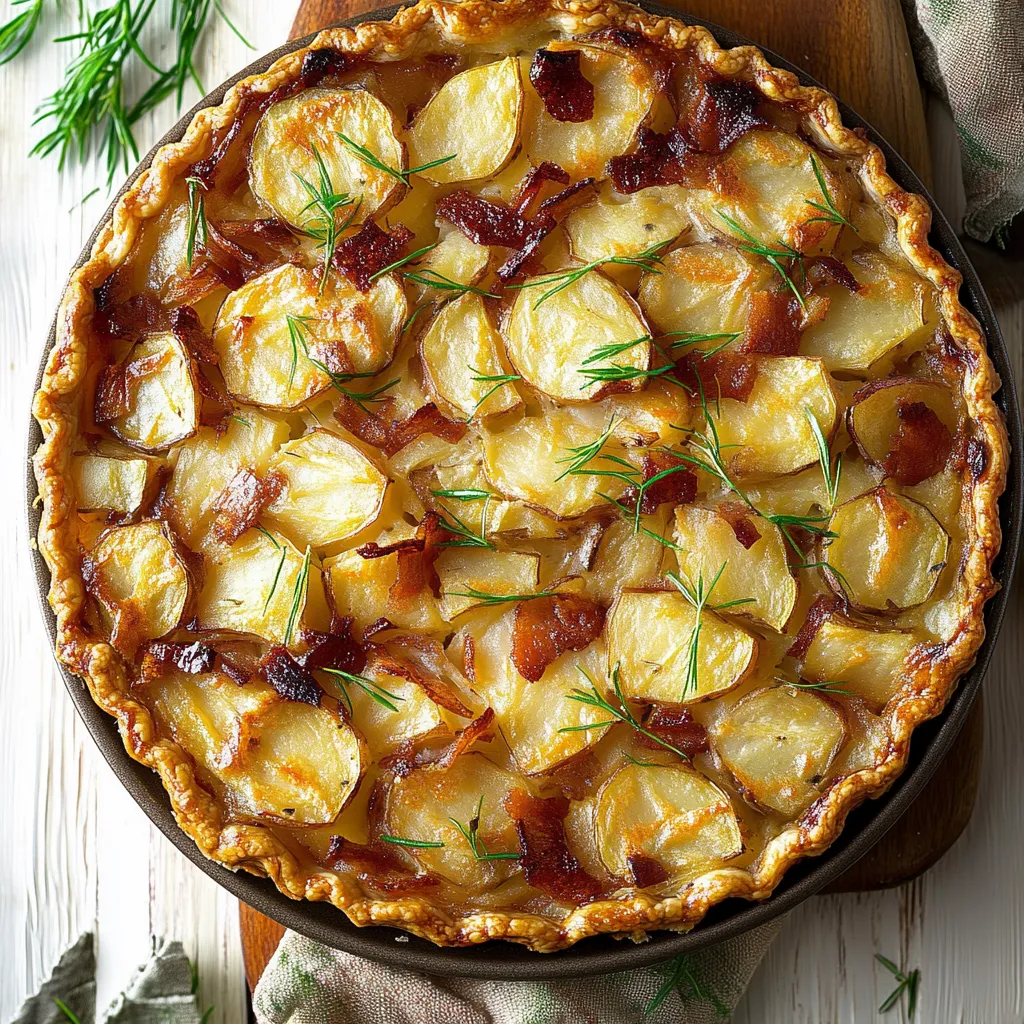
This Irish Potato Pie turns basic ingredients into a knockout dish that always wows folks at my dinner gatherings. The mix of crunchy bacon, soft potatoes, and puffy pastry makes a homey yet fancy meal that fits any get-together.
I first whipped up this potato pie for a St. Patrick's Day party, and now it's my go-to dish that my buddies ask for by name. The dish balances cozy comfort with fancy looks, so it works just as well for family dinners as special events.
Ingredients
- Frozen puff pastry: Your shortcut to an impressive crust. Go for the all-butter kind for tastier results
- Bacon: Grab thick slices for chunkier bits and stronger taste throughout your pie
- Potatoes: Yukon golds are perfect since they stay intact while getting creamy when they cook
- Onion: Brings needed sweetness to balance the salty bacon. Cut them super thin so they cook right
- Fresh dill: Adds bright herby flavors that balance the richness. Skip dried stuff - only fresh works well
- Heavy cream: Makes a silky sauce that holds the potatoes together. Don't skimp on fat content here
- Butter: Boosts richness and helps brown everything nicely. Grab unsalted to control the saltiness yourself
Step-by-Step Instructions
- Prepare the crust:
- Push defrosted puff pastry into an 8 or 9inch tart pan, pinching edges for a nice finish. Trim extra dough and patch any thin spots around the edge. Chilling keeps the butter cold, which makes your crust extra flaky when baked.
- Create the filling:
- Melt butter in a big pan over medium high heat and toss in chopped bacon. Cook till the bacon gets nice and crispy, which gives you different textures and releases fat that flavors everything. Add your thin onion slices, stirring them in the bacon grease. They'll soften and turn see-through, adding sweetness against the salty bacon.
- Add potatoes and seasoning:
- Toss in your skinny potato slices and fresh dill, sprinkling with salt and pepper. Stir gently for 3 to 5 minutes so potatoes get coated in bacon fat and butter. Don't fully cook the potatoes now - they just need to start softening and soak up flavors.
- Assemble and bake:
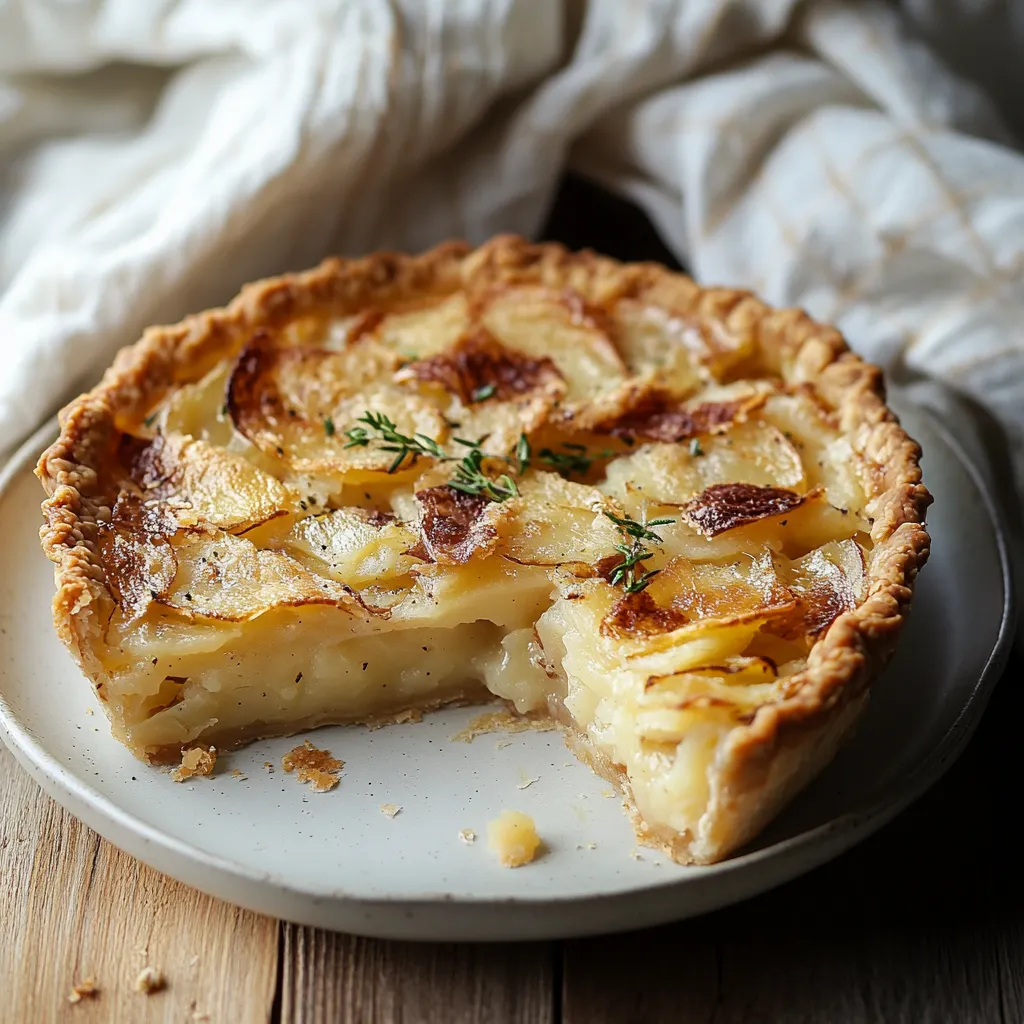
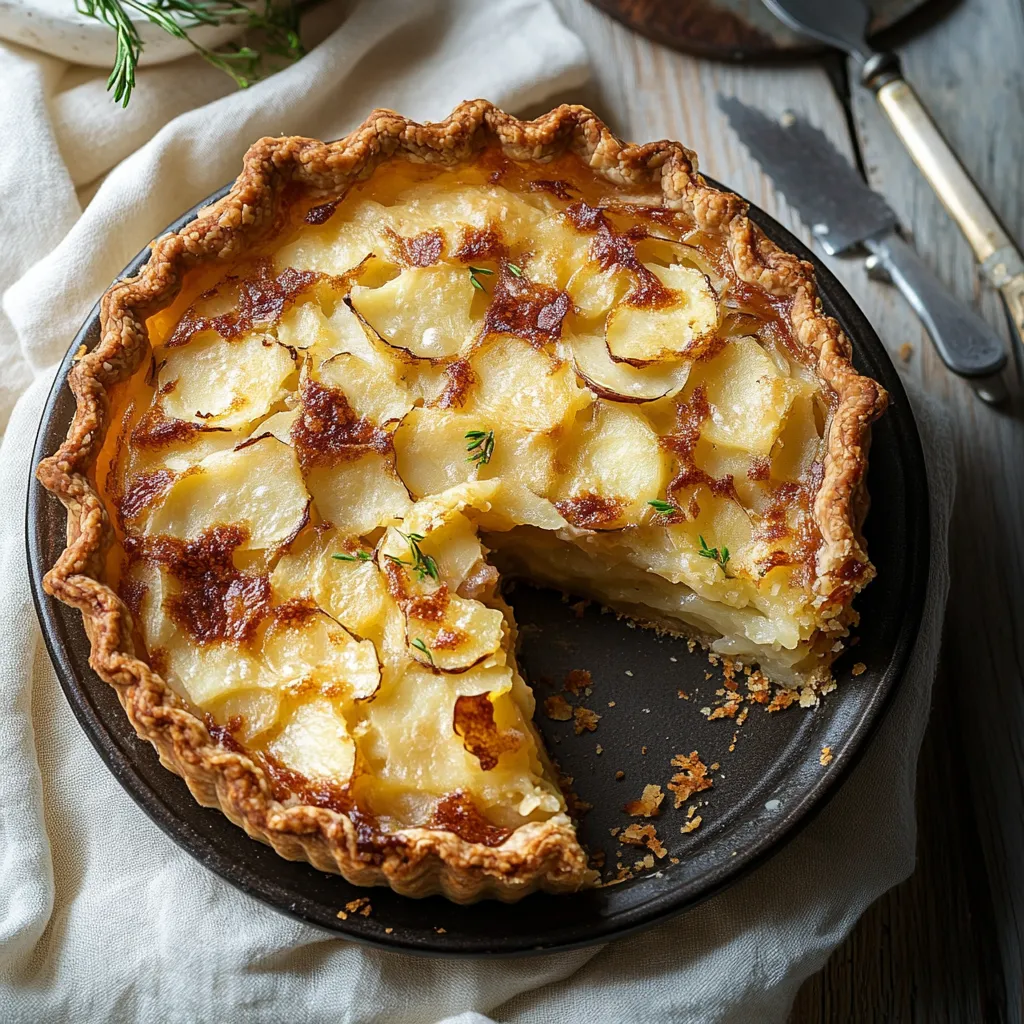
- Dump potato mix into your ready crust, spreading it out evenly so it cooks the same. Pour heavy cream over everything so it drips between potato slices. Bake on the bottom rack at 350°F for 35 to 45 minutes until potatoes feel soft when poked and the crust turns golden brown, showing it's done.
- Rest and serve:
- Let your pie sit for a full 10 minutes before cutting. This key step helps everything set up for clean slices. Sprinkle with fresh chopped chives or green onions for color pop and fresh taste before serving.
 Pin it
The secret to this pie is cutting your potatoes equally thin. My grandma taught me this trick - she'd hold a potato slice up to light to check if it was thin enough. I catch myself doing this same check when I make this dish, a little habit that keeps me connected to my roots each time.
Potato Selection Matters
For this pie, sticky potatoes like Yukon Golds or reds keep their shape best while baking. Russets tend to fall apart more, giving a different feel that works but changes how it turns out. When picking potatoes, grab firm ones without green patches or shoots. How thick you slice your potatoes really changes cooking time. I try for about 1/8 inch thick using a slicer tool for evenness. If you're cutting by hand, go slow to keep all slices the same size for even cooking.
Make Ahead Options
You can put this pie together fully up to 24 hours before baking. Just do all steps through filling the crust, wrap it tight with plastic, and stick it in the fridge. When you're ready to cook, take it out, pour on the cream, and add about 5 more minutes to cooking time since you're starting with cold stuff. The cooked pie stays good for up to 3 days in the fridge. Warm slices in a 325°F oven for 10 minutes to bring back the crispy crust.
Serving Suggestions
I like to serve this potato pie with a basic green salad with tangy dressing to cut the richness. For a complete Irish meal, pair it with cooked root veggies or steamed cabbage. This pie makes a great brunch when topped with a fried egg, letting the runny yolk make an instant sauce when broken. For parties, cut it into tiny squares as a fancy finger food that tastes good at room temp.
 Pin it
This crowd-pleaser turns everyday ingredients into a stunning centerpiece your guests will talk about for days!
Frequently Asked Questions
- → Can I make Irish Potato Pie ahead of time?
You can definitely prep this pie up to a day early and keep it in the fridge uncooked. Just cook it about 5-10 minutes longer when coming from the cold. Or you can fully cook the pie, chill it, and warm it up at 325°F until it's heated through.
- → What can I substitute for the bacon in Irish Potato Pie?
For folks who don't eat meat, skip the bacon and add 2 more tablespoons of butter instead. Want a different twist? Try ham, pancetta, or even some smoked salmon. Each option will give your potatoes a unique but tasty flavor.
- → What type of potatoes work best for this pie?
Yukon Gold or Russet potatoes are your best bet. Yukons stay firm but get nice and creamy, while Russets turn fluffy during cooking. Don't use waxy ones like new potatoes as they won't soak up all the good flavors.
- → Can I freeze Irish Potato Pie?
You can freeze this pie before or after baking. For unbaked pies, freeze them flat until hard, then wrap them up good. When you're ready to cook, just add 15-20 minutes to the cooking time. For baked pies, let them cool all the way first, wrap them tight, and they'll keep frozen for up to 3 months.
- → What sides pair well with Irish Potato Pie?
This filling pie goes great with a light green salad with some tangy dressing, some steamed veggies like broccoli or Brussels sprouts, or even a side of baked beans. For a true Irish meal, try some cooked cabbage or a chunk of soda bread on the side.
- → Can I use store-bought pie crust instead of puff pastry?
Sure, regular pie crust works fine instead of puff pastry. It won't be as flaky but will still taste good. Just bake the crust by itself for about 10 minutes before you add your filling so the bottom doesn't get soggy.