
 Pin it
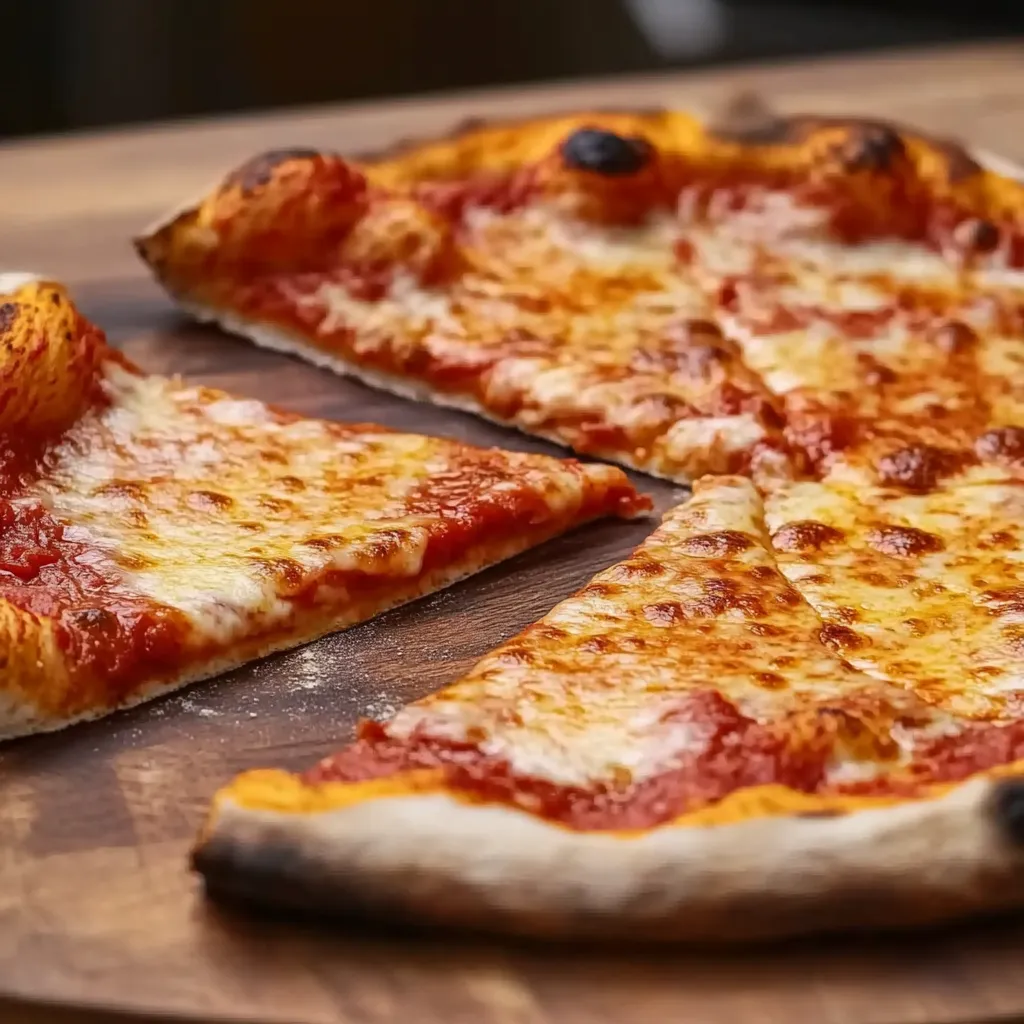
This NYC-Style Pizza brings real pizzeria taste straight to your home. I tweaked this recipe many times, and now I can guarantee it gives you that unique bendy-crisp crust that folds perfectly – the real mark of authentic NY pizza!
I first came up with this when we got snowed in and couldn&t get our usual pizza delivery. These days my family actually likes my homemade version better and asks for it every single Friday without missing a week.
Ingredients
- Bread flour: Gives you that stretchy texture and solid base. You need its extra protein for real NYC pizza
- Granulated sugar: Gets the yeast going and helps turn the crust nice and brown
- Kosher salt: Makes all the flavors pop without making anything taste too salty
- Instant yeast: Works every time and doesn't need to be mixed first
- Lukewarm water: Wakes up the yeast properly. Getting this right matters
- Extra virgin olive oil: Adds a hint of flavor and helps with browning
- Full fat dry mozzarella cheese: The real deal for this pizza. Fresh stuff has too much water
- Pizza sauce: Using good San Marzano tomatoes creates that perfect zingy foundation
Step-by-Step Instructions
- Mixing the Dough:
- Mix dry stuff with short pulses in your food processor so everything spreads out evenly. Pour in water and oil then run until you see a smooth ball riding above the blade. The machine builds gluten fast without making the dough too tough. Follow timing exactly for the best results.
- Kneading and Dividing:
- Move to a floured counter and knead just a bit until smooth. You should be able to stretch a small piece thin enough to see through without it breaking. Cut into three same-sized balls and put them in containers. Splitting now saves you work later and makes sure each pizza is the same size.
- Cold Fermentation:
- Keep dough in the fridge at least 24 hours but up to 5 days. This slow cooling builds big flavors and makes the texture way better. The more days it sits, the deeper the taste gets. My family thinks 2-3 days hits the perfect spot.
- Final Rise:
- Take dough out two hours before cooking. Make tight balls and let them puff up until they're twice as big. This last warm-up gets the yeast moving again and makes the dough easier to pull. Watch for it getting puffy and more soft.
- Stretching the Dough:
- Push dough into a flat circle keeping edges thicker. Use your knuckles to carefully stretch it into a 12-14 inch round. The knuckle method stops tears and keeps thickness even. Don't use a rolling pin as it'll squash all the tiny air bubbles.
- Topping and Baking:
- Add sauce but leave room at the edges for crust. Sprinkle cheese evenly and bake on a hot stone. The stone works like pizzeria ovens by giving strong heat from below. Keep an eye on it since cooking times change with different ovens.
 Pin it
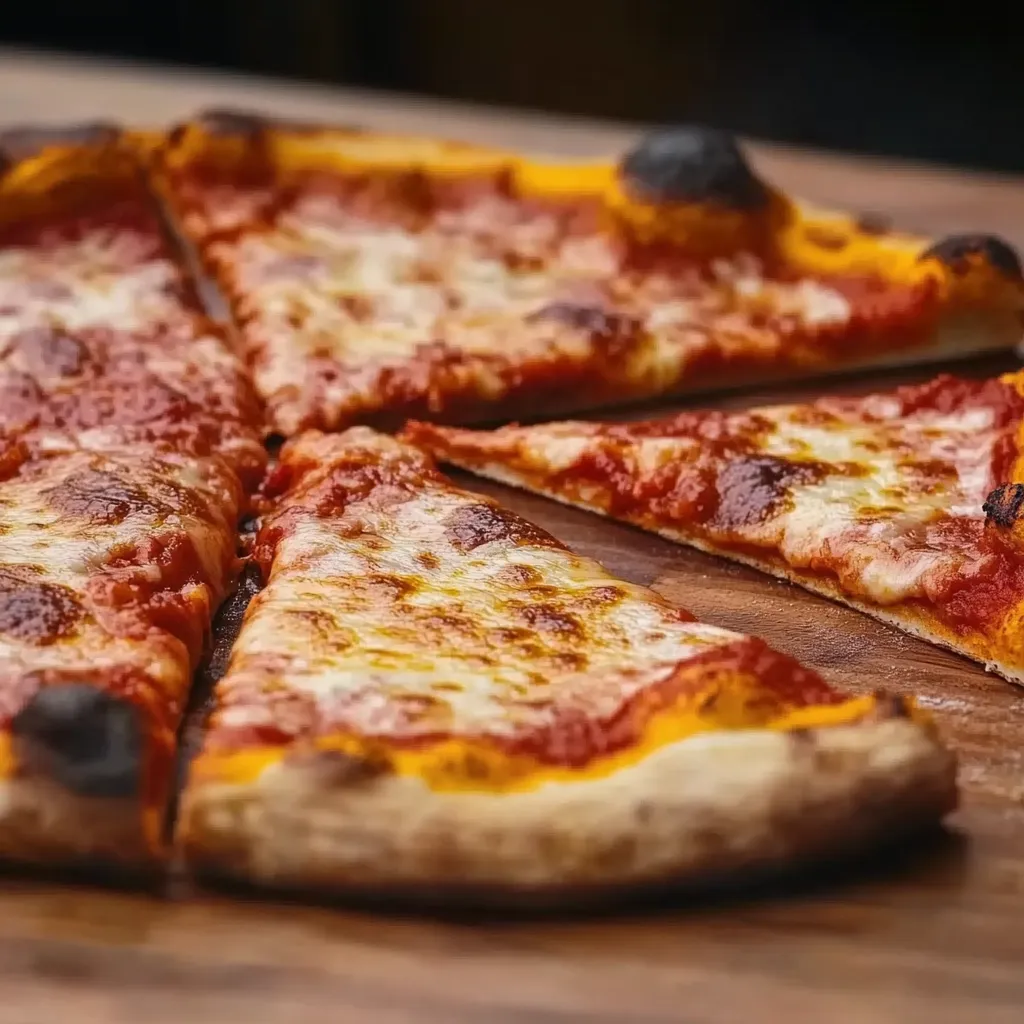
The game-changer that made my pizza so much better was buying a good pizza stone. After years with just cookie sheets, the difference jumped out right away. My kid even asked if we'd ordered takeout the first time we used it.
The Science Behind Cold Fermentation
What makes NYC pizza special is that long, cold waiting period. While it sits in your fridge, tiny enzymes break down big carbs into smaller sugars. This doesn't just make it taste better - it also helps everything brown nicely. The cold slows down the yeast but lets good bacteria thrive, creating those light tangy notes without needing sourdough starter. I found this trick after years of making so-so pizza and it completely changed my results.
Troubleshooting Common Issues
When your dough rips while stretching, it probably needs more time to sit at room temp. Cold dough fights back too much. Give it another half hour to loosen up. If your crust stays too pale, your oven might not be hot enough. Most home ovens work best with extra long preheating. For wet middles, try using less sauce or patting your cheese with paper towels first. Too much water stops both cheese and crust from browning right.
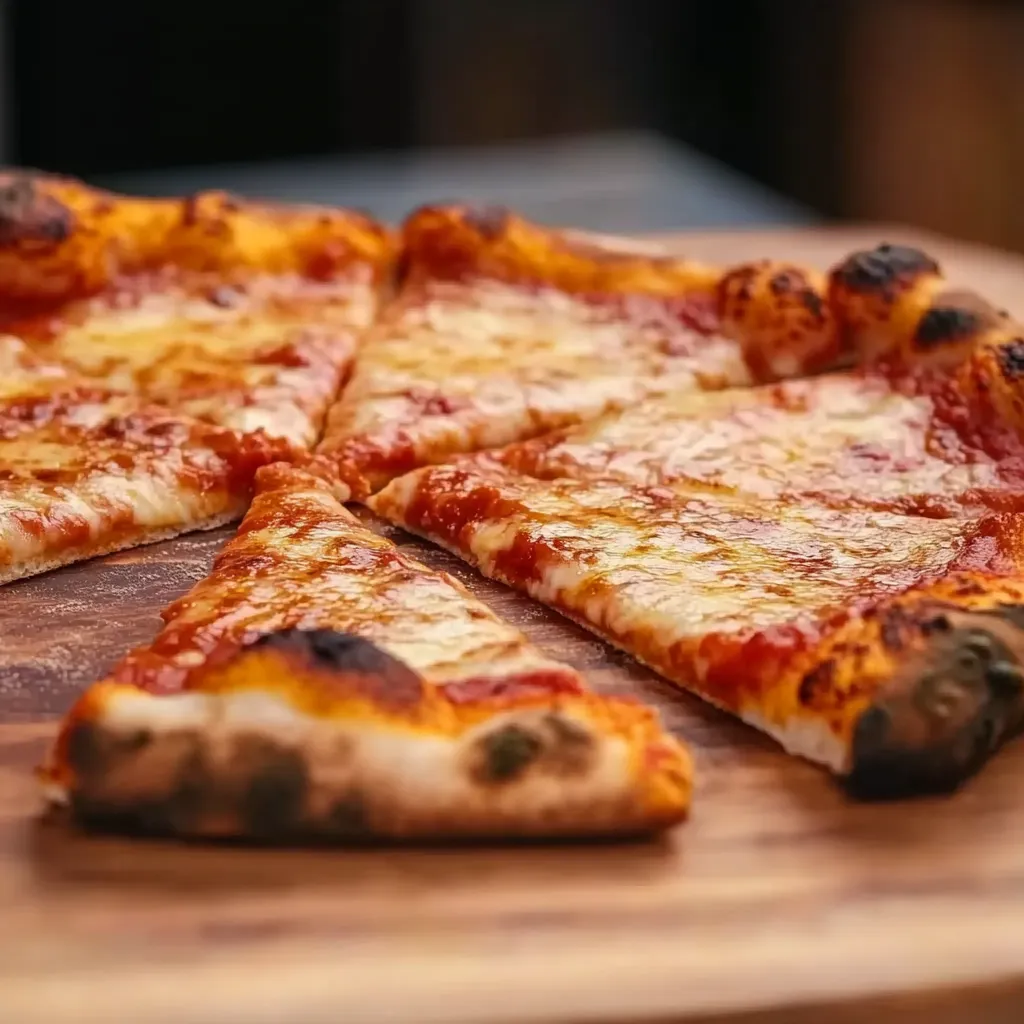
Authentic Toppings For New York Pizza
Real NYC pizza keeps things simple compared to many modern styles. Typical add-ons include pepperoni, Italian sausage, or just plain cheese. When adding meats, remember that less works better. Too much creates steam that keeps your crust from cooking well. For veggies, try cooking watery ones like mushrooms or fresh tomatoes first to get rid of extra moisture. For the full NYC experience, fold your slice lengthwise before taking a bite. This classic technique helps keep toppings in place and gives you the perfect balance in each mouthful.
 Pin it
Try these methods and tricks, and you'll soon be enjoying NYC pizza at home that's just as good as what you'd get at your favorite pizza shop!
Frequently Asked Questions
- → What stands out about New York-style pizza?
It’s all about a thin but durable crust that can hold toppings while staying flexible enough to fold when eaten.
- → How do I get that chewy and crisp crust balance?
A 26-hour cold rest in the fridge pumps up the flavor and creates the ideal crispy chew when it bakes.
- → Is a pizza stone necessary for baking?
Nope! An upside-down baking sheet works fine, but a proper pizza stone heats more evenly for a crunchier finish.
- → How should I shape my dough the right way?
Gently stretch it with your knuckles into a round 12- to 14-inch circle, leaving the edges puffier for that signature crust.
- → What oven temp works best for New York pizza?
Crank the oven up to 500°F (260°C) and let your pizza stone heat up inside to get the crust golden and crisp.
- → Why should I freeze the mozzarella first?
Cold mozzarella prevents sticking and ensures it melts evenly across the crust for that dreamy cheese stretch.