
 Pin it
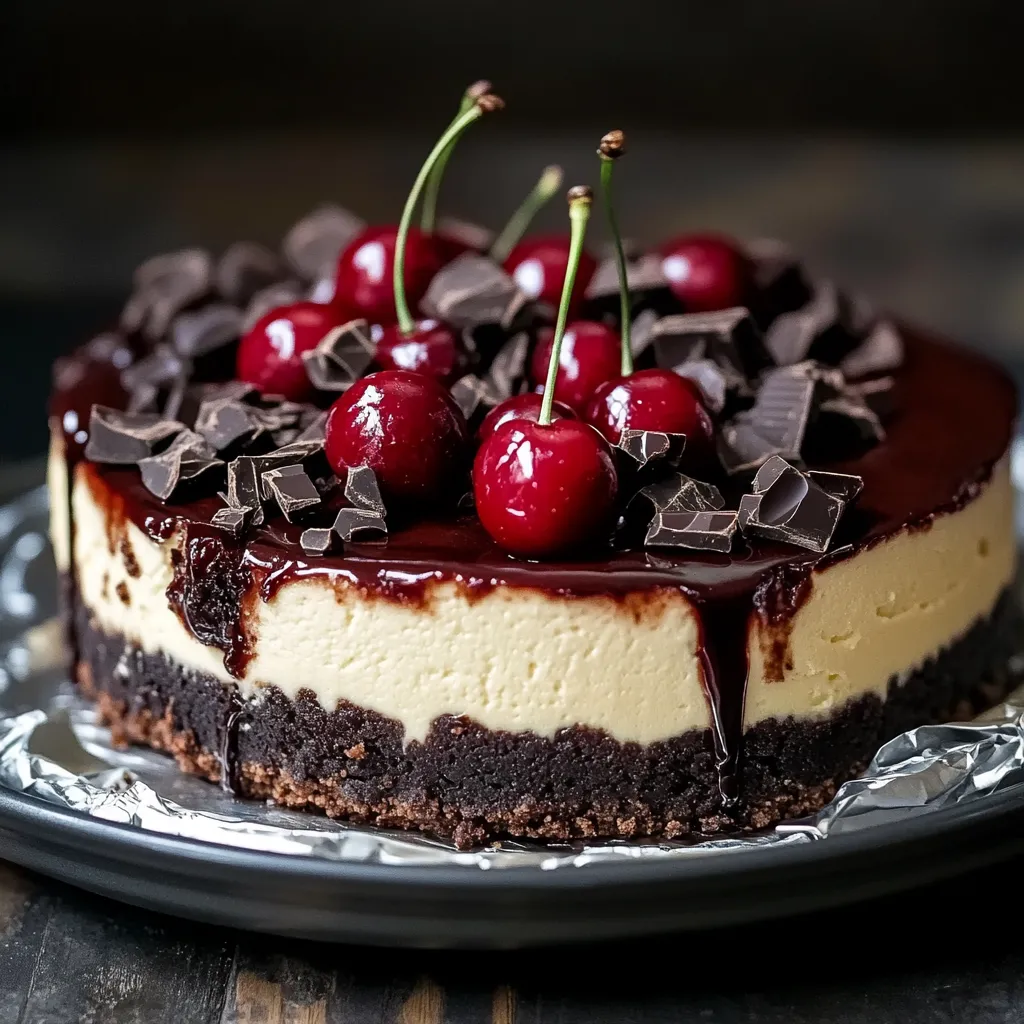
Silky chocolate cozies up with punchy cherries in this unforgettable dessert that fuses two classics for a crowd-pleasing treat. If you love a super chocolatey cookie crust and cocoa-packed filling, but crave some tart fruity balance, you’re in for a good time. Each bite serves up crispy base, velvety filling, and juicy cherry goodness. It looks like it belongs in a bakery window but is totally doable for home bakers wanting to wow their crowd.
I came up with this mashup one holiday season, because Black Forest cake felt too predictable. Even my uncle—who usually avoids both cheesecake and cherries—went back for more. Something about that mix of deep chocolate and lively cherry just feels a little more grown-up, turning simple ingredients into something special.
Must-Have Ingredients Guide
- Chocolate sandwich cookies: Cream-filled varieties work best for a good crust without needing to add sugar.
- Fresh cherries: When cherries are in season, they shine, but frozen ones hold their own any time of year.
- Heavy cream: You want at least 36% fat here for that dreamy creamy vibe.
- Dutch cocoa powder: This will give you rich color and a mellow, deep chocolate taste—better than regular cocoa.
- European-style butter: Extra butterfat gives the crust its yummy flavor boost.
- Full-fat cream cheese: The only way to get that classic creamy structure—don’t mess with lower-fat swaps.
Step-By-Step Baking Directions
- Set up the cherry topping
- Mix cherries, sugar, and a squeeze of lemon juice in a pot. let it bubble gently until the fruit lets out juice and the whole thing thickens up. Cool it all down fully to keep the cheesecake surface intact. For pretty vibes, layer the cherries from the outer edge in circles toward the center.
- Finish and chill cheesecake
- Check if edges feel set and the middle still moves a bit—should take about 55 minutes. Leave the oven door open with the cheesecake inside (power off) for an hour. That slow cool-down stops cracks from forming on top.
- Perfect the cocoa filling
- Whisk flour and cocoa powder together first—no dry bits wanted here. Blend them into the creamy base, then slowly add heavy cream for that lush, smooth texture. Pour it onto the prepared crust and give the pan some taps on the counter to pop bubbles.
- Make your chocolate crust
- Crush cookies in a food processor until fine. Mix well with melted butter, ensuring it all sticks together like damp sand. Press firmly into a springform pan, building a little up the sides. Bake about 10 minutes to set, then let it cool fully.
- Mix your filling just right
- Let your cream cheese hang out on the counter for about an hour, so it gets nice and soft. Whip it up, then drizzle in sugar slowly for a lump-free result. Beat in eggs one at a time on medium-low so you don’t add too much air and everything gets silky.
- Keep it crack-free with a water bath
- Wrap the pan with thick foil (bottom and sides) to stop leaks. Put it in a bigger pan and pour in hot water halfway up the outside. This keeps things moist and stops the top from cracking.
 Pin it
My grandma always reminded me not to rush. She said the magic is in slow cooling—just like gentle mixing. I tried skipping the overnight chill for a party once, and wow, what a difference; her advice turned out right—again.
Smart Temperature Tricks
How you handle temperature really makes a difference. Cold cream cheese won’t blend right and will leave tiny lumps, but overheated chocolate might turn gritty or split. Use a real thermometer to check your oven because built-in displays can be off by a lot. Before serving, let your cheesecake warm up for 20 minutes on the counter—it’ll taste even better that way.
Stylish Serving Ideas
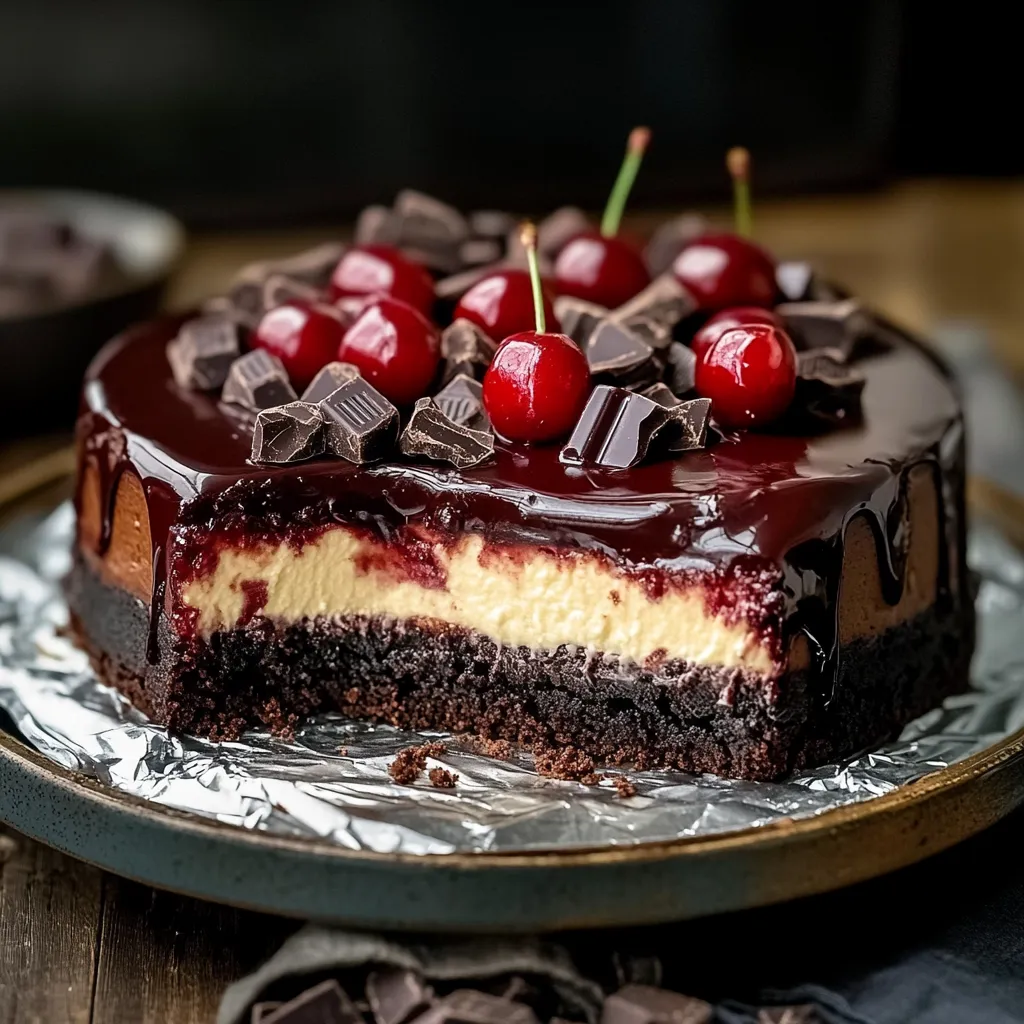
Slice it up and serve on chilled plates with a warm trickle of ganache for that eye-catching look. Pop a cherry with a stem and a little mint on top for color. Going fancy? Dust a bit of cocoa around each plate using a paper shape. Cutting a bunch of slices for a party? Do it while the cake’s cold, using a hot knife and wiping it clean between each slice for yummy-looking pieces.
Fun Twists and Swaps
You can easily switch things around. If you’re avoiding gluten, grab gluten-free cookies for the crust and keep the rest the same. Want less sugar? Drop it by about a quarter—works fine if your cherries are sweet. For a grown-up spin, mix in a splash of kirsch (about two tablespoons) into both the filling and the cherry topping. If it’s winter, toss a bit of cinnamon and instant coffee into the batter for a cozier taste.
Storing Tips
 Pin it
To keep it fresh, chill uncovered cake in the fridge for up to five days—wrap it tight once fully cool. Spoon on the cherry topping right before you dig in to keep things from getting soggy. Stash leftovers or the whole cake (without toppings) in the freezer, first in plastic wrap, then foil. Thaw overnight in the fridge, not at room temp, so the texture stays perfect.
Frequently Asked Questions
- → Do I have to use a water bath to bake it?
- A water bath helps it bake evenly and keeps cracks away, but you don’t have to use one. You can just set a pan of water on the rack under the cheesecake so there’s steam while it bakes. If the top does crack, no stress—the cherry layer will hide it.
- → Can I make my own cherry topping instead of using canned?
- Absolutely! When you’ve got fresh cherries, toss 4 cups with 1/2 cup sugar, 2 tablespoons cornstarch, and a couple tablespoons of lemon juice. Heat them up till they’re thick and jammy, let it chill, then scoop it over your cheesecake.
- → What stops a cheesecake from splitting on top?
- Here’s what helps: let everything get to room temp, be gentle mixing after you add eggs, use a water bath, don’t open the oven, and let it cool off slowly in the oven with the door cracked. Cracks can still happen—luckily, the cherry topping covers all that up.
- → Is it okay to make this a day or two before?
- For sure! This one’s even tastier after chilling a day or so. Build the cheesecake, stash in the fridge covered, and pop the cherry stuff plus whipped cream on just before you put it out for friends.
- → Can I swap out the Kirsch for something else?
- Yep! Use a teaspoon of almond extract if you want that classic flavor without booze. Cherry extract works too (use just 1/2 teaspoon), or just leave out the extra flavor if you’d prefer.
- → How should I keep leftovers fresh?
- Stick anything left in the fridge loosely wrapped or in a sealed container—it’ll last up to 5 days. Or slice it, wrap tight with plastic then foil, and stash in the freezer for up to two months.