
 Pin it
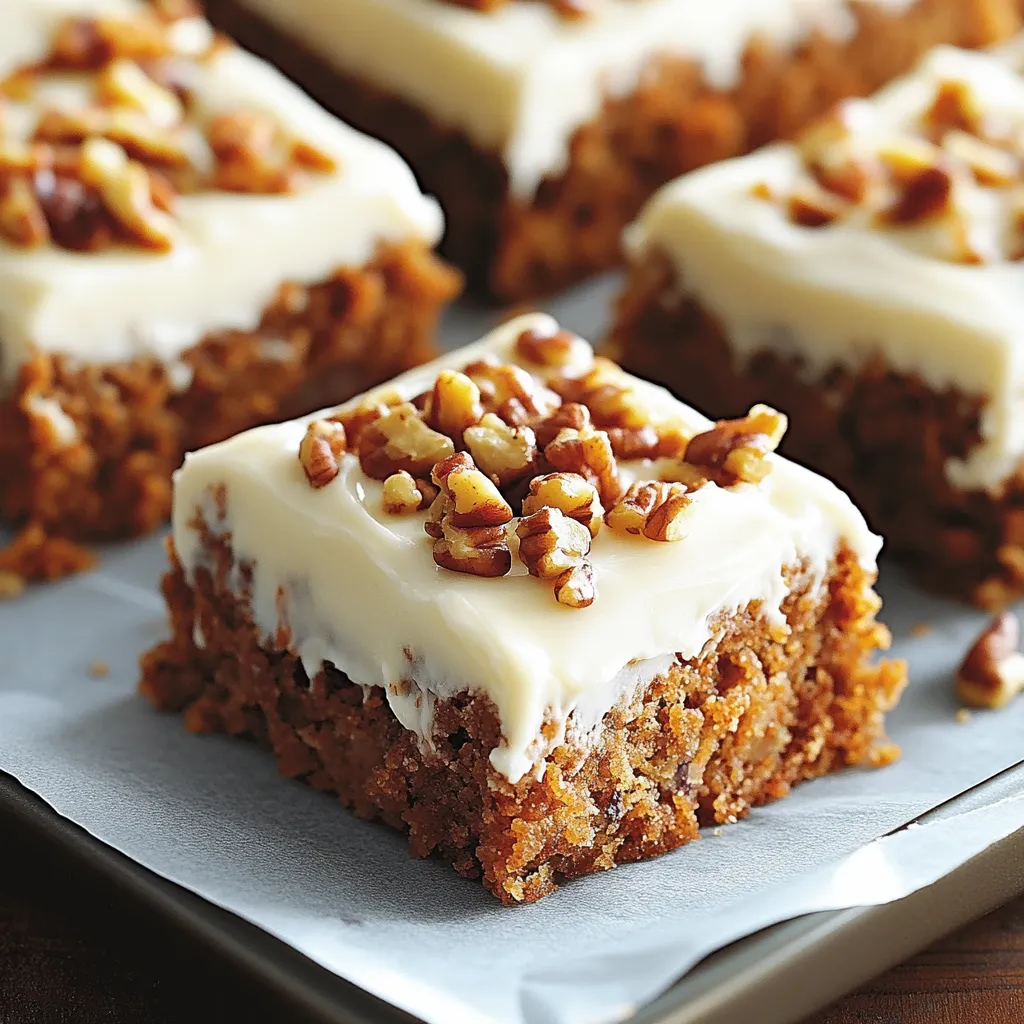
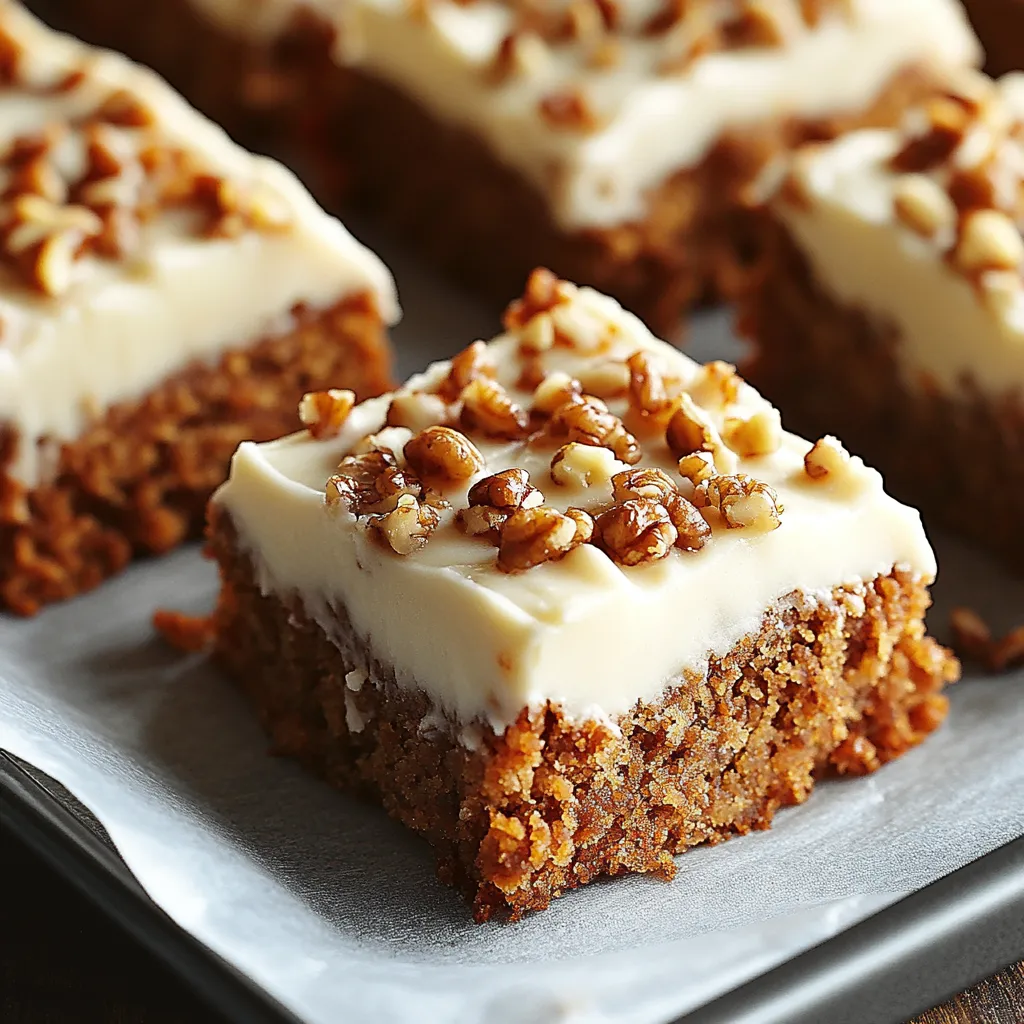
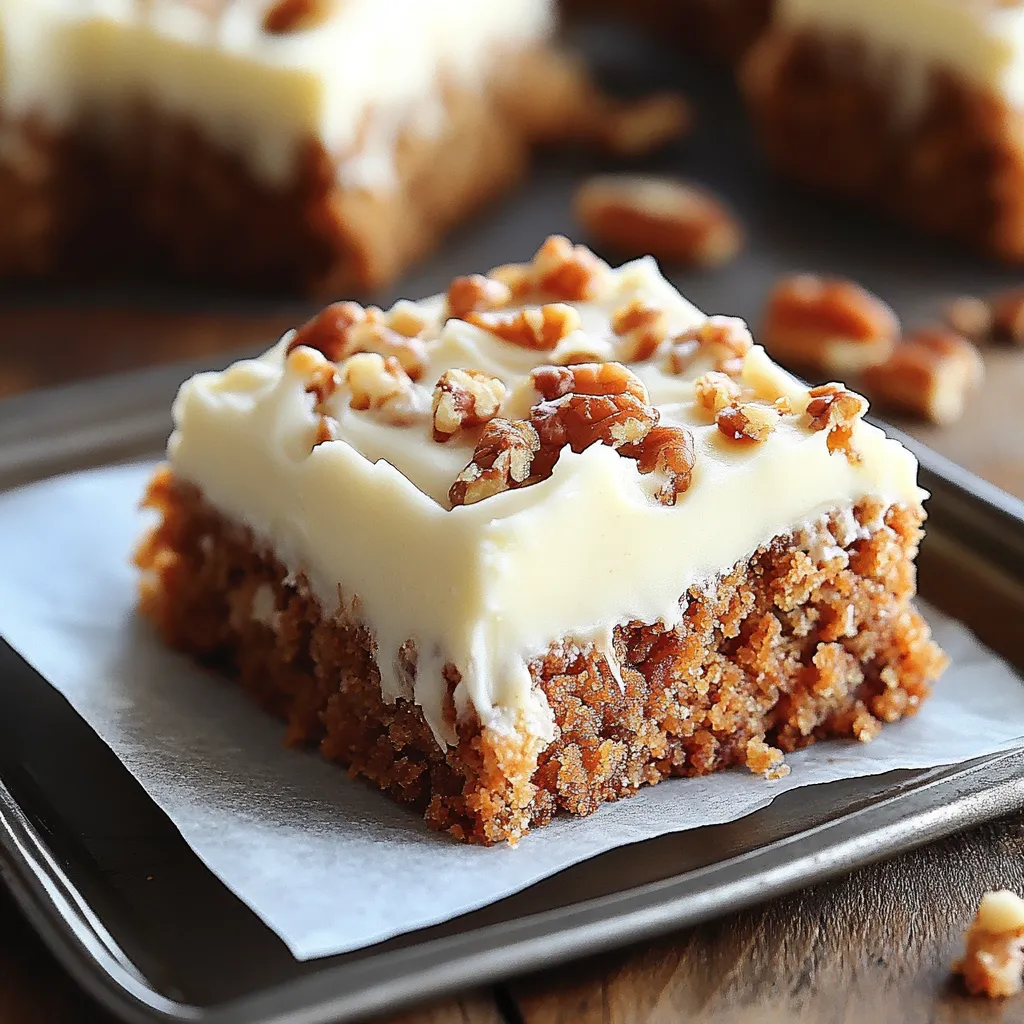
Chunky, rich carrot cake bars take all the nostalgia of the classic cake and pack it into easy-to-carry squares loaded with cozy spices and slathered with creamy frosting. You get perfect moistness and a dreamy topping in every bite. I whip these up for everything from low-key weekends to big family parties, and they always vanish fast.
These bars first hit our table at my daughter's birthday bash with a butterfly theme. Since then, they're the one treat my family asks for again and again. Even my husband, who usually says he can't stand carrot cake, sneaks seconds.
Irresistible Ingredients
- Walnuts: Crunchy and full of rich taste, plus you get some healthy fats in the deal
- Cream cheese: Go for full-fat—this is what makes the frosting so silky and satisfying
- Fresh carrots: Seriously, grab whole carrots and shred them yourself—pre-cut doesn't cut it on taste or moisture
- Brown sugar: Deep, caramel sweetness that keeps the bars soft
- Vegetable oil: Locks in that lasting moisture
- Cinnamon, nutmeg, ginger: These bring the warm, sweet-spicy backbone everyone expects
- Baking powder, baking soda: Both do some heavy lifting to make sure the bars are light and fluffy
- All purpose flour: The simple base that keeps each bar soft without making them heavy
Simple Step-by-Step
- Make the frosting magic:
- Let your butter and cream cheese hang out on the counter until soft, then blend them smooth. Add your powdered sugar and keep going until you get a nice, creamy swirl.
- Chill the bars:
- Give the bars a full hour to cool off in the pan before you bring out the frosting gear. Warm bars will melt your hard work fast.
- Bake it all up:
- Pour the batter into your ready pan, even out the top, and bake about 25 to 30 minutes. You'll know it's done when the center bounces back after a gentle poke.
- Stir in the extras:
- Fold in your shredded carrots, nuts, and those raisins if you're using them. Work gently so you don't squash all the air out.
- Combine the wet with the dry:
- Mix the dry mix into your wet mix in three takes. Just stir until you stop seeing streaks. Don't keep going—overmixed bars get tough.
- Whip up your wet mix:
- Beat together oil, sugars, eggs, and vanilla until a bit pale and smooth, about 2 minutes by hand or 1 minute if you're using a mixer.
- Mix your dry bowl:
- Stir flour, spices, baking powder, soda, and salt separately to make sure every bite tastes the same. A whisk helps break up any stubborn clumps, especially the spices.
- Line your pan:
- Sling parchment paper into a 9x13 pan, letting the edges hang over for easy lifting. A little cooking spray under the parchment keeps it from slipping around.
- Finish with style:
- Smooth on a thick layer of frosting with an offset spatula, swirling the top if you feel fancy. Make the frosting about a quarter-inch tall for the best bite.
 Pin it
The way these spices work together totally makes the bars. When it's chilly, I don't hold back on the cinnamon for extra comfort. My grandma always tossed in a little black pepper too—it somehow makes all the other flavors pop, while staying undercover.
Smart Storage Ideas
If you can save any for later, they're even tastier the day after baking. Pop them in a sealed box in the fridge, and you've got five days to enjoy them. The cold gives the frosting a super rich, cheesecake kind of vibe—some of my friends say that's the best way to eat them.
Need to save them for way later? Freeze the bars without any frosting for up to three months. Wrap each square up in plastic wrap and drop them in a zip bag. Let them thaw in the fridge overnight and frost just before you serve—they'll taste brand new.
Swaps and Switch-Ups
These bars are super flexible if you need to tweak them. For gluten-free eaters, use a 1:1 gluten-free flour that has xanthan gum in it. Dairy-avoiders can swap in plant-based cream cheese and butter for the topping—they'll come out nearly the same.
Switch up the veggies too. In the summer, swap out half a cup of carrot for shredded zucchini—makes the bars ultra-moist. Or, lighten the batter by trading half your oil for applesauce. You'll still get that signature tenderness everyone loves.
Fun Ways to Serve
They're tasty straight from the pan, but you can fancy them up. Serve chilled bars with a scoop of vanilla ice cream and a drizzle of caramel for a seriously special dessert.
For a group brunch, cut tiny squares and pair with coffee and fresh fruit. Or wrap bars in parchment, tuck them in a cute tin, and hand them out as edible gifts for birthdays and holidays.
 Pin it
Frequently Asked Questions
- → Can I make these bars ahead of time?
Sure thing! Bake them a day before, then frost when you’re ready to serve. Keep them chilled in the fridge until it’s time to dig in.
- → Can I substitute the vegetable oil?
Go ahead and use applesauce for half the oil to lighten things up, or swap in melted coconut oil if you want a different taste.
- → What add-ins work well with these bars?
Raisins, chopped pecans, or walnuts are a win. For something different, try adding shredded coconut or even cranberries.
- → How do I ensure the bars are moist?
Don’t overbake. Just poke the center with a toothpick—it should come out a bit sticky but not wet.
- → Can I freeze these bars?
Absolutely! Freeze without the topping in a tight container. After thawing, spread the frosting on right before serving.
- → What variations can I try with the frosting?
Add some orange zest for a zing, or mix in cinnamon if you’re into that extra spice kick in the cream cheese frosting.