
 Pin it
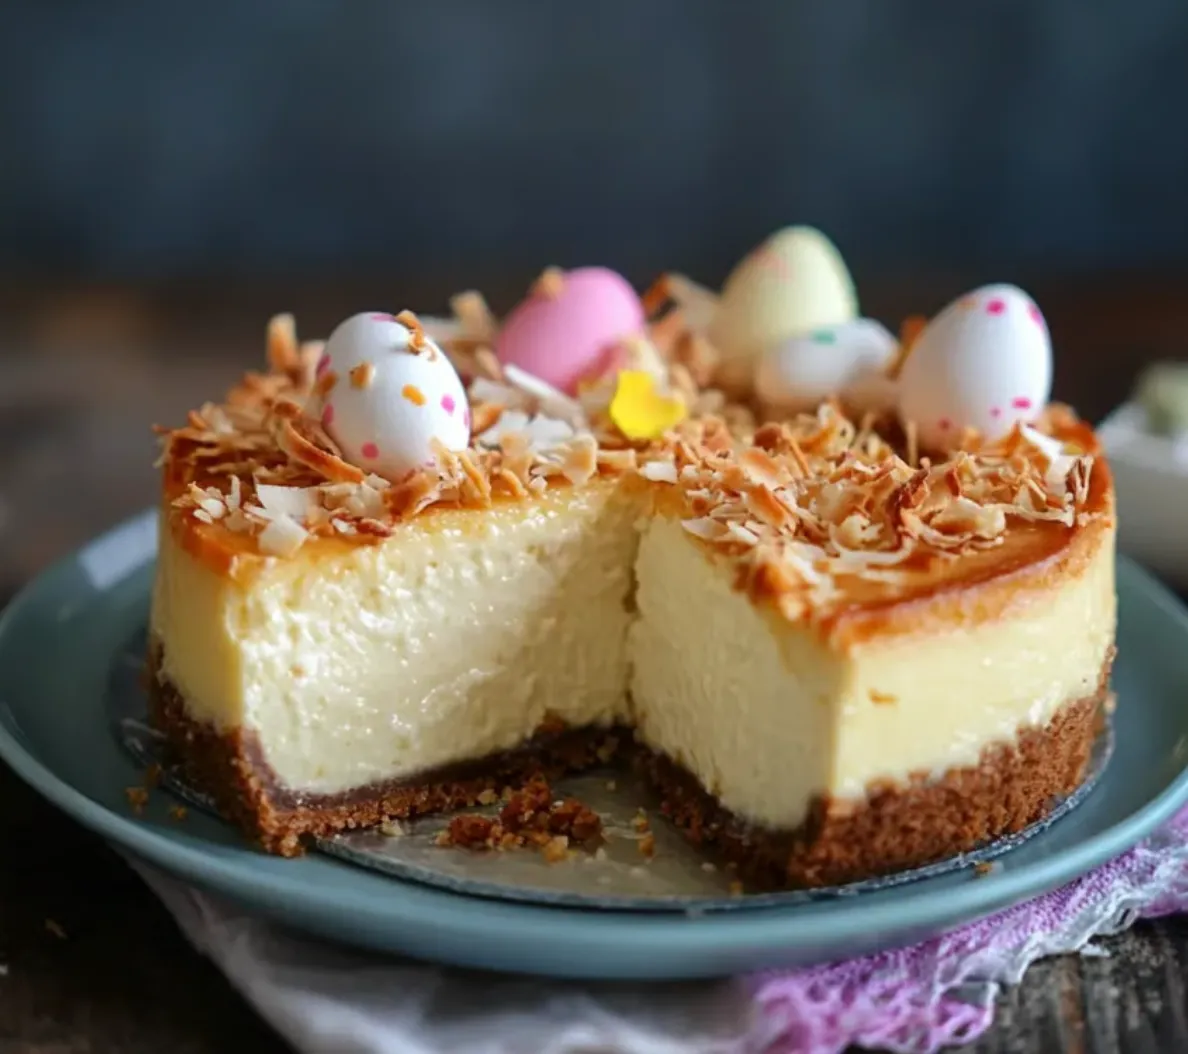
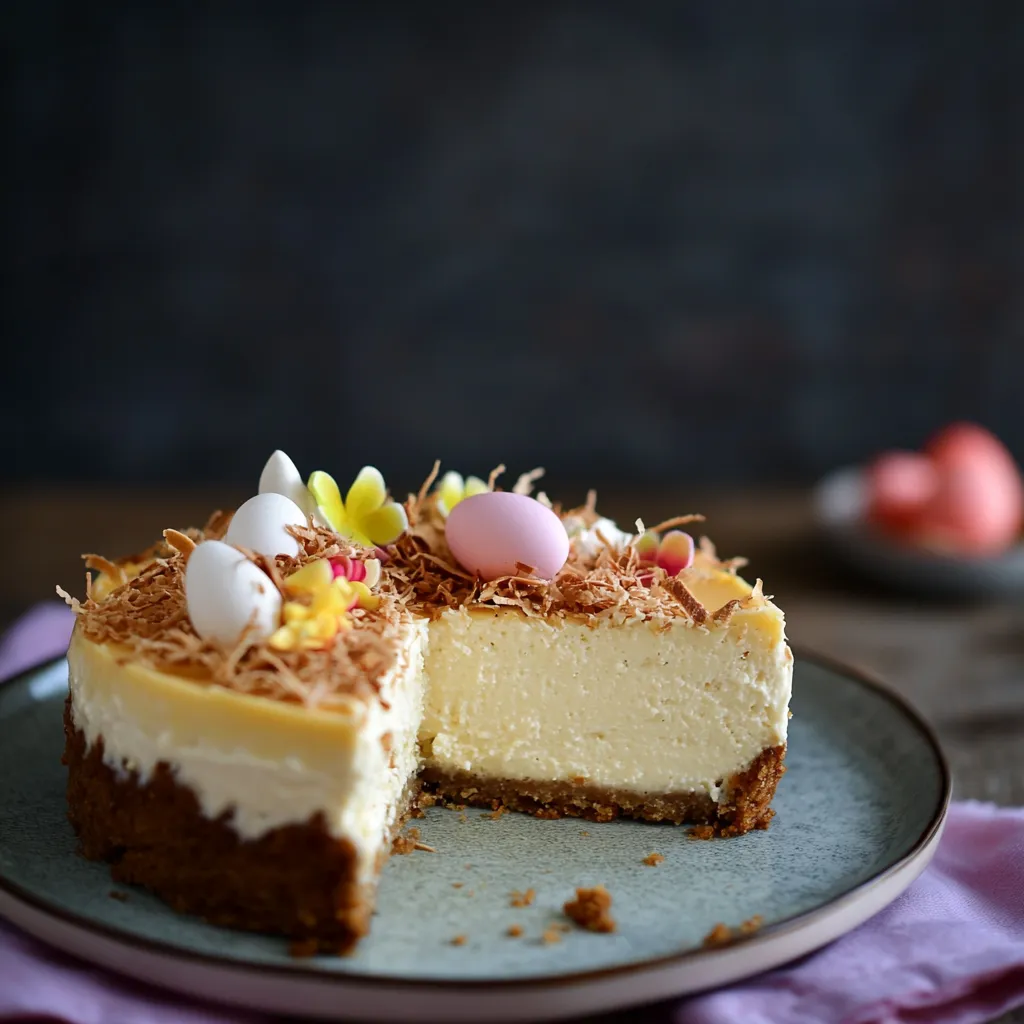
My family can't get enough of this indulgent Easter Egg Coconut Cheesecake. It's become our must-have spring tradition, blending smooth creamy cheesecake with sweet coconut hints and eye-catching Easter decorations that'll wow everyone at your springtime dessert spread.
I whipped this up three Easters back when I wanted something extra special for our family get-together. The mix of coconut flavors with those cute chocolate eggs was such a success that my sister now begs for it year-round, not just during spring holidays.
Ingredients
- Graham crackers: They create that wonderful crunchy foundation that works so well with the smooth filling. Honey graham crackers give the tastiest results for this base.
- Butter: Go for unsalted so you control the saltiness yourself. Make sure it's totally melted to mix properly with the crumbs.
- Granulated sugar: Sweetens both the base and filling while helping everything set up nicely. Real cane sugar makes a difference in flavor.
- Cream cheese: This main player needs to be full-fat and completely softened to avoid any bumps. I find Philadelphia brand always makes my cheesecake turn out smoothest.
- Eggs: They help the cake hold together and add richness. Let them sit out until they're room temperature for better mixing.
- Sour cream: Brings that slight tang and silky feel we all want in good cheesecake. Don't go with low-fat here.
- Coconut extract: Gives that tropical taste throughout. Try to find real extract instead of fake stuff for better flavor.
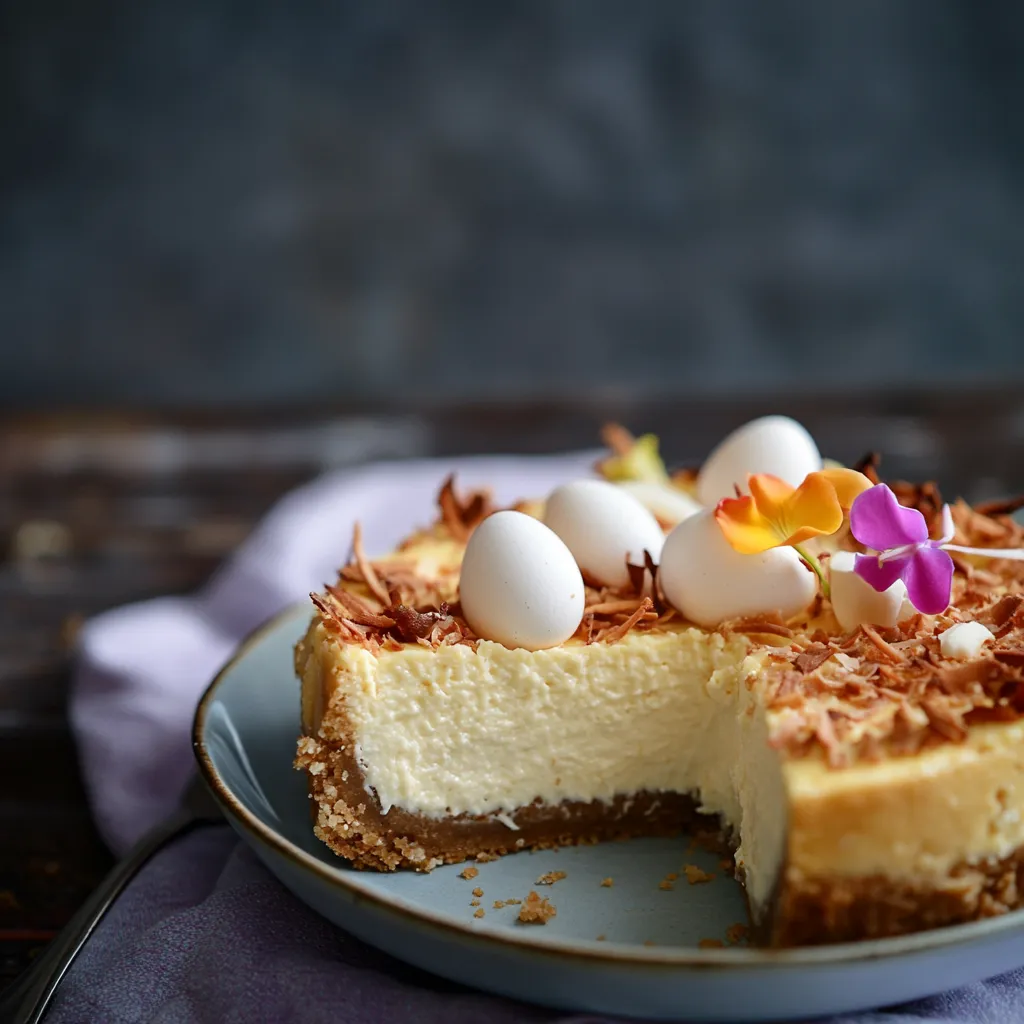
- Whipped topping: Makes pretty decorations on top. You can grab store-bought or whip your own cream with a bit of gelatin to help it stay firm.
- Toasted coconut: Adds a nice crunch and boosts the coconut flavor. Toast it at home for the best taste.
- Chocolate Cadbury mini eggs: These fun little candies make this dessert scream Easter. Their pretty colors and milk chocolate taste go perfectly with coconut.
Step-by-Step Instructions
 Pin it
- Get the crust ready:
- Snap the graham crackers into chunks before blending them to save your food processor some work. Blend until they look like fine sand for the best crust texture. When you mix in the butter and sugar, fold gently so everything gets coated without getting packed down too much.
- Build a solid foundation:
- When pushing the crumb mix into your pan, work from the middle outward using a flat-bottomed drinking glass with firm pressure. Try to keep the thickness the same everywhere for even baking. Popping the crust in the freezer while you make the filling helps it stay intact during baking.
- Blend the filling:
- Your cream cheese must sit out about 2 hours to get truly soft all the way through. Mix on medium instead of high speed to keep air bubbles out which helps prevent cracks. Always stop and scrape down the bowl between adding ingredients to catch any sneaky lumps that would ruin your smooth texture.
- Handle eggs carefully:
- Add eggs one by one with just enough mixing between each. Too much beating now pumps in air that can make your cheesecake fall later. The mix should look shiny and smooth after each egg goes in.
- Mix in final flavors:
- When you add sour cream and coconut extract, use a gentle folding motion with your mixer running slowly. This keeps that dense creaminess while making sure flavors spread evenly. Your finished batter should drip like a smooth ribbon when lifted with your spatula.
- Bake it right:
- Pour your batter into the cold crust slowly and steadily to avoid trapping air. Tap the pan gently on the counter to pop any bubbles. Bake on the middle rack where heat spreads most evenly. Start checking if it's done around 55 minutes.
- Cool it gradually:
- Cooling slowly stops the quick temperature drop that causes cracks. Let the cake cool in the turned-off oven with the door cracked open for the first half hour. Never rush cooling by sticking a warm cheesecake in the fridge.
- Add pretty toppings:
- Squeeze whipped topping with steady pressure for neat edges. Turn your cheesecake as you go for an even circle. Sprinkle the toasted coconut right away so it sticks to the whipped cream. Arrange the chocolate eggs in a nice pattern that looks good from all angles.
Coconut extract really makes all the difference in this cake. I stumbled on this trick while creating this cheesecake a few years back. My grandma always put a dash in her coconut cream pies, and that memory got me thinking about using it here instead of just counting on shredded coconut for all the flavor.
Make Ahead Instructions
This cheesecake gets even better after sitting awhile, which is great when you're busy planning holiday meals. You can bake it up to three days before you need it and keep it in the fridge. For the freshest look, wait to add the whipped topping, toasted coconut, and chocolate eggs until a few hours before serving. This keeps everything looking nice and the whipped topping stays fluffy. If you need to work even further ahead, you can freeze the plain cheesecake for up to a month if you wrap it well in plastic and foil.
Troubleshooting Tips
Getting cheesecake just right can be tricky, but here's how to fix common problems. If your cake cracks, don't worry too much since this recipe has toppings that will hide any flaws. For your next try, go easy on mixing the eggs to keep air out. Got a soggy crust? Next time brush some beaten egg white on the crumbs before baking to block moisture. If the middle seems too wobbly after baking, remember it keeps cooking as it cools. The center should wiggle slightly like Jello when it's done right.
Flavor Variations
This Easter version tastes amazing, but you can switch things up for other times of year. For summertime, swap out coconut extract for some lime zest and juice to make a tropical key lime version. Top it with fresh berries instead of Easter eggs. In autumn, try maple extract instead of coconut and finish with sugared pecans and a drizzle of caramel. Chocolate fans might add 1/4 cup cocoa to the filling and top with chocolate curls and chocolate-dipped strawberries. Each twist keeps that same creamy texture but brings seasonal flavors to match any occasion.
 Pin it
Each forkful of this cheesecake feels like you're enjoying something truly special—just what you need for your Easter gathering!
Frequently Asked Questions
- → Can this be baked without a flexipan?
Absolutely, a springform pan works too. Just use a water bath by wrapping the outside tightly in foil, placing it in a larger dish, and adding an inch of hot water while baking to stop cracks.
- → How early can I prepare it?
You can prepare it 2-3 days beforehand. Keep it chilled and covered in the fridge without toppings. Add finishing touches like whipped cream, coconut, and eggs right before you serve.
- → Is there a substitute for coconut extract?
Absolutely, swap it with vanilla extract if coconut isn't handy. The flavor won't be as strong, but adding coconut cream instead of some sour cream can bring a nice coconut taste naturally.
- → How do I check if it’s baked completely?
It’s ready when the edges are firm, but the center still wiggles just a little when shaken. Cooling will firm it entirely. Avoid overbaking, as that can dry it out or cause cracks.
- → What’s the easiest way to toast the coconut?
Spread shredded coconut on a sheet pan and place in a 325°F oven. Bake for 5-10 minutes, stirring occasionally, until it’s golden. Keep an eye out—coconut browns super fast! Cool before using.
- → Can I freeze leftovers?
Cheesecake freezes great! Slice it up and freeze individual pieces on a baking tray. Once frozen, wrap each slice with plastic wrap, then store in an airtight container for up to a month. Let thaw in the fridge overnight to serve.