
 Pin it
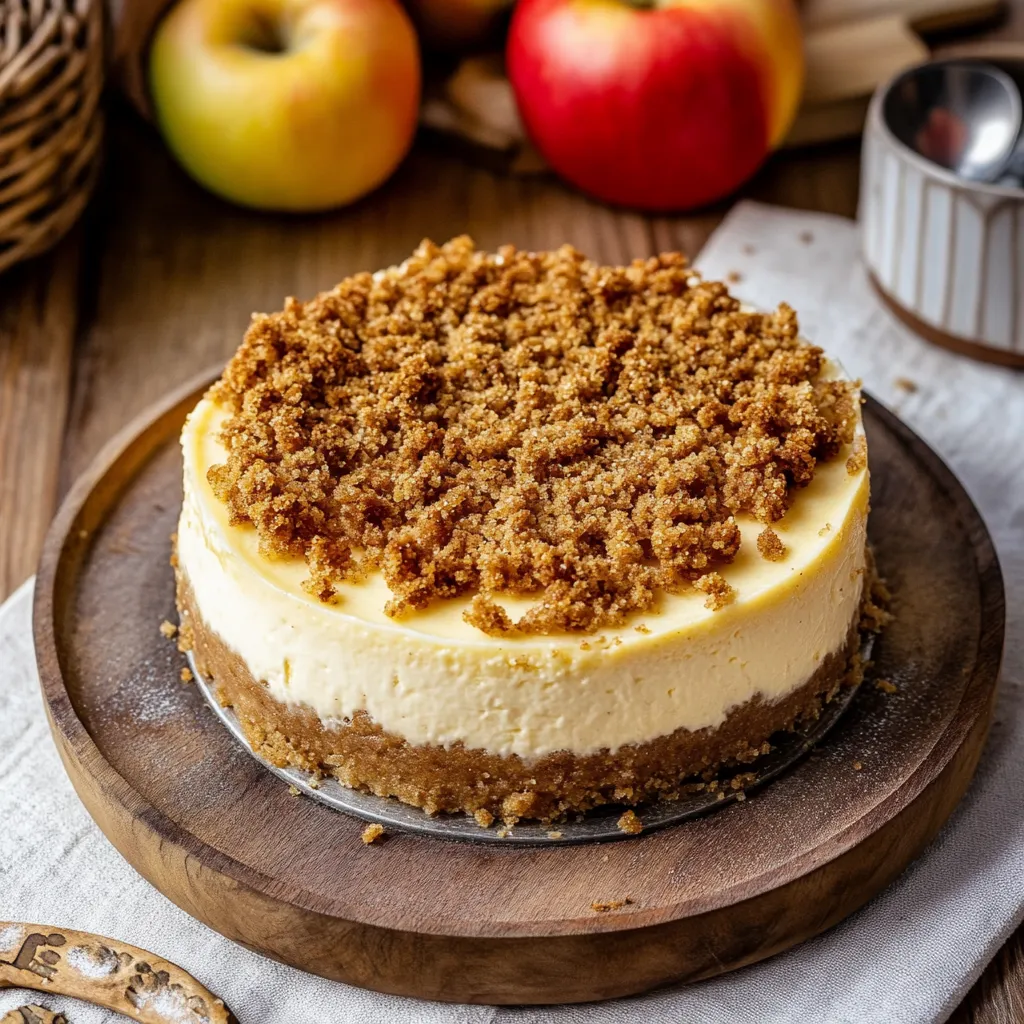
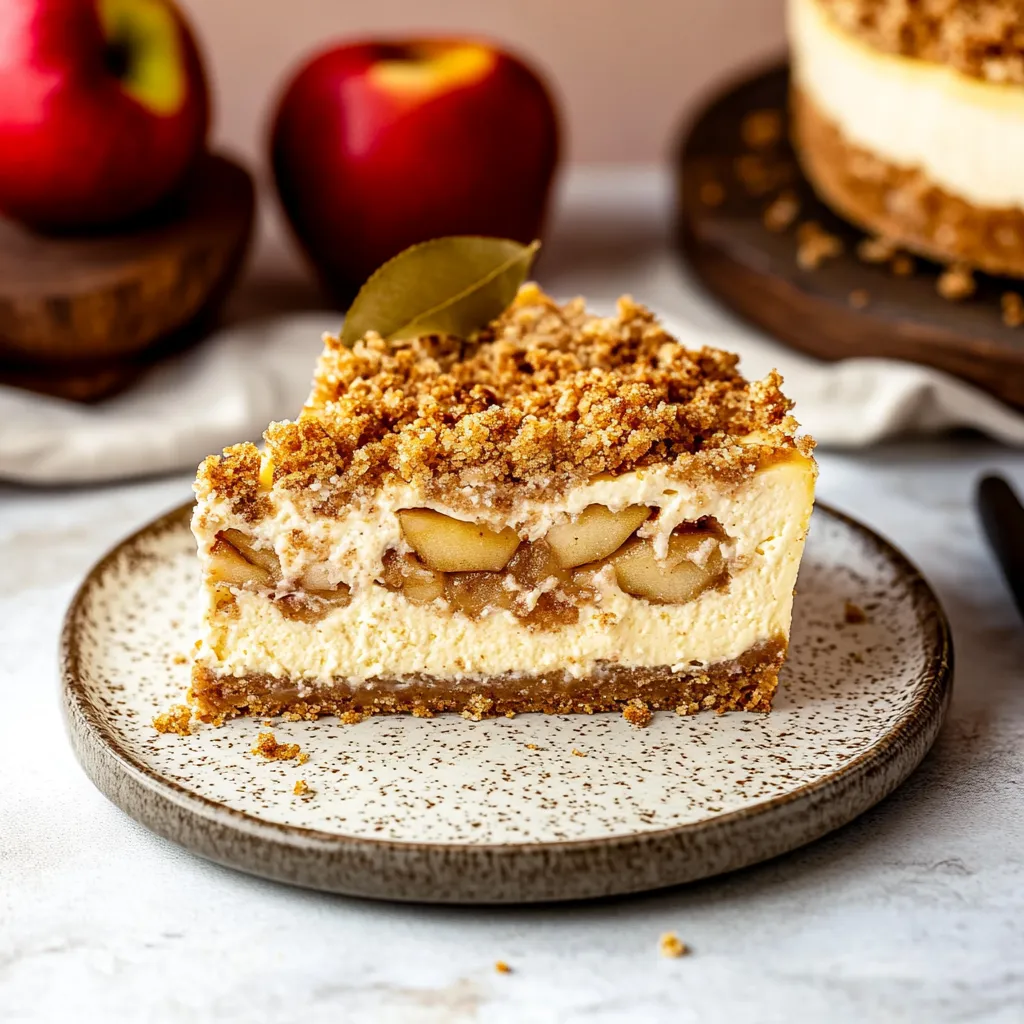
This delectable apple crumble cheesecake brings together cozy apple crumble vibes with smooth, creamy cheesecake for the ultimate autumn treat. The combo of crisp graham base, velvety cheesecake middle, and spicy apple topping creates an amazing mix of textures and tastes you just can't turn down.
I whipped this up for my family's Thanksgiving once, and everyone kept grabbing "just another tiny slice" to figure out if it was more cheesecake or apple crumble. Now they ask for it at every single holiday dinner we have.
Ingredients
- Graham Cracker Crust: Crushed graham crackers make a tasty, sweet base that holds everything together
- Brown sugar: Gives that rich, molasses-like sweetness that works so well with the apple flavors
- Unsalted butter: Keeps everything stuck together and adds a nice richness - try fancy European butter for extra flavor
- Apple Crumble Topping: Fresh apples add juicy sweetness and bite - go for crunchy types like Granny Smith or Honeycrisp
- All-purpose flour: Makes that perfect crumbly consistency we all love
- Brown sugar: Turns all gooey and wonderful while baking
- Cinnamon: Adds that warm, spicy kick that makes apple treats so good - Ceylon cinnamon works great for extra flavor depth
- Unsalted butter: Make sure it's soft so it mixes in nicely with your crumble mix
- Cheesecake Batter: Cream cheese is the star of your cheesecake - let it soften fully for the creamiest result
- Brown and granulated sugars: Work together to offset the tangy cream cheese
- Sour cream: Keeps everything moist and adds a nice zingy kick to boost the cheesecake flavor
- Applesauce: Adds apple goodness throughout the whole filling
- Eggs and egg yolk: Give your batter structure and make everything super rich
- Vanilla extract: Ties all the flavors together - real vanilla works best
- Salt: Brings out the best in every other ingredient
- Cinnamon: Connects all the apple elements with warm spiciness
Step-by-Step Instructions
- Prepare the Crust:
- Crush your graham crackers until you've got really fine crumbs with no big pieces left. This makes your crust nice and even. Mix the brown sugar in really well. Pour your melted butter in and mix until every bit is damp and looks like wet sand. Push this mix firmly into your lined pan, making an even layer on the bottom and a bit up the sides. Bake it until you can smell it and the edges get a bit darker.
- Make the Crumble Topping:
- Cut your peeled apples into tiny cubes about 1/4 inch big so they cook evenly and mix well with the crumble. Mix the flour, brown sugar, and cinnamon together really well. Add your soft butter and use a fork to mix it in until you've got little pebble-sized bits with no dry flour left. Mix half of this stuff with your chopped apples so they don't make your cheesecake too soggy.
- Create the Cheesecake Batter:
- Beat your cream cheese until it's totally smooth with no lumps at all for the silkiest texture. Add both kinds of sugar and keep beating until it looks lighter. Mix in sour cream and applesauce completely, making sure to scrape the bowl a few times so everything's mixed well. Add eggs one by one, mixing just until they disappear so you don't get too much air in there. Lastly, mix in vanilla, salt, and cinnamon just enough to blend everything for perfect flavor.
- Layer the Components:
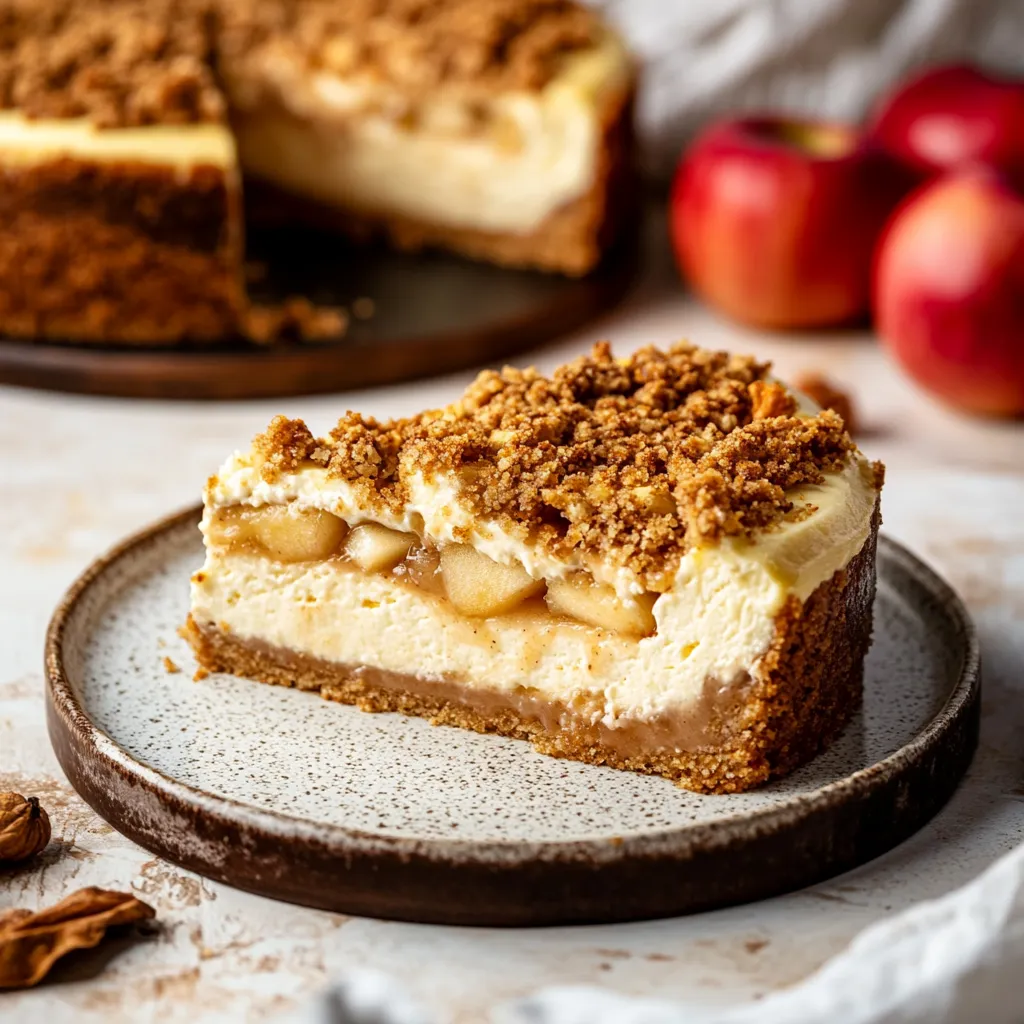
- Pour half your smooth cheesecake mix over the crust, spreading it out evenly. Scatter half the apple mixture across this first layer without messing up the batter too much. Pour the rest of your cheesecake batter on top, covering all the apples. Add the rest of the apple mixture on top, spreading it all the way to the edges. Finish by sprinkling the leftover crumble mix over everything for a pretty textured top.
- Water Bath Baking:
- Wrap your springform pan with lots of heavy-duty foil so water can't get in anywhere. Put the wrapped pan in a bigger roasting pan and pour hot water around it, filling about halfway up the sides. Carefully put this whole setup in your hot oven without spilling. Bake until the edges are firm but the middle still jiggles a little when you shake it gently. Turn the oven off and let your cheesecake cool inside for an hour to stop cracks from forming.
 Pin it
That applesauce in the cheesecake mix is my little secret trick. My grandma showed me this when I first started baking. She always told me it adds moisture and puts apple flavor in every single bite, not just the topping. When I take a bite and close my eyes, I can almost hear her reminding me to wait for it to cool all the way.
Perfecting Your Cheesecake
Getting all your stuff to room temperature before mixing is super important for smooth cheesecake. Cold cream cheese never mixes right and leaves lumps. Take your dairy stuff out at least two hours before you start baking. If you're in a rush, cut the cream cheese into small chunks to warm it up faster.
Make Ahead and Storage
This cheesecake actually gets tastier after sitting in the fridge for a while. I suggest making it at least a day before you want to serve it. The flavors come together amazingly and the texture gets even creamier. Once it's fully cold, it'll stay good in the fridge for about 5 days if you cover it with plastic wrap or put it in a sealed container. Want to keep it longer? You can freeze individual pieces wrapped tight in plastic and foil for up to 3 months.
Seasonal Variations
This recipe works great with regular apples, but you can switch things up depending on the time of year. In summer, try using fresh peaches or berries instead. During winter, pears cooked in spiced wine taste amazing as a fancy twist. The basic cheesecake part stays the same, so you can play around with different fruits and spices. Just remember that juicier fruits might need extra flour in the crumble to soak up the extra moisture.
 Pin it
Try this amazing dessert that gives you the best of both dessert worlds. It'll definitely become a family favorite at your house.
Frequently Asked Questions
- → Can I try a smaller or larger pan?
Sure thing! Go for either an 8" or 9" springform pan. With an 8" pan, double-check it’s deep enough for all the layers. A 9" one works too but might bake up thinner and need less cooking—start checking around 55 minutes in.
- → Which apple types should I choose?
Stick to firmer, tangy options like Granny Smith, Honeycrisp, or Braeburn. They won’t go mushy and balance the sweetness nicely. Softer varieties tend to get too soft during baking.
- → What good does the water bath do?
It keeps things humid and ensures gentle, even heat, which means your cheesecake is way less likely to crack and bakes evenly. Don’t skip this bit if you want a perfectly smooth texture.
- → Can this dessert be made early?
You bet! It tastes even better a day or two later as the flavors come together. Store it chilled for 1-3 days or freeze it for up to 2 months if wrapped up well.
- → Tips to stop water from leaking in?
Wrap the pan snugly in a few layers of thick foil for the best seal. A bonus tip: drop the springform into a slightly bigger cake pan before putting it into the water for extra peace of mind.
- → How do I know when it’s ready?
When the sides are firm but the center still jiggles a little, it’s good to go. Think of the wobble like Jell-O—it’ll firm up as it cools. Don’t bake until fully set, or it could dry out.