
 Pin it
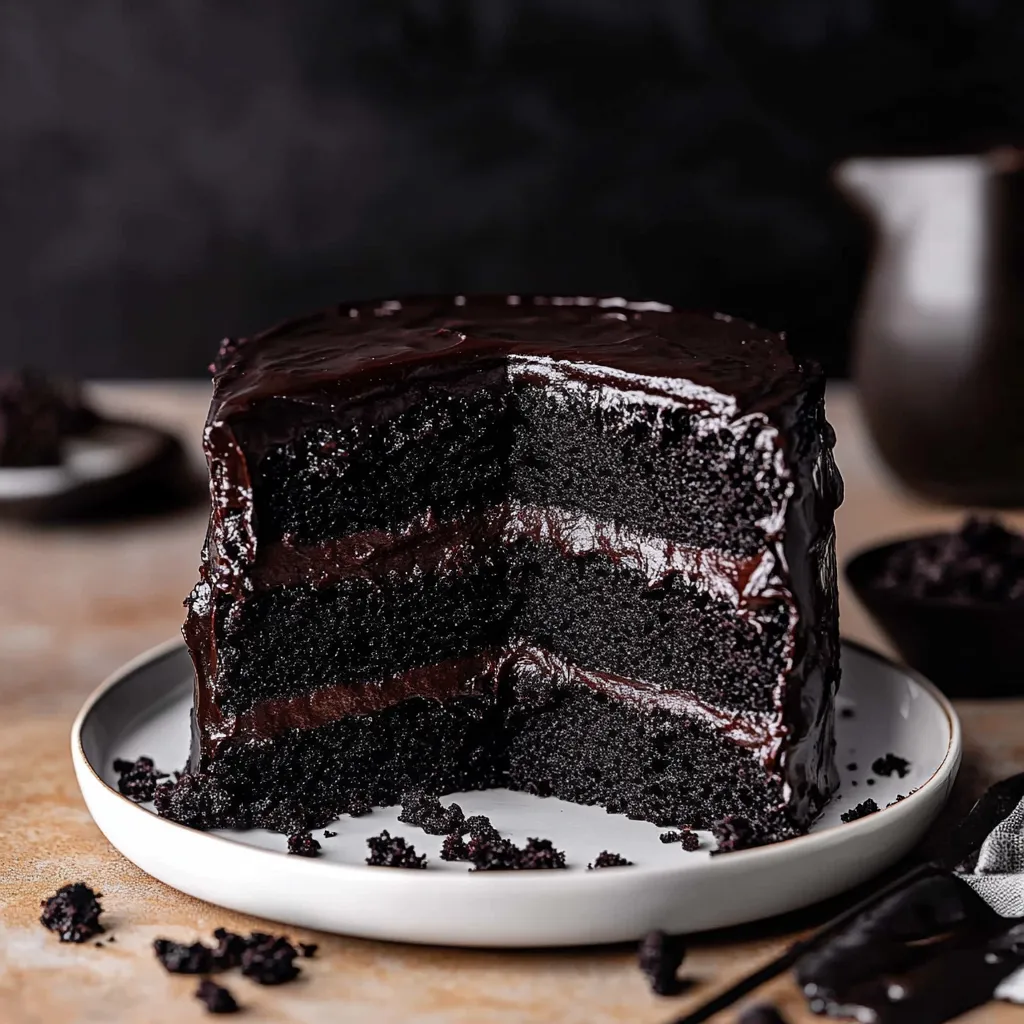
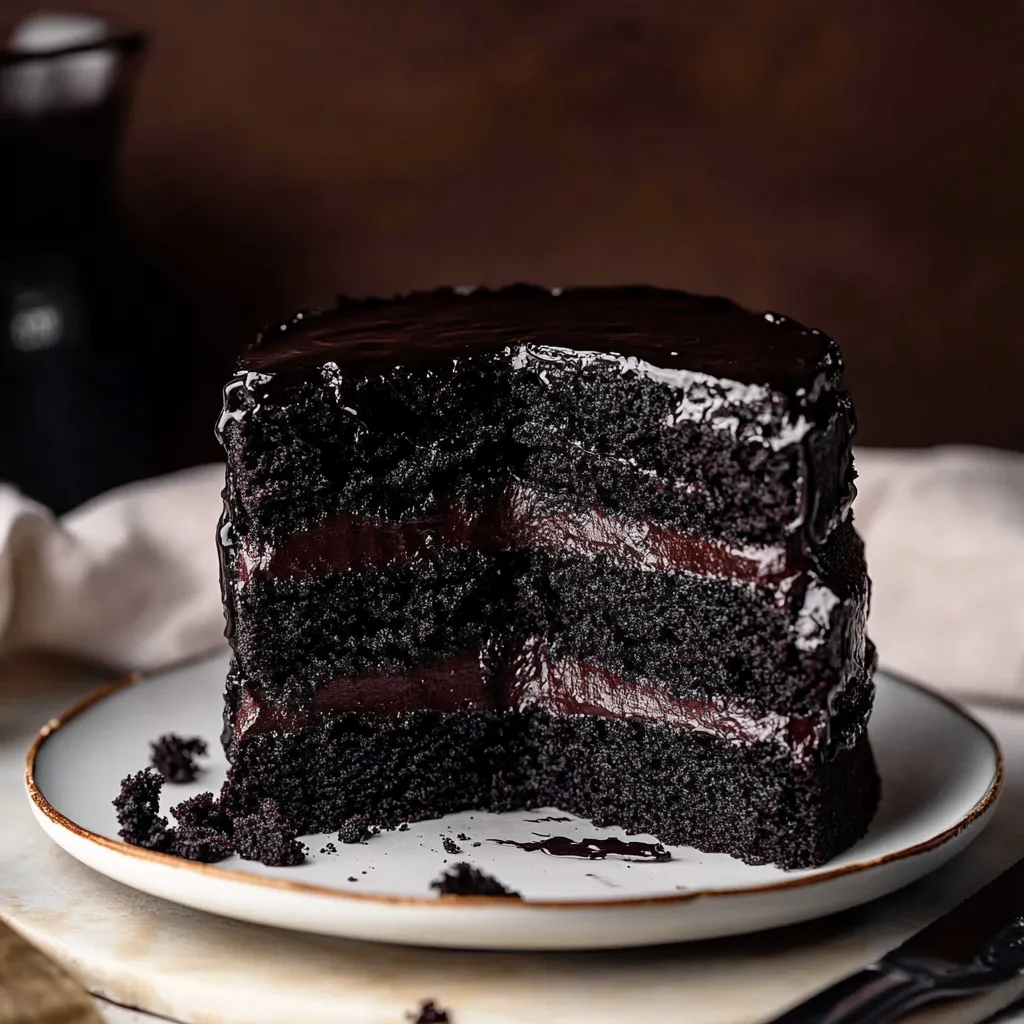
This black velvet cake will blow away any chocolate fan with its deep, rich taste and velvety frosting that looks so fancy your friends will think you got it from a bakery.
I came up with this cake for my hubby's birthday when he asked for something "really chocolatey." Now it's been our go-to celebration cake for three years, and friends always ask for it when they come over.
Ingredients
- Black cocoa powder: Creates that wow-factor dark color and flavor without any artificial dyes
- Dutch processed cocoa powder: Works with the black cocoa to give the perfect rich taste
- Buttermilk: Keeps the cake layers soft and moist for several days
- Hot coffee: Brings out more chocolate flavor but doesn't make it taste like coffee
- Heavy cream: Gives the frosting that dreamy, easy-to-spread texture
- Sea salt: Cuts the sweetness and makes the chocolate taste even better
Step-by-Step Instructions
- Prepare the Frosting First:
- Melt butter with salt until it's all liquid. Add heavy cream and sugar while stirring, and heat it gently for about 7-8 minutes until it almost bubbles. Throw in chocolate chips and stir until they completely melt away. This mix forms the base of your smooth frosting.
- Create the Black Frosting:
- Put both sifted cocoa powders in your mixer bowl. Slowly pour in the warm chocolate mixture while mixing on low. Scrape the bowl and mix 2-3 minutes until it's completely smooth. Add vanilla, then put it in the fridge for at least 4-6 hours or better yet, overnight. This waiting time is super important for getting the texture just right.
- Prepare Your Pans:
- Put parchment paper circles in the bottom of three 6 inch cake pans. Heat your oven to 350°F/180°C. The parchment helps the delicate cakes come out easily.
- Mix Dry Ingredients:
- Stir flour, baking soda, and salt together in a bowl until mixed well. Setting this aside helps spread the leavening stuff evenly before adding wet ingredients.
- Mix Wet Ingredients:
- In a big bowl, mix oil and sugar until combined. Oil makes the cake more tender than butter would. Add buttermilk, eggs, and vanilla, mixing until everything looks the same. Slowly add the dry ingredients, stirring until smooth but don't mix too much.
- Create Black Cocoa Mixture:
- Mix hot coffee and black cocoa powder until there aren't any lumps. The heat brings out the cocoa flavor. Gently fold this into the cake batter. The batter will be pretty thin but super dark.
- Bake the Layers:
- Split the batter evenly between your pans, using a scale if you can for layers that match. Each pan should get about 395 grams of batter. Bake for 25-35 minutes until a toothpick stuck in comes out with just a few crumbs. Let them cool on racks before taking them out.
- Prepare Frosting for Assembly:
- Let the cold frosting sit out for about an hour. Mix it briefly for 30-60 seconds just to make it easy to spread. Don't mix too much or it'll get lighter in color.
- Assemble the Cake:
- Put the first layer on your serving plate and add a layer of black frosting on top. Keep adding cake and frosting, putting the last layer upside down for a flat top. Chill the cake for 30-60 minutes until the frosting gets firm.
- Final Frosting and Decoration:
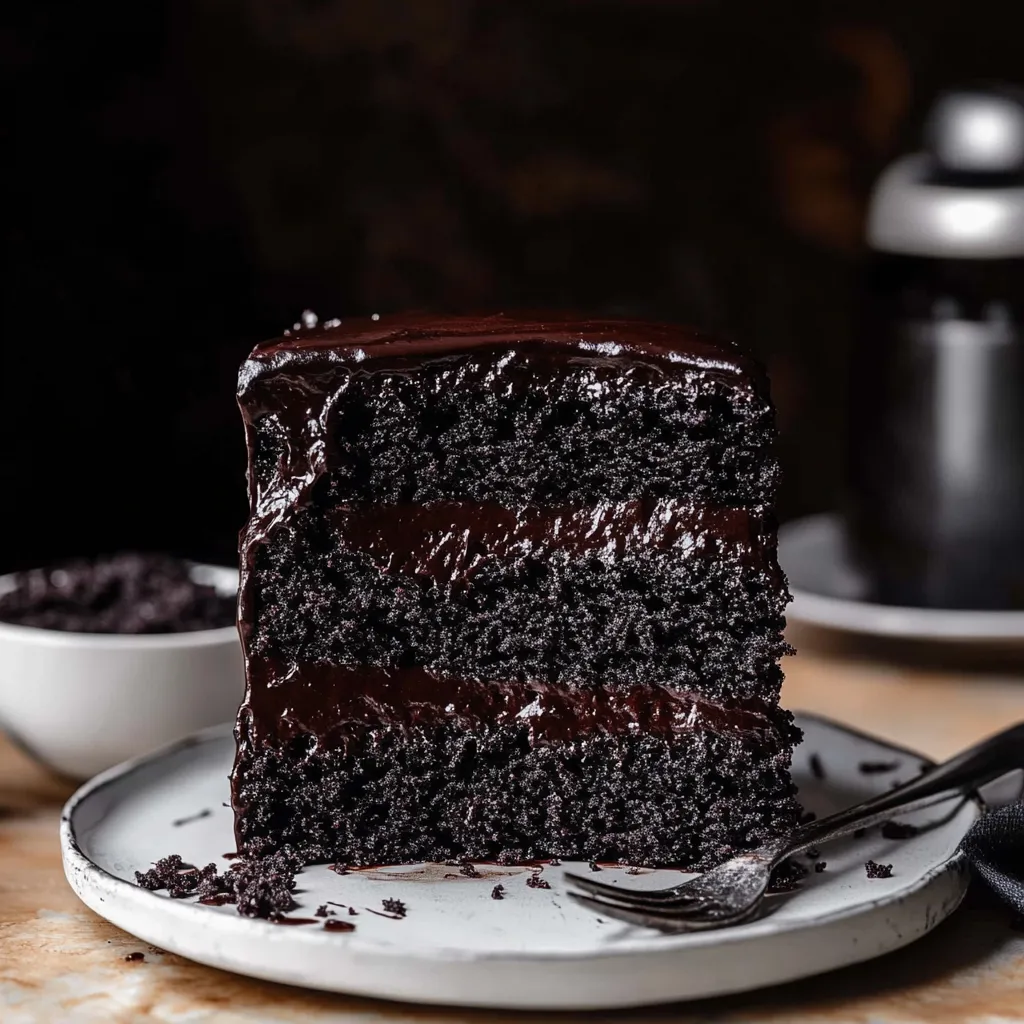
- Cover the whole cake with the rest of the frosting, using a spoon to make pretty swoops. This rustic look catches the light nicely and hides any mistakes.
 Pin it
This cake makes me think of my grandma who always told me that good desserts need contrast. The super dark outside next to the soft inside always gets a wow when I cut into it at parties.
Make Ahead Options
You can make the cake layers up to 2 days before and wrap them tight in plastic wrap at room temp. If you need longer, freeze the cooled layers wrapped in plastic and then foil for up to 2 months. The frosting can be made 3 days ahead and kept in the fridge. The whole cake actually tastes better the next day after the flavors mix together more.
What Makes Black Cocoa Special
Black cocoa goes through more processing than regular Dutch cocoa, taking out almost all the acid and making that special color. It's the same stuff they use in Oreo cookies, which is why many people feel a bit nostalgic when they taste this cake. While it looks super dark, black cocoa is actually milder than regular cocoa, so we mix it with Dutch processed cocoa for better flavor.
Serving Suggestions
Fresh berries like raspberries or strawberries look amazing against the dark cake. Vanilla ice cream makes a pretty black and white combo. For a fancy touch, try having it with a small glass of Cabernet Sauvignon, as the fruity wine goes great with dark chocolate.
 Pin it
Have fun with this super chocolatey black velvet cake that always impresses people with both its looks and taste!
Frequently Asked Questions
- → What makes this cake different from regular chocolate cake?
This cake adds black cocoa on top of Dutch-processed cocoa, giving you a much darker color and stronger chocolate taste than normal chocolate cakes. This mix creates that special 'velvet' feel and a deeper, more interesting flavor profile.
- → Can I substitute the black cocoa powder?
If you can't find black cocoa powder, you can use more Dutch-processed cocoa instead. Your cake won't be as dark and will taste a bit different, but it'll still turn out yummy. Try to get dark cocoa powder for the closest match.
- → Why does the frosting need to chill for so long?
The frosting needs to sit in the fridge for 4-6 hours because it's basically ganache that must set properly. This cooling time lets the fats firm up, so your frosting will keep its shape when you spread it and will feel super smooth when it comes back to room temp.
- → What's the purpose of hot coffee in the cake batter?
Hot coffee does several things: it wakes up the cocoa flavor, adds moisture to your cake, and the gentle coffee notes make the chocolate taste even better without making the cake taste like coffee. You can use hot water if you don't want coffee.
- → Can this cake be made in advance?
You bet! This cake stays fresh in the fridge for 4-5 days after you put it together. If you want to keep it longer, wrap single slices in plastic, put them in airtight containers, and freeze them for up to a month. That makes it great for planning ahead for parties.
- → Why should I avoid over-mixing the ganache frosting?
Don't mix the ganache frosting too much or you'll get too much air in it, making it lighter colored and less dramatic-looking. Just mix for 30-60 seconds so it's easy to spread but still keeps its rich, dark color and thick texture.