
 Pin it
Honey babka from Ukraine means a lot to me. It brings back memories of laughter and family time, with our kitchen always smelling delicious from sweet honey and warm spices. This classic treat comes out soft and airy, never dry or heavy, making every bite light and satisfying. People often bake it around Easter using fancy pans, but honestly, you can just make it in a regular pan and enjoy it whenever you want.
The first time I gave this a go was on a chilly night when I needed comfort food. Blending pantry basics into something totally special hooked me right away. The second that honey scent drifted out of the oven, my whole crew crowded into the kitchen to see what I was making.
Fantastic Ingredients
- Honey: Pick pure, fresh honey for true, rich flavor that really matters here
- Sour cream: Makes it soft and keeps things moist, plus adds a little tang to balance the sweet
- Eggs: Room-temp eggs whip up high and fluffy, giving you that signature lift
- Vinegar: Teams up with baking soda to get the cake nice and airy, thanks to their fizz
When I go shopping, I always hunt down raw, unfiltered honey—it's got way more character. One time, I grabbed a jar of wildflower honey from a local farmer, and man, that took it to a new level. You honestly can taste the difference compared to those basic supermarket bottles.
 Pin it
Babka Making Steps
- Cooling method:
- After baking, flip onto a rack first, then go to a cutting board—this helps stop it from getting soggy while cooling down.
- Time to bake:
- Carefully spread the batter in your lined pan, keeping it light so those air pockets stick around. Peek as it cooks and look for golden sides just beginning to pull away.
- Adding flour:
- Sift in flour slowly on low speed and stop as soon as it looks mixed. The batter should still seem a little runny with some bubbles.
- Gentle mixing:
- Pour in the vinegar mix, warm honey, and sour cream, then stir just until they’re combined. Don’t stir too much—light hands keep it airy.
- Honey step:
- Mildly warm the honey to make it flow smoother and blend easier without a lot of stirring.
- Fizz action:
- Stir together baking soda and vinegar in a separate bowl—you’ll see it fizzing up, which is perfect for getting this cake to rise.
- Getting the batter ready:
- Beat eggs with sugar and a pinch of salt until it looks pale and fluffy. This pumps lots of air in for max fluffiness.
- Prepping the pan:
- Turn on your oven first so the temp’s ready. Lay parchment paper in your tray, letting it hang over the sides for an easy lift later.
My grandma showed me this when I was still a kid, barely able to see over the counter. She always said don’t rush—just fold the flour gently to keep all those little air pockets. I still hear her reminding me to go slow every time I make it, especially when adding the last bit of flour.
A Look Back
Folks have been baking Ukrainian babka for hundreds of years, blending practical know-how with big celebrations. Long ago, honey was precious, so making this was a treat and a good luck charm for the family. The word ‘babka’ is another way of honoring grandmas, who guarded their best baking secrets and made sure to pass them on.
Healthy Upside
Honey’s natural sugars give energy that lasts longer than plain old white sugar. Eggs are loaded with protein and goodies like choline, which is super for your brain. Baking this old-school way, without a bunch of shortcuts or processing, keeps a lot more of the good stuff in than most treats at the store these days.
Handy Tricks
Let all your cold items warm up before you even start mixing—makes them blend better and fluff up. Listen up: You’ll hear your mixer sound different when eggs and sugar are just right, sort of silky and thick. For checking if it’s baked, watch for those nice golden edges plus the classic toothpick test.
 Pin it
Wrapping up, this old-fashioned Ukrainian honey babka proves you can hit big flavors with the simplest moves. The way it’s soft, tender, and sweet, but not heavy, always surprises people. Whether it’s a quick snack or the star at your next get-together, making it connects you to Ukrainian home bakers who knew how to turn plain ingredients into something unforgettable. I feel like I’m bringing a bit of that heritage into my kitchen each time I bake it and share it with the folks I care about.
Frequently Asked Questions
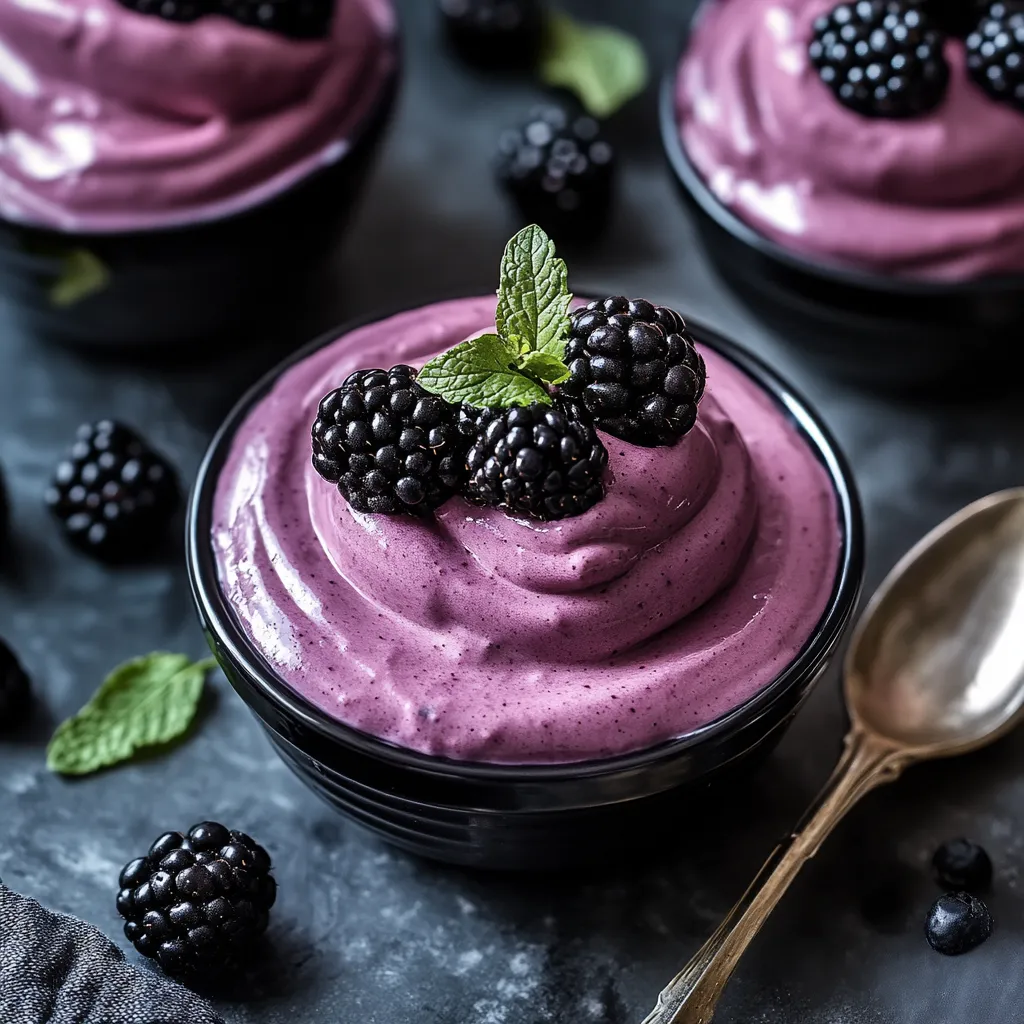
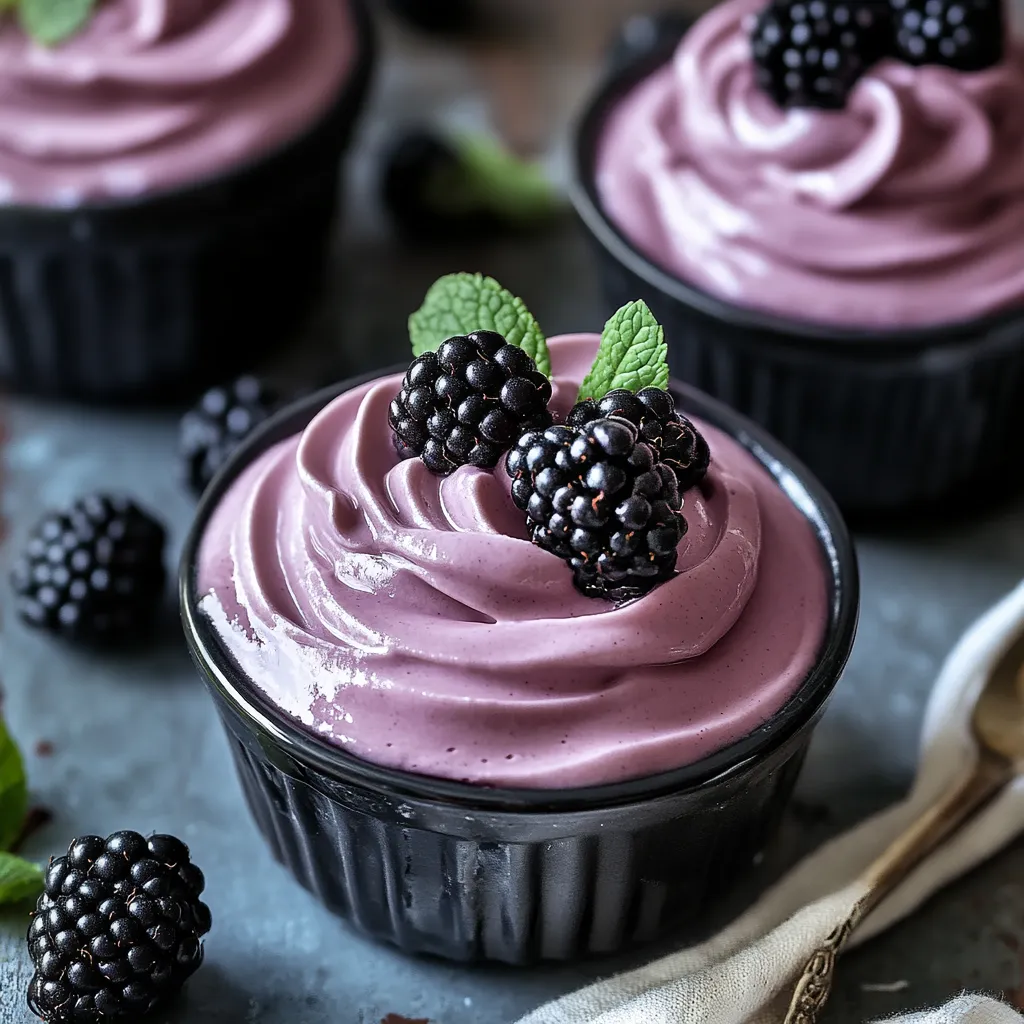
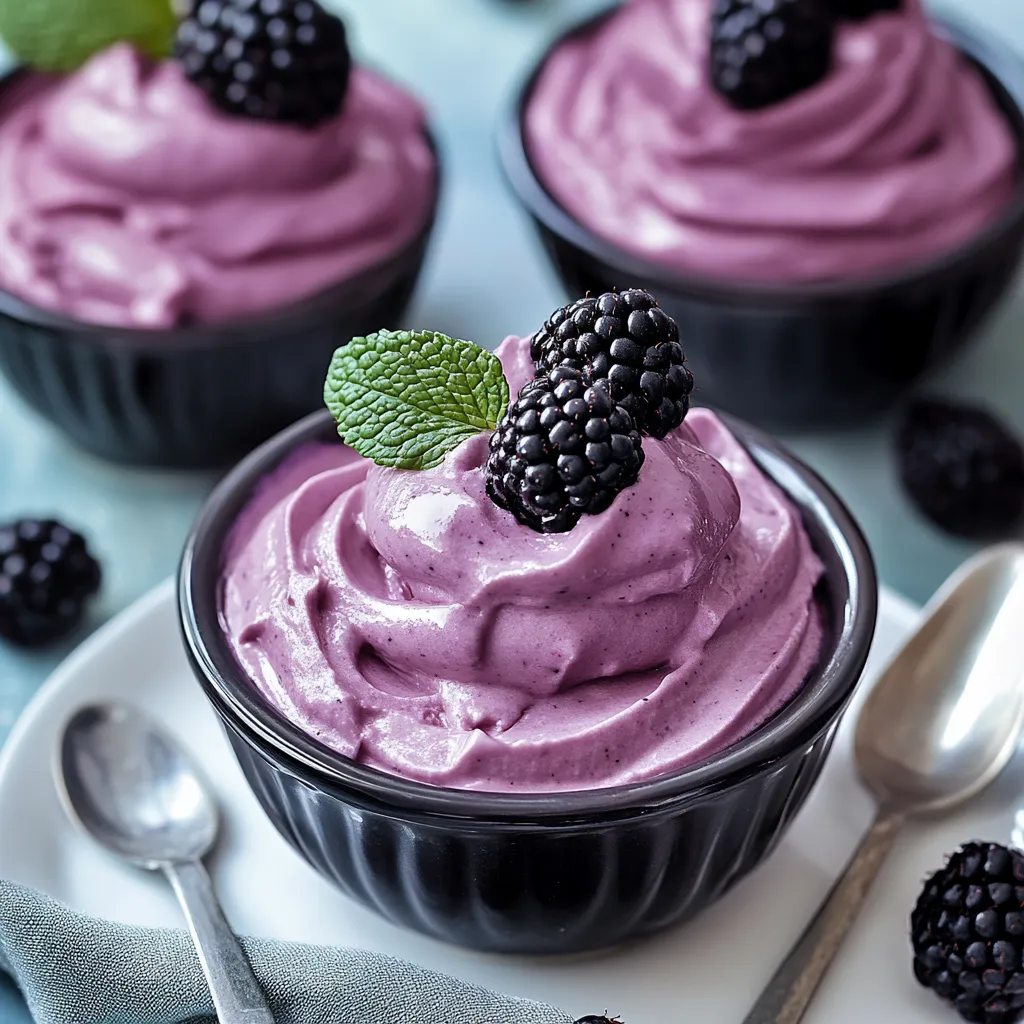
- → Is it cool to swap frozen blackberries for fresh ones?
- Totally! Just let your frozen berries fully thaw and strain off that extra juice. They'll be softer, so they'll probably cook a bit faster than fresh ones. You'll get all the berry goodness no matter what time of year.
- → Why bother straining out the seeds from the blackberry mix?
- If you skip straining, you'll get a gritty bite from those big, tough seeds. Straining makes your fluff way smoother. It also gives you a lovely, even color that's way more appealing.
- → Will this hold up if I prep it ahead of time?
- Yep—this fluff is made to hang in the fridge a few days before your party. It actually gets better as it chills. Leave your fresh toppers till the end and you're set to impress.
- → Why did my fluff turn out runny?
- If it's not firm, maybe the cream needed to be whipped stiffer before you mixed in fruit. Or, if you rushed and poured in warm blackberry mix, it probably melted the fluff. Let everything cool off first! Sometimes letting it sit in the fridge longer can save it, too.
- → Can I mix up the berries for this?
- You bet! Raspberries swap right in without changes. For strawberries or blueberries, you might need to bump the sugar since they're sweeter or less tart than blackberries. Or toss in a handful of each for a cool combo. Just cook and strain however you go.