
 Pin it
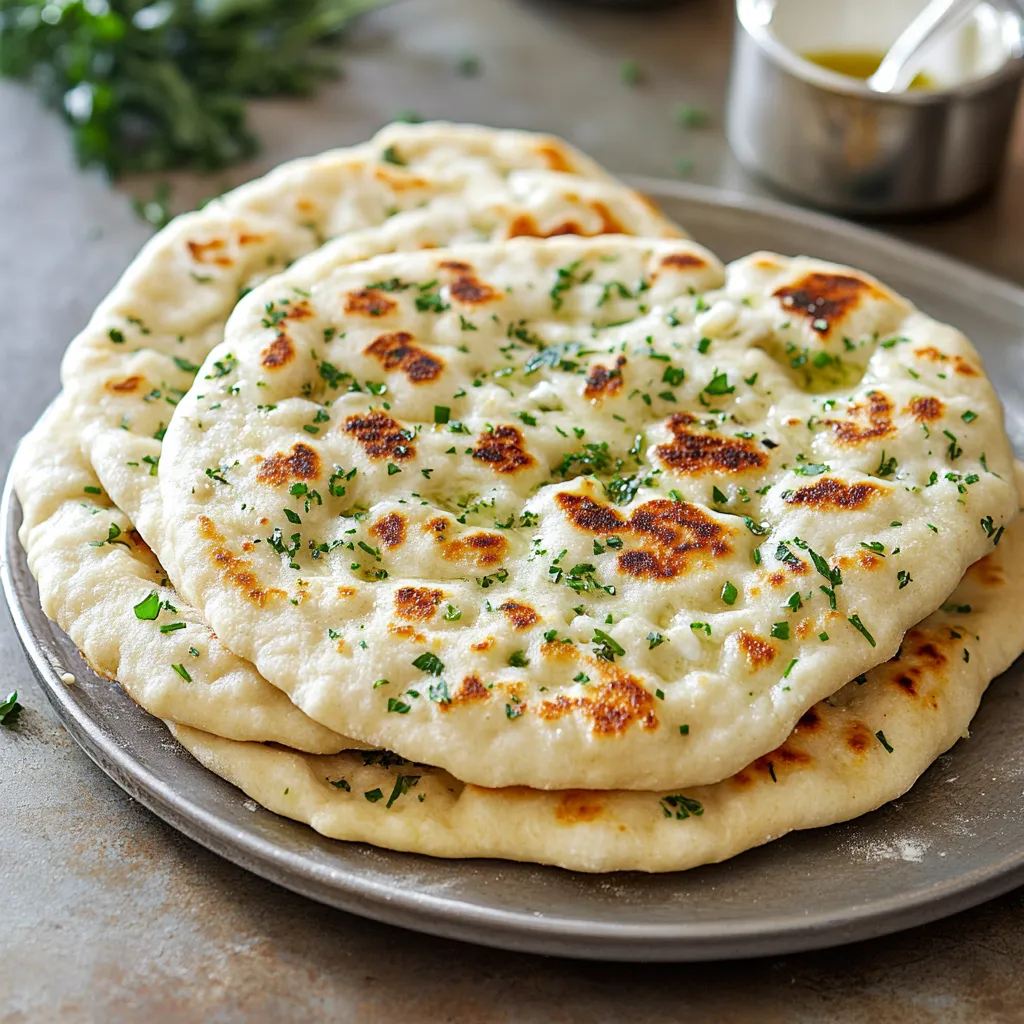
Herb and garlic flatbreads deliver that dreamy soft bite with the punch of fresh flavors—and they're dead simple to whip up in your own kitchen. You don't need fancy mixers or hours of waiting. These get their toasty edges from a quick skillet session, coming out golden and crisp on the outside and puffy in the middle, loaded with herbs and little pops of garlic. Skip all the hassle of typical yeast breads: you just mix up a few kitchen basics, and thanks to some yogurt in the dough, get a tangy, ultra-flexible bread that cooks in a flash. Tear into them warm with a drizzle of oil, serve right next to soup, or pile on your favorite toppings—however you eat 'em, you'll barely believe how easy they were to make.
I whipped these up at the last minute for an unexpected get-together after someone forgot to pick up bread. Folks were convinced these came straight from a fancy bakery and wouldn't believe I made them on my own in no time at all. Before dessert even hit the table, my neighbor was begging to know how I made them, and my brother-in-law—swears he hates anything with herbs—polished off three in a row.
Dreamy Ingredient Lineup
- Garlic: Makes sure you get those bold, savory hits all through each bite. Use fresh chopped garlic for way more flavor than the pre-cut kind.
- Fresh Herbs: Grab some parsley, chives, or dill for that pop of color and zing. Chop up whatever you have, whether from your garden or a trip to the store.
- Greek Yogurt: Gives your bread that super soft texture and just a hint of tang. Full-fat is extra rich but the low-fat stuff does fine too.
- All-Purpose Flour: Builds just the right amount of structure so your bread stays pillowy and not dense. Unbleached is best if you can find it—no need for anything special though.
- Olive Oil: Kicks in flavor and helps keep things from sticking. Splash in some extra virgin for that deeper taste that pairs so well with the herbs.
Confident Prep Moves
- Final Touch Magic:
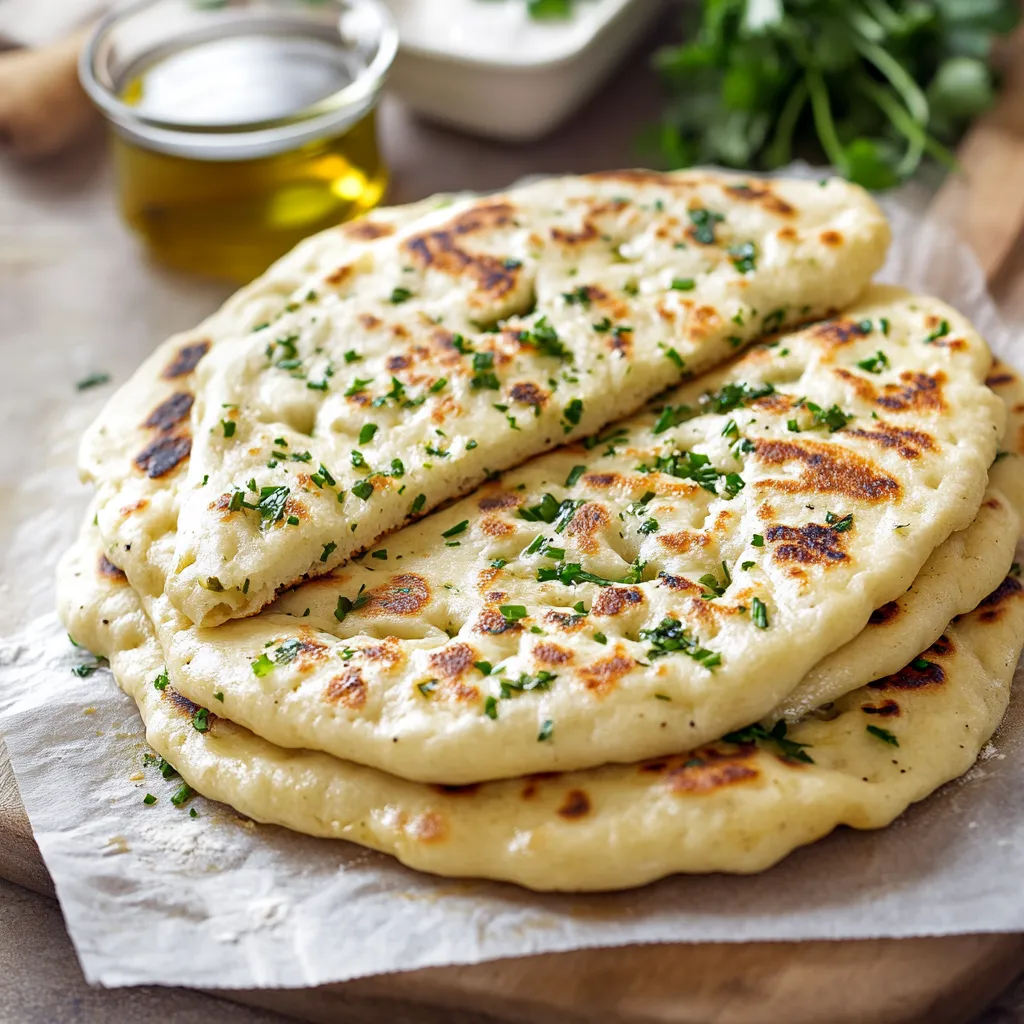
- As soon as a flatbread comes out of the pan, tuck it inside a clean towel so it stays warm and soft while you keep cooking the rest. For a flavor boost, brush on olive oil mixed with a bit more chopped garlic and some fresh herbs, maybe a sprinkle of flaky salt if you'd like. Stacking them this way lets the heat and steam keep your bread cozy till it's time to eat. Serve it all up in a basket lined with a cloth—they'll look as good as they taste!
- On-Skillet Know-How:
- Aim for a heavy pan or cast iron, set it over medium heat, and don't start until it's nice and hot (not smoking though). Rub a little good olive oil on one side of your dough, then lay it oil-side down in the hot pan. Once you see some bubbling and the bottom has good golden patches—usually about a minute and a half—brush the top with oil too, then flip it. Cook another minute or so until the other side's browned just right; turn the heat down if things get too dark. You'll see the bread puff in places, which means you nailed it.
- Dough Handling Tricks:
- After mixing, drop the dough onto a floured counter and cut it up into six even bits (a bench scraper or kitchen knife works great). Roll each into a smooth ball, squash gently to start, then use a floured rolling pin to make rustic, uneven circles about as thick as two quarters stacked up. Don't go paper-thin or they'll crisp like crackers. Five minutes of bench rest before cooking helps them chill out and cook softer.
- Getting the Dough Just Right:
- First, combine all your dry stuff—flour, baking powder, salt—in a big bowl. Stir in your herbs so they get dusted evenly. In another bowl, mix the yogurt with olive oil and fresh garlic till smooth. Pour the yogurt blend into a little well in your dry mix, stirring with a fork or spoon as you go. Gradually add room-temp water until the dough just comes together and isn't sticking to the sides, but is still kinda tacky.
 Pin it
My mom always told me to keep my hands off flatbread dough as much as possible. Back when I started baking, I'd knead the heck out of it thinking I was helping. But she showed me that leaving it mostly alone kept things tender, since gluten doesn't have to be built up like in other breads. This little lesson completely changed how soft and tasty my flatbreads turned out.
Tasty Serving Ideas
Level these up in all kinds of meals. Toss them on a board with spoonfuls of hummus, smoky eggplant dip, or muhammara for dipping and snacking. Roll up veggies, a bit of grilled chicken, or chickpeas for easy wraps. Go for a personal pizza vibe with pesto, fresh cheese, and tomatoes, then pop 'em under the broiler until they're melty. At breakfast, pair with thick yogurt, a drizzle of honey, berries, and some nuts for a sweet twist.
 Pin it
Keeping Leftovers Fresh
Let your flatbreads cool down all the way before packing them up. If you're storing at room temp (good for a couple days), wrap in a towel first, then seal in a bag. For four or five days in the fridge, put parchment between each one so they don't stick, then slide them in something airtight. To freeze, wrap each flatbread by itself in plastic, then foil, or use a freezer bag with parchment in between—good for about two months. Warm up cold or frozen flatbreads in a dry skillet or wrap in foil and bake for five to seven minutes at 350.
Frequently Asked Questions
- → Is it possible to prep these flatbreads the night before?
- Sure thing! You can chill the dough (covered) in the fridge for up to a day. Let it warm up for half an hour before shaping. Flatbreads taste best fresh, but store fine in a sealed container on the counter for two days. Quickly warm them in a dry pan or oven set to 300°F to freshen up before serving.
- → Can regular yogurt take the place of Greek yogurt?
- Greek yogurt works best since it's thick and tangy, but you can use plain yogurt—just strain it for about an hour with cheesecloth. In a pinch, sour cream does the trick (texture might shift a bit). Want it dairy free? Try thick coconut yogurt, though you might need a splash less water.
- → Any tips for gluten-free flatbreads?
- Absolutely—swap the all-purpose flour for your favorite gluten-free flour blend that’s got xanthan gum included. Gluten-free flour soaks up more moisture, so toss in a spoon or two extra yogurt if needed. Texture changes a little, but they're still awesome.
- → What do these flatbreads go well with?
- These guys are super versatile. Dunk them into hummus, baba ganoush, or tzatziki. Scoop up your favorite soup, stew, or curry. They also work as a pizza base, sandwich wrap, or just ripped up with olive oil and some za'atar spice.
- → Can I keep these flatbreads in the freezer?
- Yep! Let them cool down, stack with parchment so they don’t stick, then pop the pile in a freezer bag. They’ll last up to 3 months. Just thaw and warm them in a dry pan or oven—good as new.