
 Pin it
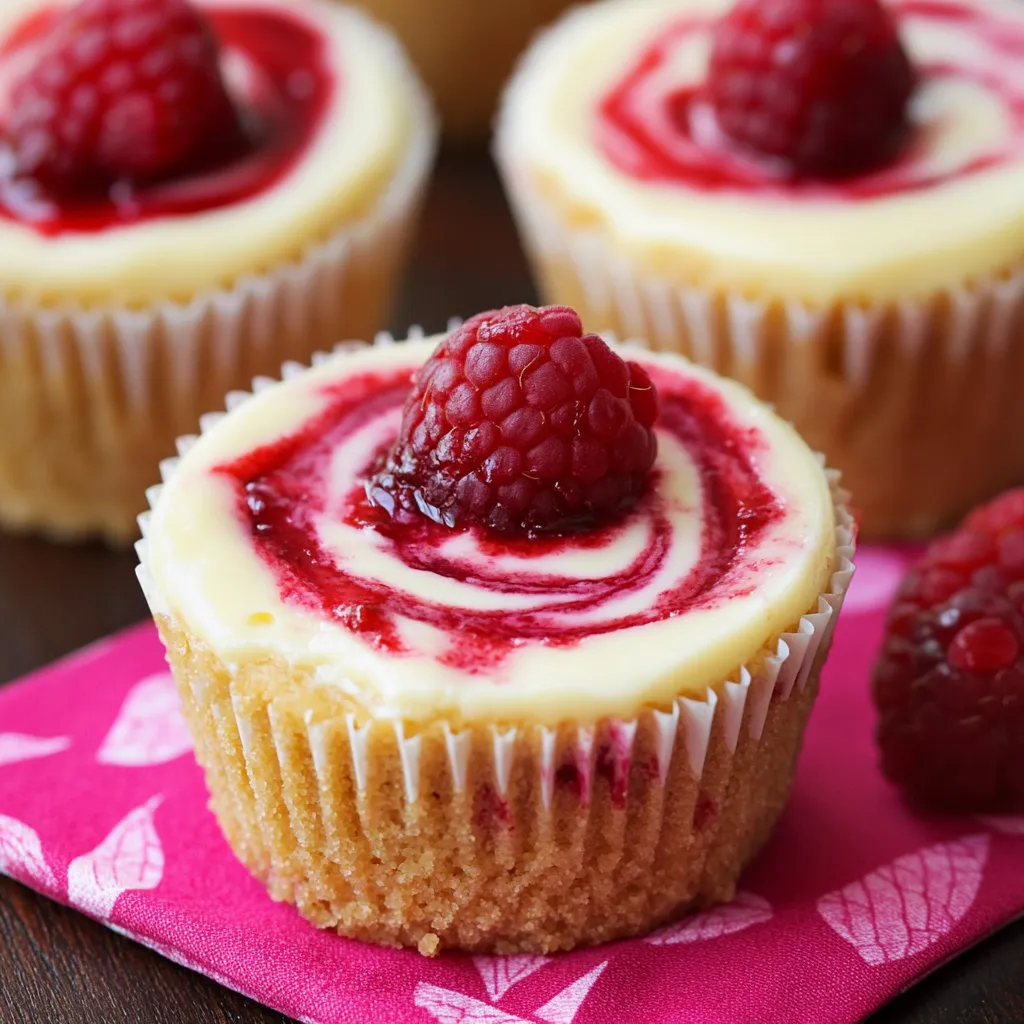
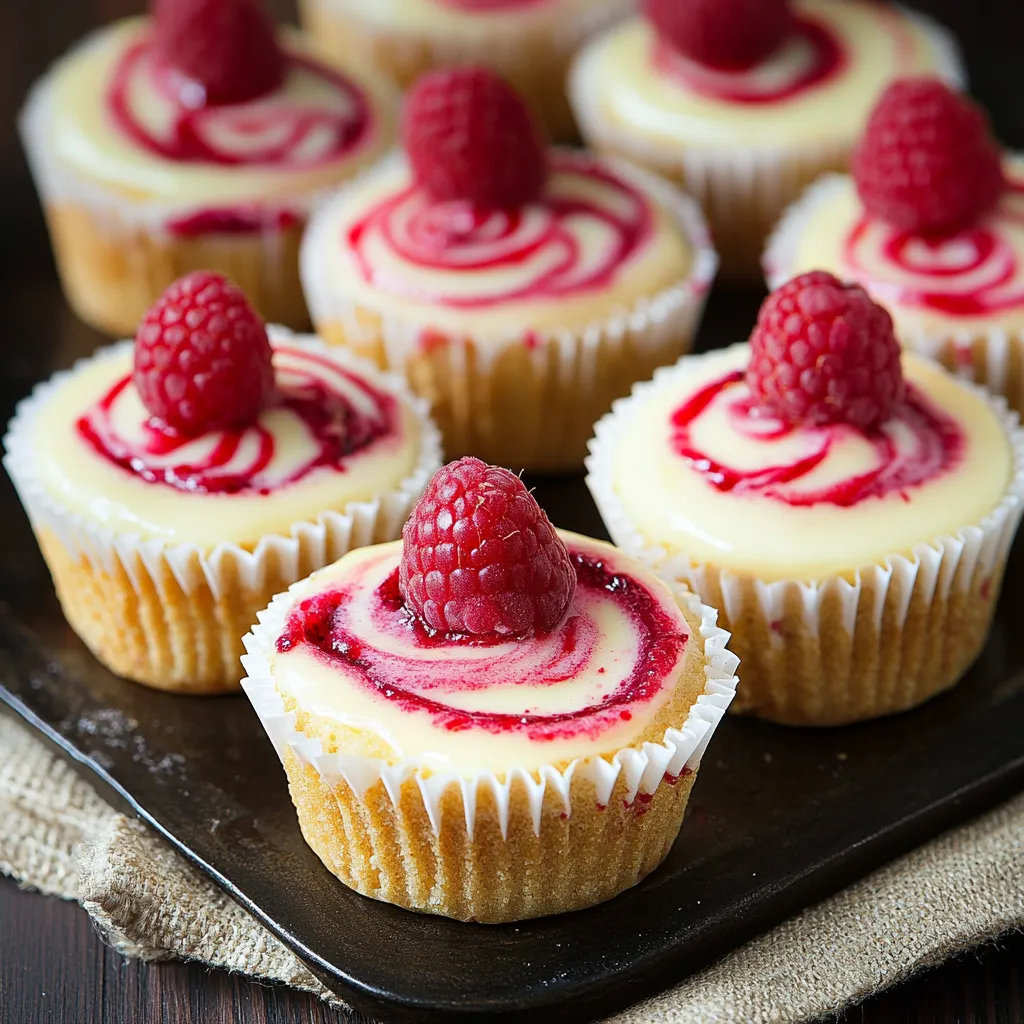
Satisfy your sweet tooth with this coconut snowball delight, loaded with creamy coconut flavor, tangy ribbons of raspberry, and a lush coconut cream cheese topping wrapped in snowy coconut flakes. The sharp raspberry pops against the dreamy coconut, making every bite super refreshing and totally rich.
This cake was my go-to for my mom’s birthday after she told me she missed her grandma’s coconut cakes. My riff was swirling in raspberries, and now my family begs for it at every event. Watching everyone’s faces light up makes all the effort feel worth it.
Irresistible Key Ingredients
- Unrefined coconut oil: Brings in deep coconut taste while keeping everything super moist
- Canned coconut milk: Way better than regular milk for flavor and juicy cake layers
- Egg whites: Keep the crumb really light—plus that bright white color makes raspberries pop
- Baking powder and soda: Duo makes your cake rise up nice and fluffy
- Sour cream: A touch of tang and super tender crumbs
- Cream cheese: Key for a creamy, not-too-sweet frosting
- Coconut extract: Amps up the coconut magic in each bite
- All purpose flour: The cake’s foundation—sturdy but still gentle
- Vanilla extract: The classic note that balances everything out
- Almond extract: Adds little background richness and brightens the fruit
- Granulated sugar: Sweet and essential for tenderness
- Confectioners sugar: Smooths and sweetens your dreamy frosting
- Raspberry preserves: The swirl that makes it all sparkle and gives tart contrast
- Unsalted butter: Makes everything rich and helps cream the sugar perfectly
- Unsweetened shredded coconut: Hides texture and flavor bursts inside the cake batter
Simple Step-by-Step Directions
- Snowy Coconut Finish:
- Grab a handful of coconut and gently press it all over the just-frosted cake—the softer the frosting, the better the flakes stick.
- Pull It All Together:
- Spread a thick frosting layer between each cake round, then add the raspberry jam. Stack them carefully, slap the rest of the frosting on, and smooth it out.
- Pans Prepped Right:
- Grease three 9-inch pans really well, then cover the bottom with parchment so nothing sticks. Punch out circles so they fit—no need to let them climb up the sides.
- Mix In The Good Stuff:
- Gently stir melted coconut oil and coconut flakes into your thick batter. You’ll see the coconut bits and that’s perfect.
- Frosting Time:
- Whip cream cheese and butter together ‘til crazy-smooth before adding the rest. Beat in extracts, coconut milk, salt, then slowly sprinkle in powdered sugar. Crank up the speed to get it super fluffy.
- Sift & Stir Dry Mix:
- Dump flour, baking powder, baking soda, and salt in a big bowl. Get rid of any lumps with a sifter and fluff things up for extra-soft cake.
- Wet Ingredients Join Up:
- In another bowl, stir sour cream with coconut milk. If the milk’s separated, just give it a stir before measuring so everything blends nicely.
- Blend Flavor Boosters:
- Mix vanilla, almond, and coconut extracts right into your butter base. Take a sec to make sure they’re mixed all the way through.
- Adding Whites:
- Drop in whisked egg whites a little at a time, mixing well each round. Don’t forget to scrape down the bowl while you’re at it!
- Bake The Rounds:
- Spread the batter evenly into your pans. Use a scale if you want to be exact. Bake until light golden and a toothpick slides out clean.
- Mix It All Together:
- Add some flour mix, then some coconut milk mix, taking turns and ending with flour. Stir just until you don’t see flour. If you keep mixing, you’ll get a dense cake—not what we want!
- Butter & Sugar Get Fluffy:
- Beat butter until soft, then let sugar join in slowly. Wait for it to go pale and super airy before you stop—it’ll nearly double in size after a couple of minutes on high.
 Pin it
The coconut milk is honestly the secret trick here. I figured it out after messing around with other coconut cakes that just didn’t bring it. It makes the cake rich and tastes legit—extract can’t hold a candle. My grandma always said you can’t fake a coconut dessert. You’ve gotta use the real stuff, in a bunch of ways, for true flavor.
Easy Prep Ahead Ideas
This dessert’s a breeze for planning. Bake the layers up to two days earlier and seal ‘em up at room temp. Make the frosting a day in advance and stash it in the fridge, then whip again when you’re ready. Once the cake’s all stacked and frosted, leave it in the fridge overnight and the flavors get even better.
Swap Outs For Ingredients
If you’ve got allergies or special food needs, you’re covered. Toss in a gluten-free flour blend instead of regular—it still comes out tasty. Non-dairy swaps for cream cheese and butter totally work for the frosting, though you might not need as much sugar. Want less sweetness? Trade jam for some thickened raspberry puree—it’ll look softer but still taste great.
Fun Ways To Serve
For a showstopper, top with fresh berries and maybe edible flowers right before you slice. Use a sharp, warm knife for clean pieces—wipe it off between each cut. This sweet treat is awesome with coffee, tea, or a bubbly glass of prosecco if you’re celebrating. Level up dessert by scooping a little raspberry sorbet beside every slice.
How To Store It
The finished cake’s good in the fridge for five days if you cover it loosely—keeps that coconut looking fresh. For long term, wrap single slices tight in plastic, stick in a freezer bag, and freeze for up to three months. Let them thaw in the fridge overnight for best flavor and texture.
 Pin it
Frequently Asked Questions
- → How do I make the graham cracker base?
Stir crushed graham crackers with melted butter and some sugar. Squish the mix into lined muffin pans, press it down, then bake a bit so it firms up before you add cheesecake mix.
- → Can frozen raspberries be used for the swirl?
Sure thing! Thaw and drain frozen raspberries well first, then puree so there's not too much liquid in your mix.
- → What's the trick for a cool swirl look?
Spoon blobs of berry puree over the cheesecake batter. Slide a toothpick around to make fun marble swirls.
- → Why do I need to tap the bowl before baking?
If you tap, any big bubbles will pop, so your cheesecake bakes up without cracks.
- → What's the best way to store these minis?
Pop them in a sealed box in the fridge for five days. You can freeze them too if you want them to last longer.
- → Is there a sub for cream cheese?
Cream cheese is why it’s so creamy, but swap in a dairy-free one if you wanna skip dairy.