
 Pin it
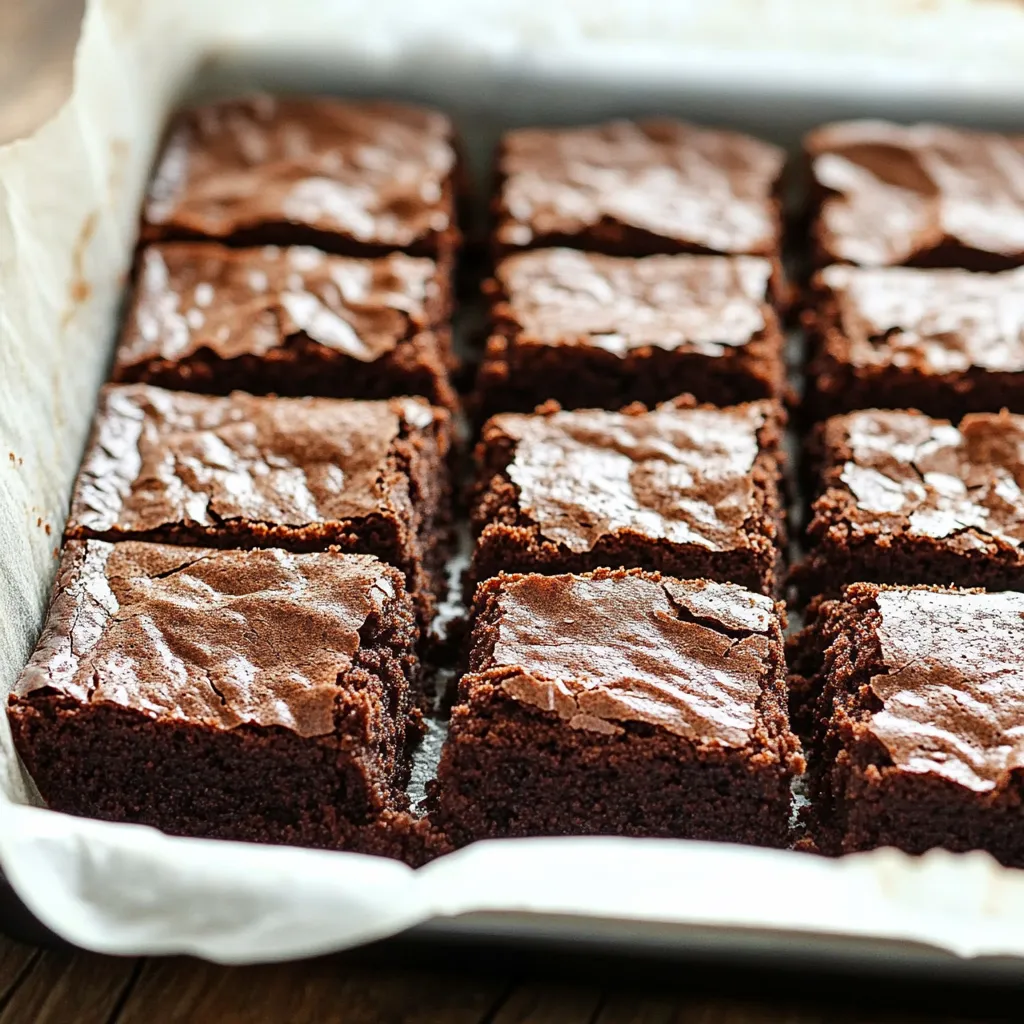
Picture biting into what looks like your usual chocolate brownie, but then you hit a yummy, chewy surprise—totally elevating what you expect from your first nibble. These mochi brownies bring you that little shock of happiness, mashing up rich, classic brownie comfort with the irresistible stretchiness of mochi. Put them together, and you've got something totally new, really giving you the best parts of both. If you want a gluten-free treat that doesn't feel like you're missing out, these brownies show you don't have to skip the fun or flavor at all.
My brother came back from Hawaii raving about treats he tried, and it totally brought back memories of when I used to make these brownies. I got curious—could I make them even better? A bunch of test bakes later, watching the change from my old chocolate mochi cake into these crackly-topped squares became one of my proudest kitchen wins.
Irresistible Ingredients
- Mochiko: Only this sticky rice flour gives you that stretchy bite—don't try to swap in regular rice flour
- Cocoa powder: Gives you big chocolate flavor and keeps the brownies holding their shape
- Butter: Adds richness and helps get those golden, crispy corners we all love
- Eggs: They keep everything together and make the final texture extra tasty
Brownie-Making Fun
- Get set up:
- Press parchment paper completely inside your baking dish so you can lift your brownies out easily later.
- Mix chocolate:
- Melt your butter fully first, then stir in cocoa until it turns smooth and shiny.
- Sweeten things up:
- Whisk in granulated and brown sugar, making sure they dissolve all the way.
- Add the eggs:
- Drop in eggs one at a time, mixing in each before the next so your batter turns just right.
- Add mochiko magic:
- Sift mochiko straight into the bowl—no one wants lumpy brownies.
- Fold gently:
- Grab your spatula and slowly mix until every dry bit is gone, but don't go overboard.
- Pop in the oven:
- Pour that thin batter into your lined pan and bake it at a steady, medium heat.
- Check the sides:
- See if the edges look set and are pulling away—center should stay just firm, not overdone.
- Let cool down:
- Wait until the whole pan is totally cool before trying to slice—patience pays off for that perfect bite.
 Pin it
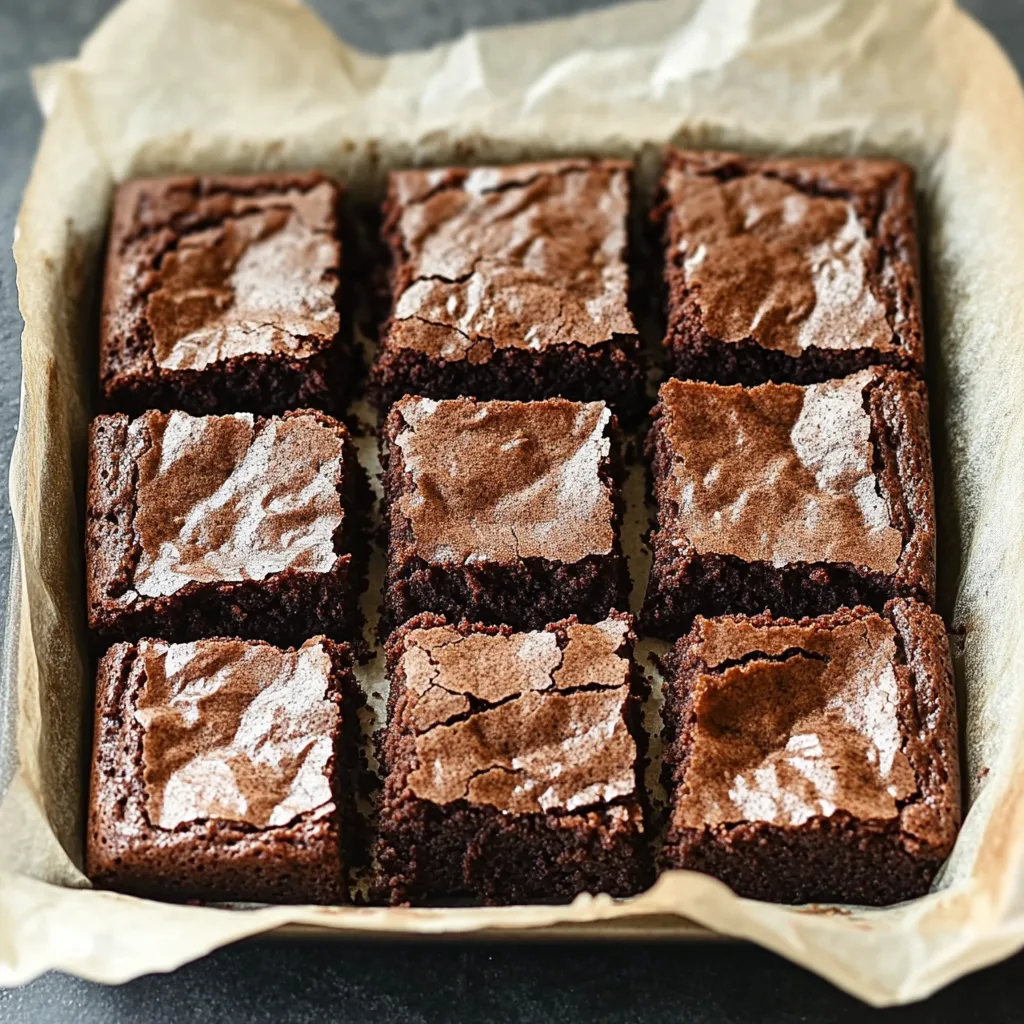
I remember my first try years back ending up with sticky, gooey slabs instead of snappy-edged brownies. Lots of tests later, I figured out you need to bake them longer and line your pan well. These days, seeing friends bite in and go from 'brownie mode' to surprise at the chew is honestly the best feeling.
Tasty Twists
Try mixing these up for new, awesome flavors without losing that chewy core. Swirl in a little matcha powder before baking to make pretty green streaks and add a nod to Japanese flavors. Toss in some black sesame seeds or paste if you're after a little nuttiness—no change to the chew. Stir in white chocolate chips for melty pockets against the stretchy bite, and it's almost like a new dessert each time.
 Pin it
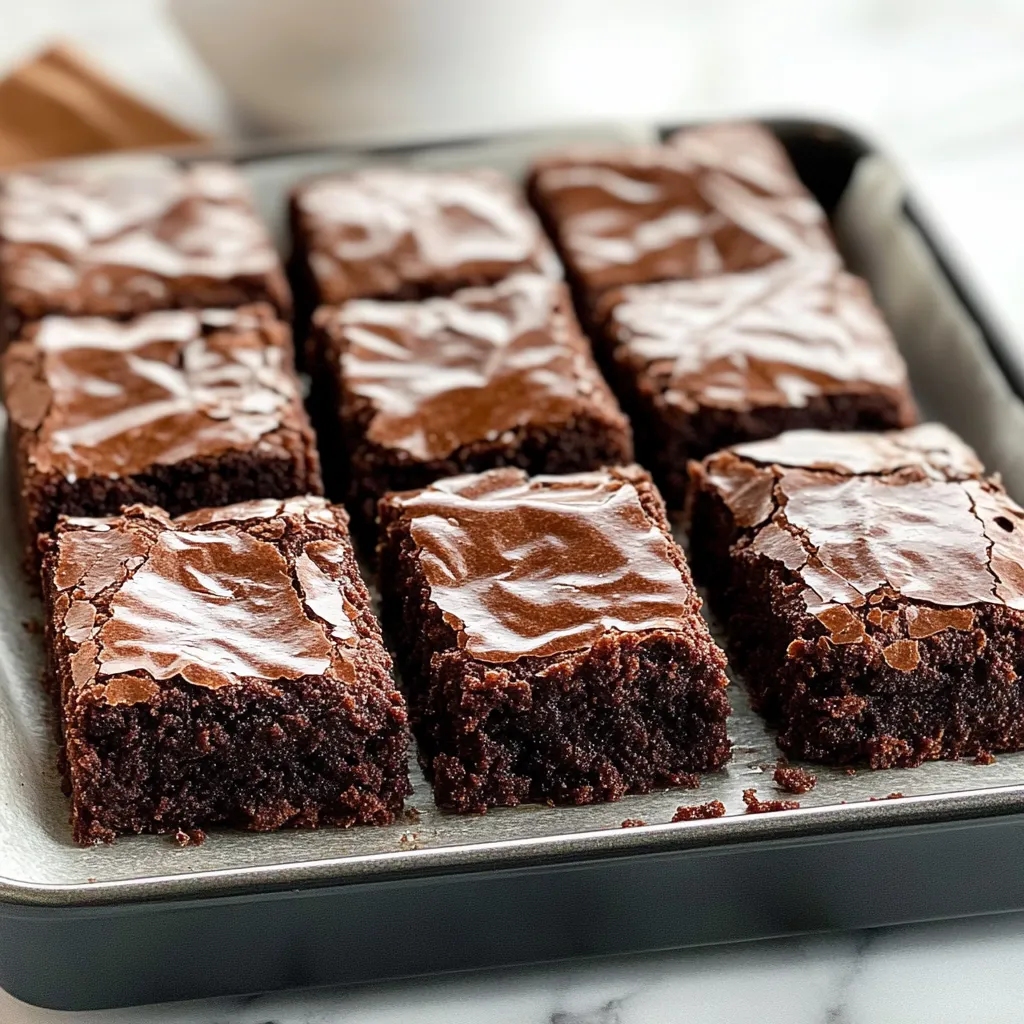
Making mochi brownies shows how cool it is when two different food worlds meet up in your kitchen. Something that started as a small curiosity about mixing textures turned into the treat all my friends now ask for at parties. The best part is seeing someone expect a regular brownie, then grinning when they realize it's way more fun and chewy than they guessed.
Frequently Asked Questions
- → What exactly is mochiko flour, and where do I pick it up?
- Mochiko is just sweet rice flour (sometimes called glutinous, though it's gluten-free). Made from really sticky short-grain rice, it gives your brownies that bounce. Grab it at Asian food shops, the global section of big grocery stores, or online. Koda Farms is a go-to brand.
- → Can I just swap in regular rice flour for mochiko?
- Nope, mochiko is the only one that brings the stretch! Regular rice flour won't cut it—the result will be rough and crumbly, not sticky and chewy.
- → Why am I letting these brownies bake forever?
- Letting them bake for about 60-70 minutes is key. Mochiko takes a while to cook and set, so the pan needs extra time for that dreamy chew. Pull them too early and you'll get goo instead.
- → Is plant milk fine instead of whole milk?
- Absolutely! Try oat, almond, or soy. The flavor and texture will change a smidge, so pick a creamy version for a result that's close to classic brownies.
- → My brownies are still kinda sticky—help?
- You'll always get some stick since mochiko is naturally like that. If they're way too sticky, they might need a bit more baking. Or pop 'em in the fridge for half an hour to firm up before you slice.