
 Pin it
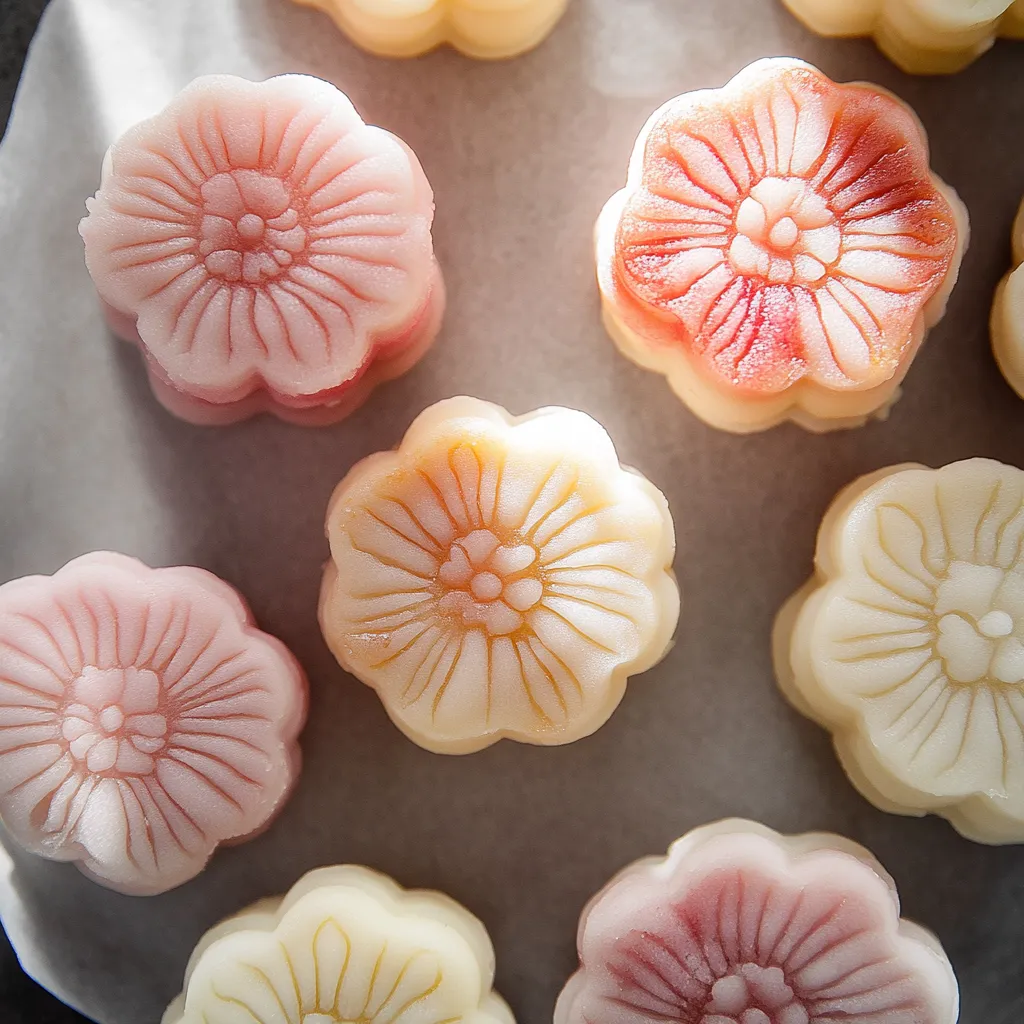
Bring the charm of Asian festivities into your home with this classic Snow Skin Mooncake. These soft, vibrant bites blend a gently chewy outer layer with a luscious custard inside, giving you that wonderful mix of textures and tastes that makes everyone crave these special treats.
The first time I whipped these up was to give my Chinese buddy a nice surprise during Mid-Autumn Festival. Watching her face light up with memories and happiness after her first bite made all my work worthwhile. Now they're what I always make when celebrating cultural occasions.
Ingredients
- Milk powder: Forms the foundation of that classic mooncake filling richness
- Cornstarch: Gives your custard that just-right firmness so it keeps its shape
- Powdered sugar: Blends in completely for a silky filling with no sugar bits
- Salt: Brings out sweetness and cuts through the richness
- Milk: Grab whole milk for the ultimate creamy outcome
- Egg yolks: Add depth and that gorgeous yellow color
- Condensed milk: Brings that iconic sweetness and smooth feel
- Unsalted butter: Adds richness without extra saltiness
- Vanilla extract: Go for real extract to get the best taste
- Rice flour: Creates that unique soft texture in the skin
- Glutinous rice flour: The key to getting that pleasant chewiness
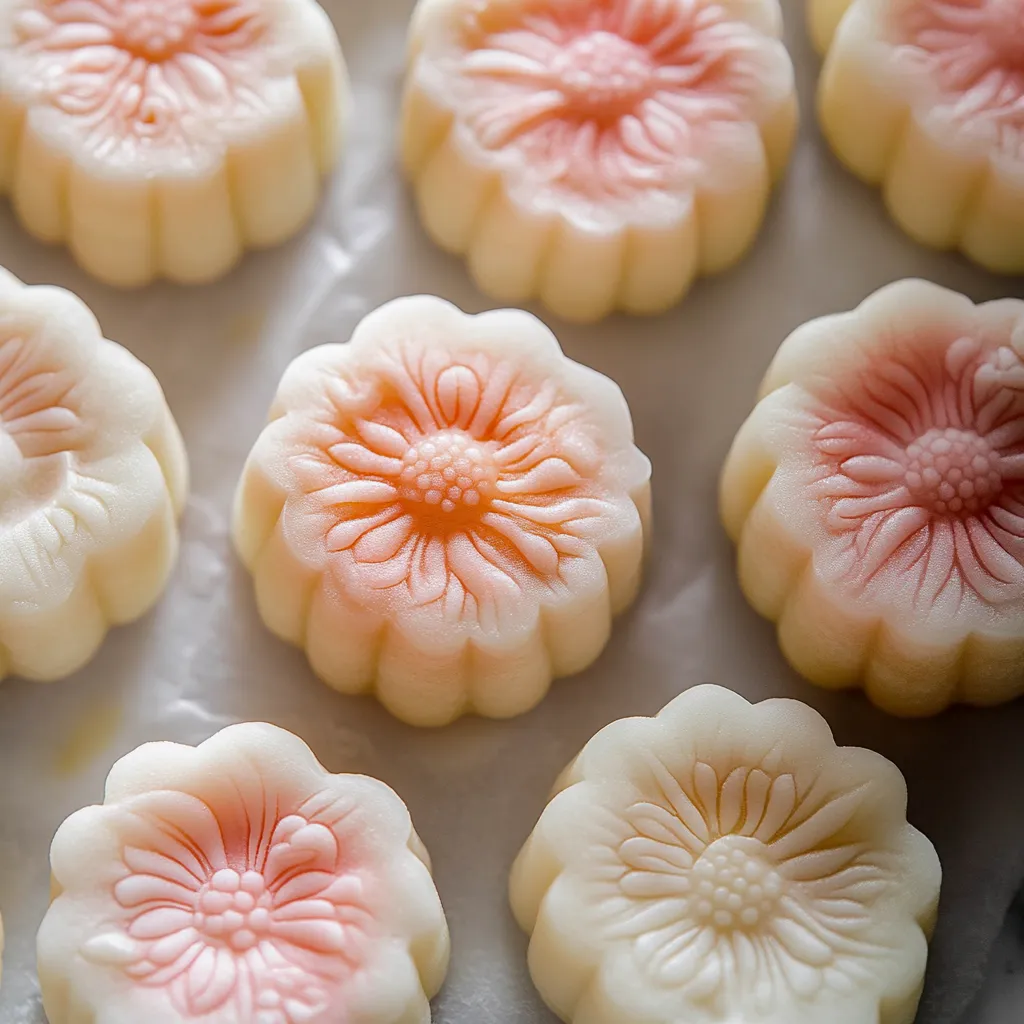
- Wheat starch: Makes that beautiful snow-white look happen
- Powdered sugar: Mixes easily for a smooth dough without grittiness
- Whole milk: Adds creaminess and helps everything stick together
- Vegetable oil: Keeps the outer skin from getting too dry
- Vanilla extract: Adds gentle flavor warmth get good quality for best results
- Cornstarch: For dusting to stop sticking doesn't change the flavor
- Food coloring: Try anything you like gel colors work best for bright results
Step-by-Step Instructions
- Make your custard filling first:
- Mix milk powder, cornstarch, powdered sugar and salt in a bowl until they're completely blended. Don't leave any lumps as they'll mess up your texture.
- Blend the wet stuff:
- In another bowl, stir together milk, egg yolks and condensed milk until everything's nicely combined.
- Put together your custard base:
- Add your liquid mixture to your dry ingredients and stir until smooth. Make sure to scrape the sides so everything gets mixed in.
- Heat your custard:
- Pour everything into a pot over medium heat and keep stirring. After about 5 minutes, it'll thicken up like a paste.
- Complete your custard:
- Mix in butter and vanilla until everything melts together. Your custard should be firm enough to hold a shape when you scoop it.
- Cool it down:
- Put it in the fridge for an hour or freezer for 20 minutes. Then split it up and roll into balls that fit your mold size.
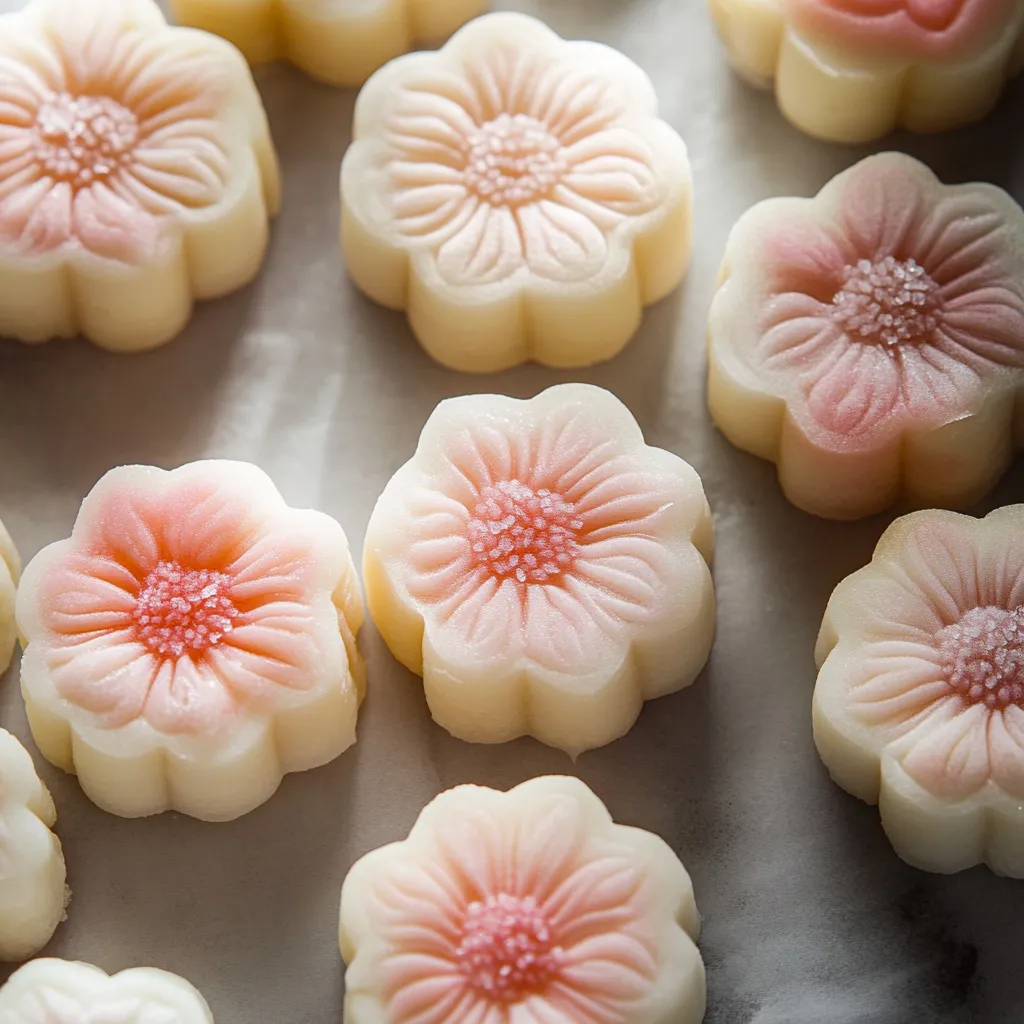
- Create the snow skin:
- Sift together rice flour, glutinous rice flour, wheat starch and powdered sugar, then blend with milk, vegetable oil and vanilla. Strain the mix and steam it for 18-20 minutes until done.
- Work the dough:
- After it cools down, knead the dough for 5 minutes and chill it for 30 minutes to 2 hours.
- Put your mooncakes together:
- Add food coloring if you want. Use equal parts dough and filling, wrap the filling with dough, close all edges, and push into your molds. Chill before you serve them.
 Pin it
I absolutely love the custard center in these mooncakes. My first try years back ended up with runny filling because I didn't cook it long enough. I've learned that taking your time during cooking is crucial – when the custard starts pulling away from the pot sides and feels like modeling clay, you've got it just right.
Storage Tips
Always keep these snow skin mooncakes in the fridge in a sealed container. They're not like traditional baked ones – they'll dry out fast if they sit out too long. They'll stay good for about 3 days, but they're really best within the first 2 days. Need to keep them longer? Wrap each one in plastic, put them in a freezer bag, and freeze for up to a month. Just let them thaw in your fridge overnight before eating.
Creative Variations
What's great about snow skin mooncakes is how many ways you can change them up. Besides the custard in this recipe, you can try classic fillings like red bean or lotus seed paste, or go modern with chocolate, matcha, or fruit jams. For the outer layer, play with natural colors like butterfly pea flower for blue, pandan for green, or powdered freeze-dried fruits for bright colors and subtle flavors. Some folks even swap in a bit of coconut milk for regular milk to give them a tropical twist.
Cultural Significance
Snow skin mooncakes are actually pretty new compared to their traditional baked cousins. While the classic mooncakes go back over a thousand years, the snow skin version only showed up in Hong Kong around the 1960s as a lighter option. The Mid-Autumn Festival celebrates the harvest moon when it looks biggest and brightest. Families get together to share mooncakes while enjoying the moonlight, which stands for completeness and reunion. The round mooncake shape represents family togetherness, so they're much more than just tasty treats – they're meaningful symbols in the culture.
 Pin it
These fancy treats might take some practice to get right, but they're totally worth it. The way the soft, chewy outer layer works with the rich, creamy filling inside creates such an amazing combo of textures that you won't be able to stop at just one.
Frequently Asked Questions
- → How long do snow skin mooncakes stay fresh?
These treats will keep in a sealed box in your fridge for about 3 days. They taste best when you eat them just a day or two after making them. Don't try freezing them though - they'll get weird and mushy when they thaw out.
- → Can I use different fillings instead of custard?
You bet! While many folks love the custard, you can stuff them with red bean mix, lotus seed paste, mashed mung beans, or even fruit and melted chocolate. Just make sure whatever you use is thick enough to hold its shape inside the pastry.
- → Why do I need to dust the mooncakes with cornstarch?
The cornstarch keeps the dough from getting stuck on everything - your hands, the counter, and the mold. You need it to get those sharp design lines on the finished pastry. Go easy though, too much will make your treats taste powdery.
- → Do I need special equipment to make snow skin mooncakes?
The fancy molds give you those cool patterns that make these treats stand out. But you can wing it with round cookie cutters or small bowls if needed. You can't skip the steamer though - it's a must for cooking the outer dough right.
- → What causes snow skin mooncakes to be too sticky?
Your dough gets sticky when there's too much water in the mix or you didn't steam it long enough. Stick to the exact amounts in the recipe, make sure to steam until it passes the spoon test, and let it cool properly. Wearing food-safe gloves when you handle the dough helps too.
- → Can I make snow skin mooncakes in advance for a celebration?
You can make the custard filling a day or two ahead and keep it in the fridge. The outer dough works best when made the same day, but a few hours early is fine. Once you put them all together, try to eat them within 1-3 days so they taste fresh and feel nice in your mouth.