
 Pin it
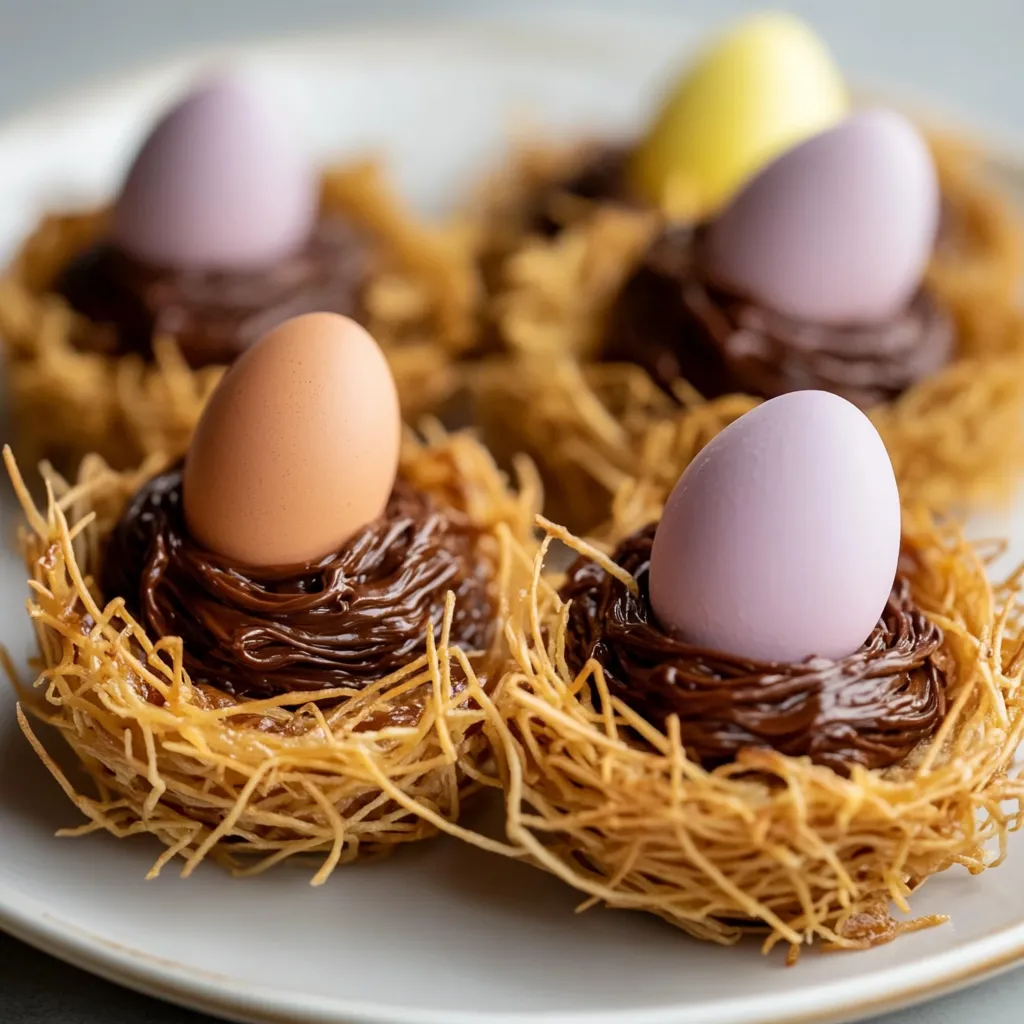
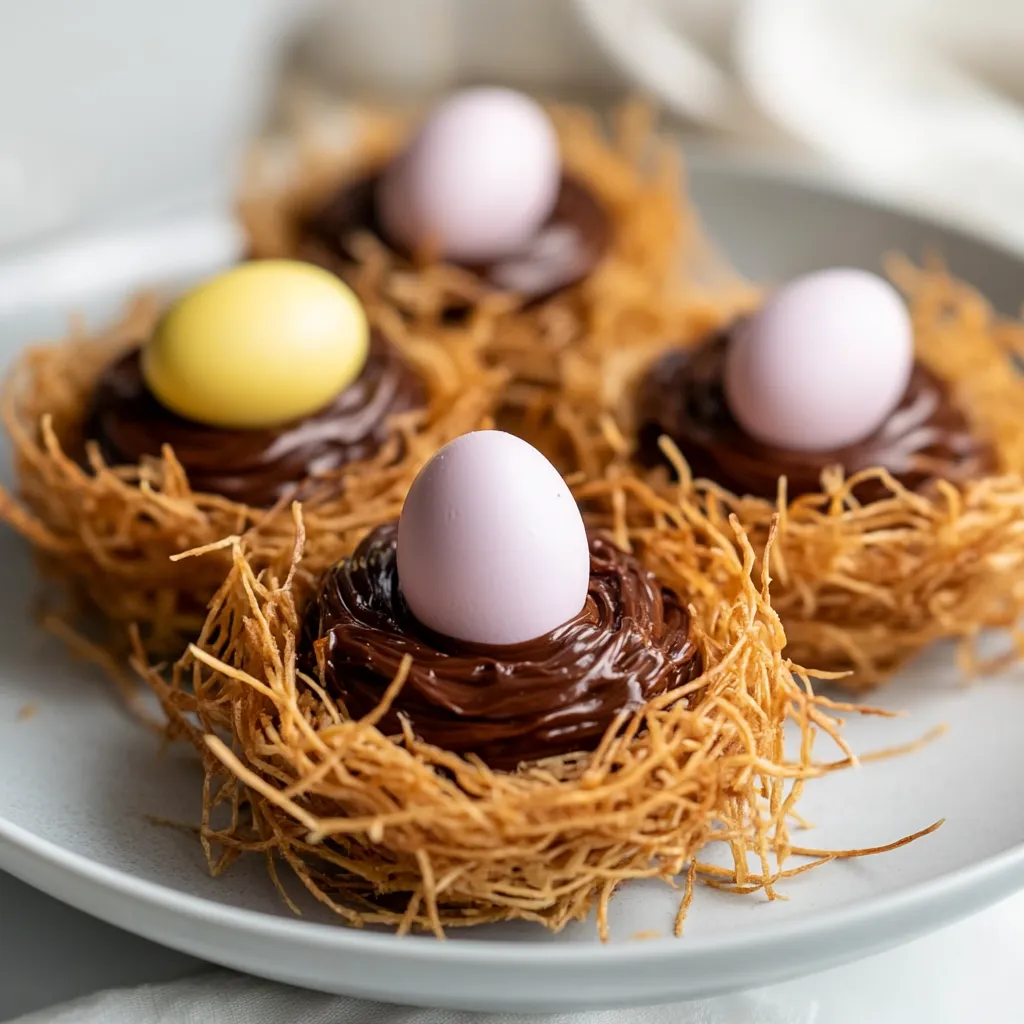
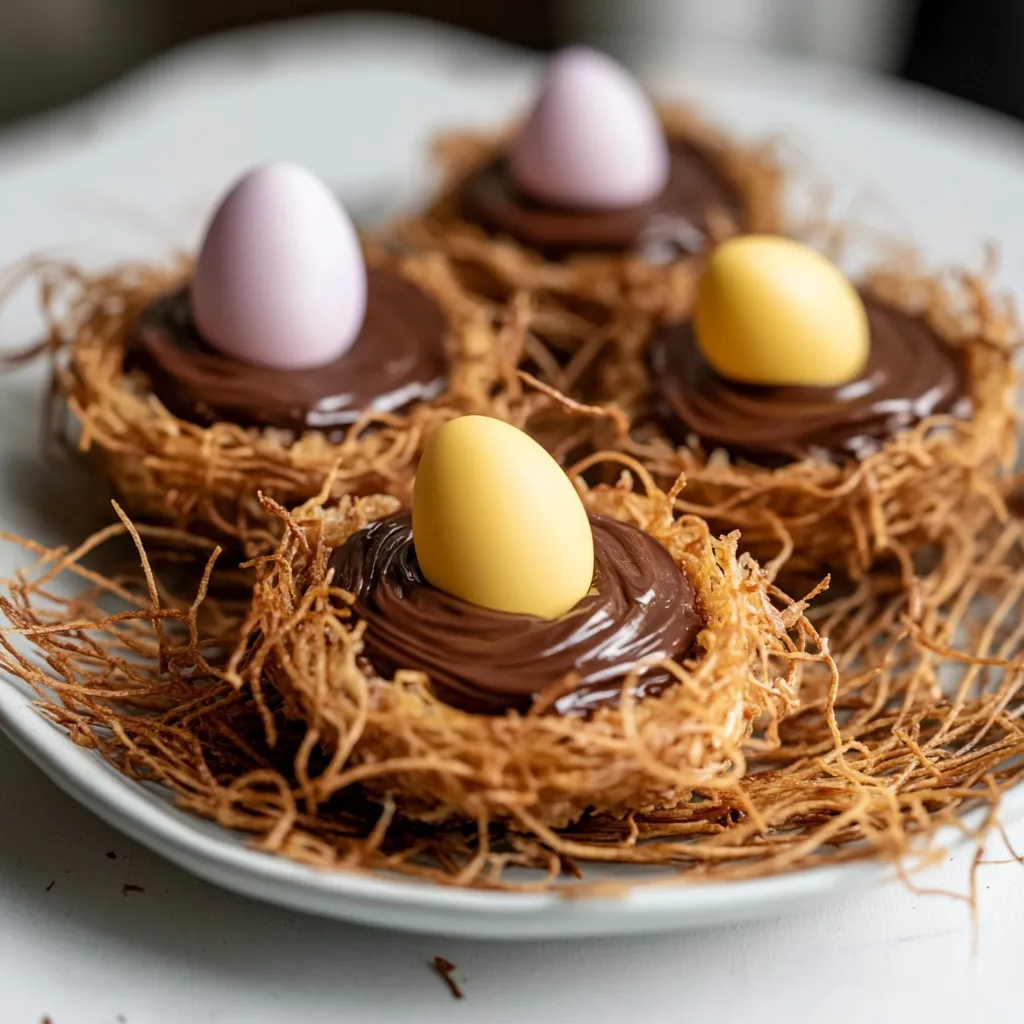
These Easter Nest Kataifi Treats with Nutella blend delicate strands of kataifi into crunchy, golden cups filled with smooth Nutella and decorated with colorful Easter eggs. They're a fun holiday creation that mixes Mediterranean baking with a chocolatey twist that'll wow everyone at your Easter celebration.
These little nests have turned into my go-to Easter sweet. I whipped them up for family about three years back, and now the kids start asking me about my "chocolate bird homes" almost a month before Easter even comes around.
What You'll Need
- Kataifi Pastry 375g: Let it sit out until it reaches room temp so it's easier to handle and works better
- Unsalted butter 125g melted and clarified: This helps get that perfect golden crunch when it's done baking
- Sugar 1 and 1/2 cups: Forms the base of our sweet drizzle that makes the pastry truly dessert-worthy
- Water 1 and 1/2 cups: Mixes with the sugar to make the syrup just right
- Nutella 500g: Use it at room temp for smooth piping - don't skimp, you want chocolate in every mouthful
- Easter eggs: Pick whatever colors and sizes you fancy to give these treats their festive look
How To Make Them
- Get Your Kataifi Ready:
- Take the kataifi from your fridge at least 2 hours early. This step matters big time - it makes sure those fine strands bend without snapping. Keep it wrapped up while it warms so it stays moist. Turn your oven on to 180°C fan forced and put a thin coat of butter on two 12-hole muffin pans.
- Mix Up The Syrup:
- Put your sugar and water in a small pot over medium heat, giving it a stir now and then until you can't see any sugar bits anymore. Let it bubble gently for exactly 7 minutes - this timing gives you syrup that soaks in just right without making things soggy. Take it off the heat and wait till it's totally cool.
- Shape Your Nests:
- Carefully pull apart the kataifi into little bits about 3cm long. Drop them in a big bowl and pour your melted butter all over. Use your hands to work the butter into every strand until they're all shiny with it - this helps them brown evenly. Push some into each muffin cup, pressing down in the middle and a bit up the sides to make it nest-shaped.
- Bake Them Up:
- Stick your filled pans in the hot oven and let them cook for 30 minutes or until they turn a nice golden color. The edges should get a bit darker and crispy but still hold that nest shape. Right when they come out, pour exactly one tablespoon of your cooled syrup over each hot nest and watch it sizzle as it soaks in. Let them cool completely in the pans.
- Add The Good Stuff:
- Scoop room temp Nutella into a piping bag with a medium round tip. Squeeze a big swirl into each cooled nest, making a little dip in the middle. Stick your Easter eggs into the Nutella, pushing down just enough so they stay put but still show off.
 Pin it
I first found kataifi pastry at a little Mediterranean shop nearby, and it's been my secret for fancy-looking desserts ever since. Those thin strands naturally look like tiny bird nests, so they're just perfect for Easter treats. My grandma actually thought I bought these from a bakery the first time I made them for a family dinner.
Prep Ahead Tips
You can break up the work for these treats to make your holiday cooking easier. The pastry nests can be baked and soaked with syrup up to three days early and kept in a sealed container at room temp. You can add the Nutella filling a day before serving, but save putting the Easter eggs on until right before you bring them out so they stay looking bright and pretty.
Tips For Kataifi Success
Don't worry if you've never used kataifi before, it gets super easy with a couple tricks. Always let it warm up completely before you unwrap it or the strands will break apart. If it feels dry when you open the package, just wet your hands very slightly when you handle it. We use butter in this recipe, but you could try ghee instead if you want a more traditional Middle Eastern taste.
Ways To Serve
These cute treats look amazing as the star of any Easter dessert table. Try setting them up on a tiered stand with some fresh flowers or extra Easter eggs between them. They go great with coffee after your Easter dinner or alongside afternoon tea. Some folks like to add a touch of whipped cream on the side to balance out the sweet Nutella, so you might want to have some handy.
 Pin it
These Nutella Kataifi Nests will surely become part of your yearly traditions. Enjoy your Easter!
Frequently Asked Questions
- → What is kataifi pastry?
Kataifi pastry looks like thin noodles but it's actually shredded filo dough. People use it a lot in Middle Eastern and Mediterranean sweet treats. When you bake it, it gets super crunchy and looks just like tiny bird nests, making it perfect for this dessert.
- → Can I make these tarts ahead of time?
You bet! The nest shells can be made 2 days early and kept in a sealed container. Just add the Nutella and pretty Easter eggs right before you want to serve them so they'll look fresh and have that nice crunchy-meets-creamy feeling.
- → What can I use instead of Nutella?
Don't want Nutella? No problem! Try another chocolate hazelnut spread, some chocolate ganache, or mix mascarpone with melted chocolate. If you don't want chocolate at all, try lemon curd, custard, or whipped cream topped with fresh berries.
- → Why do you need to clarify the butter?
Regular butter has milk bits and water that can burn or make things soggy. When you clarify it, you take those parts out so the butter won't burn and your pastry gets crispy all over without wet spots. Plus, your tarts will stay fresh longer.
- → Can these be made without the sugar syrup?
The syrup makes things sweet and helps hold the kataifi strands together. You can use less or skip it if you want them less sweet. Just know that without it, your nests might fall apart more easily since the syrup works like glue for the pastry strands.
- → How should I store leftovers?
Keep any extras in a sealed container at room temp for a day or two. The nests will get a bit softer but they'll still taste good. Don't put them in the fridge though - that'll make the pastry go soggy and the Nutella will get too hard.