
 Pin it
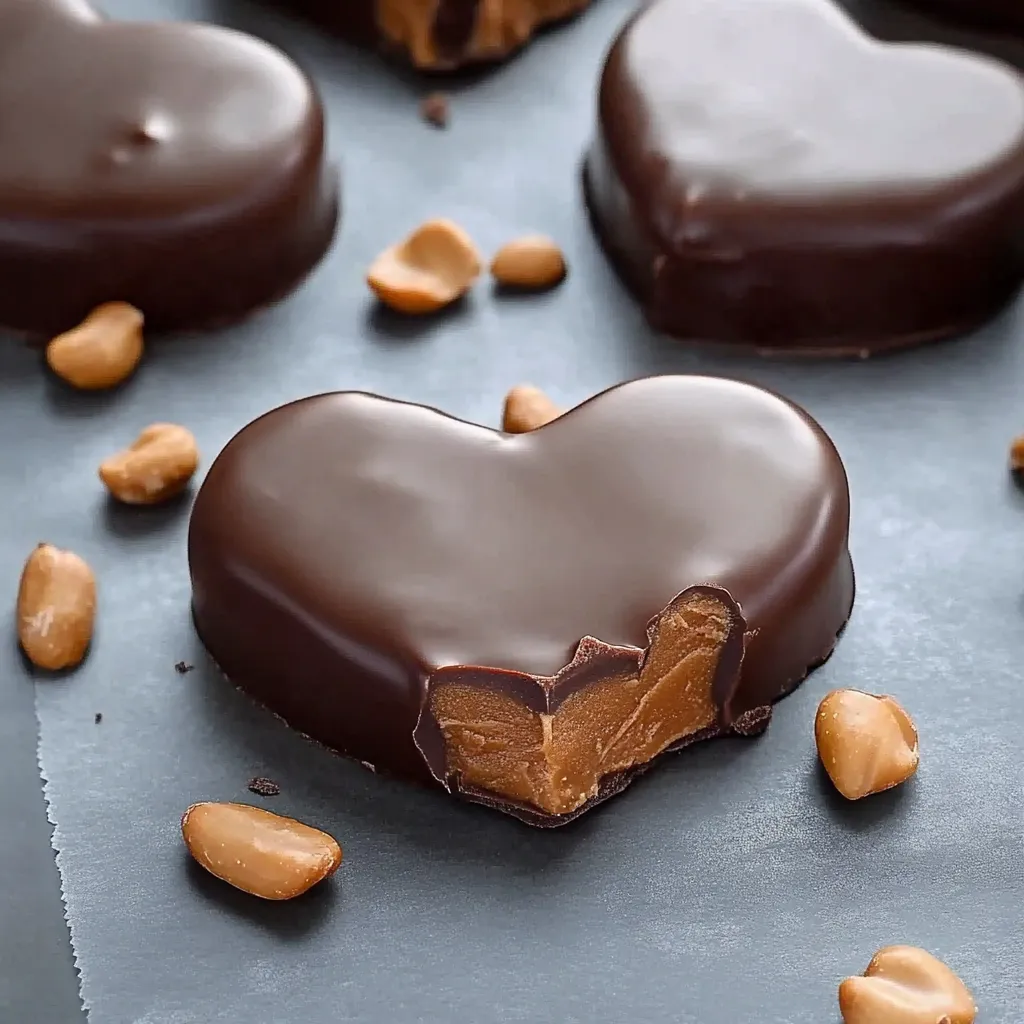
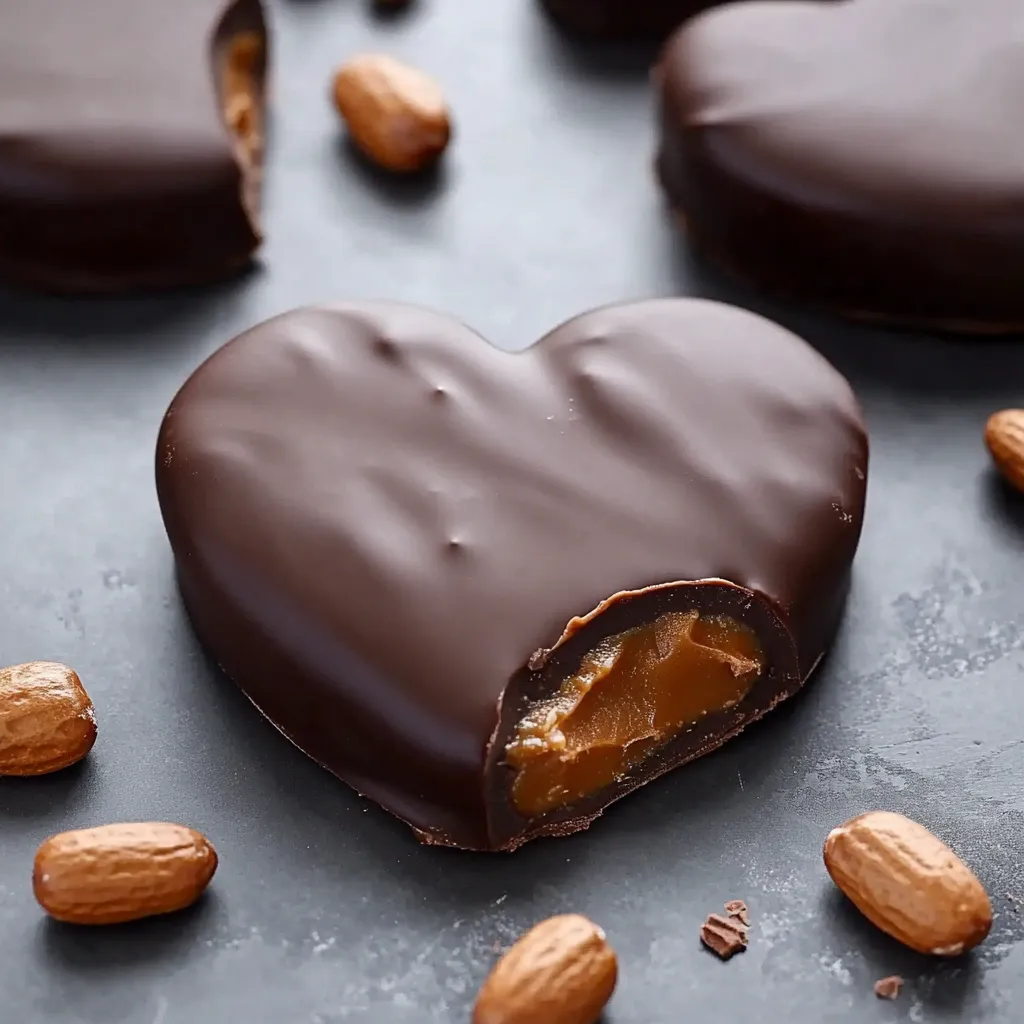
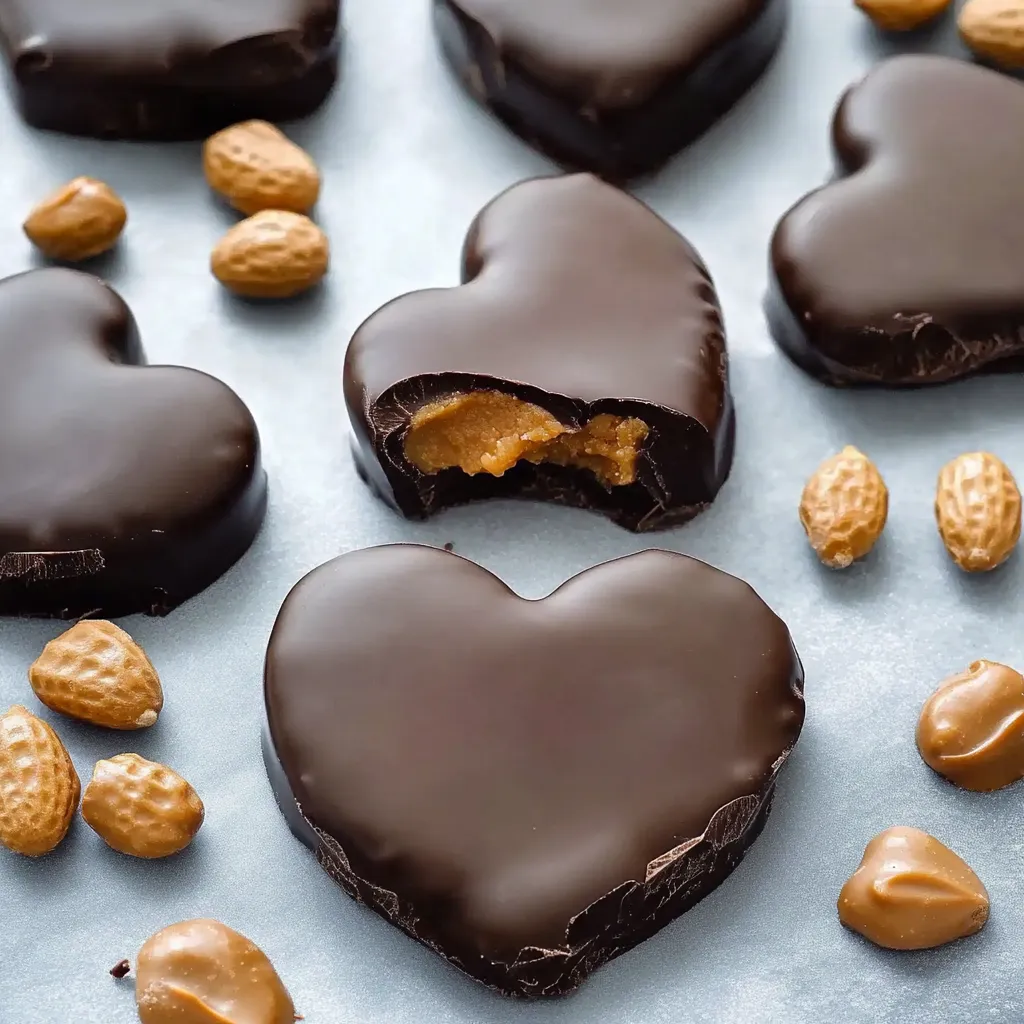
I've been keeping this amazing chocolate peanut butter heart idea to myself for Valentine's Day for ages. When you pair smooth peanut butter inside with tasty chocolate outside, you get a treat that's way better than anything from the store.
I first whipped up these chocolate peanut butter hearts for my hubby's birthday right before Valentine's Day. What began as a simple gift from the heart has turned into something we do every year, with the kids joining in to help each February.
Ingredients
- Smooth peanut butter: Forms the velvety center; grab a good brand for the tastiest result
- Plain butter: Brings extra flavor and helps get the texture just right
- Brown sugar: Adds a hint of toffee flavor that works well with peanut butter
- Vanilla extract: Boosts the whole taste mix; go for real vanilla instead of fake stuff
- Salt: Cuts through sweetness and makes the peanut butter pop
- Icing sugar: Gives shape and sweetness to the filling
- Chocolate: Pick semi-sweet, milk, or mix them for coating; chocolate with higher cocoa makes these extra fancy
How To Make Them
- Get Your Tray Ready:
- Cover an 8x8 inch pan with baking paper, leaving some hanging out so you can lift everything out later. This way your peanut butter mix won't get stuck to the pan.
- Mix Up The Peanut Butter Stuff:
- Put warm peanut butter, melted butter, brown sugar, vanilla, and salt in a bowl. Mix it all up until there aren't any sugar bits and everything looks smooth - takes about 2 minutes.
- Mix In The Sugar:
- Slowly put in the icing sugar to your peanut butter mix. Do half a cup at a time and stir well after each bit. The mix gets thicker as you go, until it feels kind of like cookie dough.
- Spread It Out:
- Push the peanut butter mix firmly into your paper-lined pan. Use a flat tool or just your hands to make it even and about half an inch thick. Make sure to push it into the corners and smooth the top.
- Chill It:
- Put the pan in the freezer for around 30 minutes until the mix gets hard enough to cut without losing its shape. Don't skip this part or they'll fall apart later.
- Cut Out Hearts:
- Take the cold mix out by grabbing the paper edges. Use a heart cookie cutter to press down firmly and make as many hearts as you can. Put each heart on a tray with baking paper.
- Use Up The Leftovers:
- Take all the leftover bits, squish them together gently, and flatten them again. Cut more hearts from this until you've used everything up.
- Freeze Again:
- Put all your hearts back in the freezer for at least 15 minutes until they're very firm. This is super important so they don't melt or lose their shape when you dip them in hot chocolate.
 Pin it
This treat means a lot to me since it was one of the first candies I got right. Seeing my kids light up when they bite into these chocolatey peanut butter hearts makes all the work worth it. Even my mom, who usually passes on desserts, asks for these whenever she stops by in February.
Picking The Right Chocolate
The chocolate you pick really changes how these taste and look. Semi-sweet gives a nice bit of bitterness against the sweet peanut butter, while milk chocolate makes them sweeter and creamier. If you're just starting out, try using candy melts or coating chocolate since they're easier to work with than regular chocolate bars. If you want to use plain chocolate, add a spoon of coconut oil for each cup of chocolate to help it flow better and look shinier when it sets.
Keeping Them Fresh
These chocolate peanut butter hearts taste best when you store them right. Keep them in a sealed container in your fridge, and they'll stay good for up to two weeks. Want to save them longer? Put them in the freezer where they'll last up to three months. If you're taking them out of the freezer, let them sit in the fridge for about 20 minutes to get that creamy texture back. Don't leave them out too long at room temperature or the centers will get too soft.
Mix It Up
The classic chocolate and peanut butter combo is always a winner, but you can try different things too. Maybe throw in two spoonfuls of chopped peanuts to give the filling some crunch. White chocolate looks really cool and you can add a tiny bit of food coloring to the peanut butter mix for fun colors. Want to fancy up the flavor? Add a little bit of cinnamon or a tiny bit of coffee powder to the filling. During holidays, you can stick some sprinkles or edible glitter on the wet chocolate to make them look festive.
 Pin it
These chocolate peanut butter hearts are just the thing to start a Valentine's tradition that's simple and totally yummy.
Frequently Asked Questions
- → Can I use crunchy peanut butter instead of creamy?
Creamy peanut butter makes the smoothest center, but you can try crunchy if you want more texture in your filling. Just know you might need to add a bit more powdered sugar as crunchy types tend to be drier.
- → How long do these chocolate peanut butter hearts stay fresh?
They'll last up to 2 weeks if you keep them in a sealed container in your fridge. Want to save them longer? Pop them in the freezer where they'll stay good for about 3 months.
- → Can I use different cookie cutter shapes?
Sure thing! Hearts work great for Valentine's Day, but feel free to switch it up with any shape you have. Try stars during the holidays, simple circles for everyday snacks, or fun seasonal shapes for different parties.
- → Why do the hearts need to be frozen before dipping?
Freezing makes the peanut butter mix hard enough to dip without it melting or breaking apart in the warm chocolate. You can't skip this step if you want nice, clean-looking shapes.
- → What's the best chocolate to use for dipping?
Good quality chocolate chips or bars do the job nicely. You can go with semi-sweet, milk, or mix them for great flavor. If you're new to this, candy melts or chocolate coating are easier since they don't need tempering and will harden more predictably.
- → How can I decorate these chocolate hearts?
While the chocolate's still wet, try adding chopped nuts, fun sprinkles, or a tiny bit of sea salt. After they've hardened, you can drizzle some different colored chocolate on top for a fancy look.