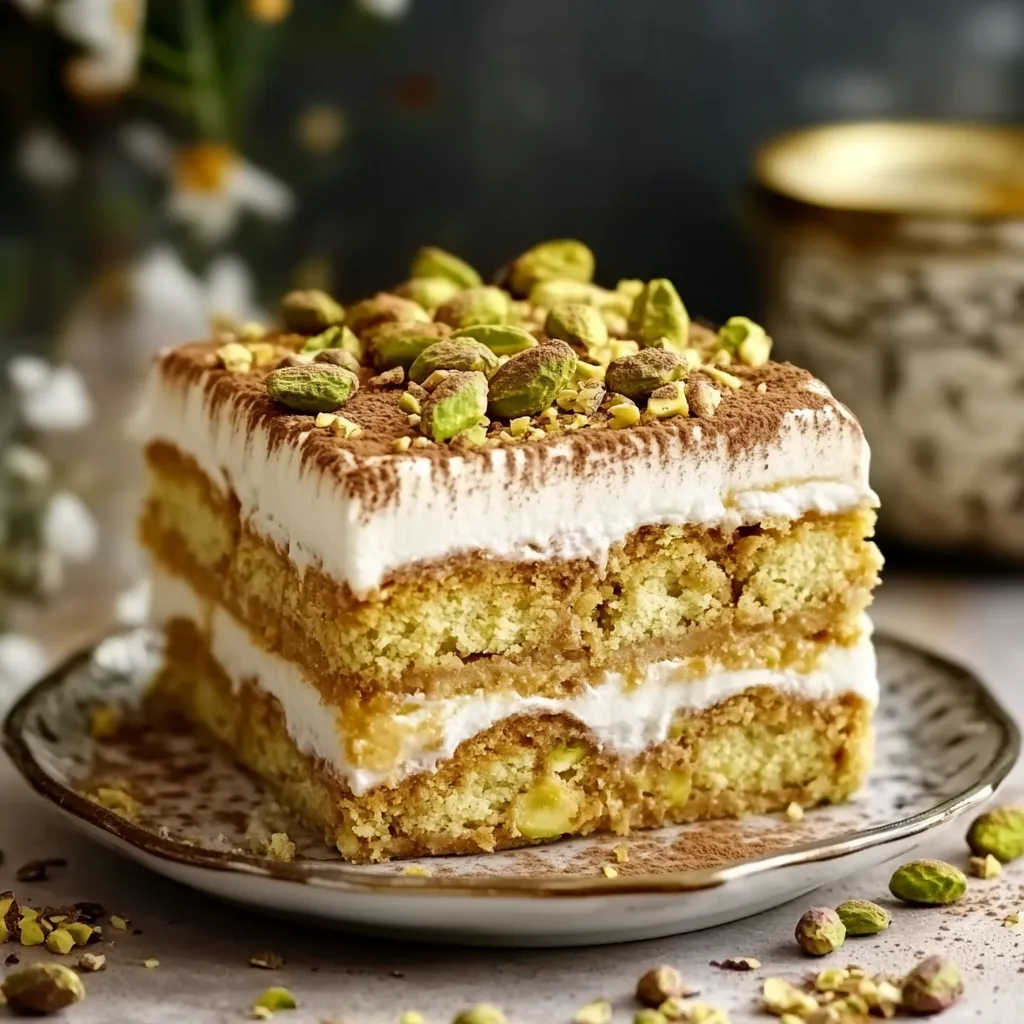
Decadent Pistachio Layers

Featured in: End Your Meal on a High Note

This indulgent pistachio dessert reimagines the classic coffee layer treat with purely plant-based ingredients. Enjoy homemade pistachio-flavored ladyfingers, a smooth mascarpone-like pistachio cream made with tofu and pistachio butter, and coffee-soaked layers. Top it off with airy whipped coconut cream and a sprinkle of chopped pistachios. Chill overnight for the best flavor fusion and texture.

A woman in a kitchen taking a selfie.
By Rosa Rosa
Updated on Sun, 04 May 2025 15:43:36 GMT
A coffee-soaked layer cake topped with pistachios. Pin it
A coffee-soaked layer cake topped with pistachios. | letscookiteasy.com

This nutty pistachio twist on tiramisu brings all the smooth richness of traditional Italian dessert but uses plant-based ingredients that highlight pistachio goodness in every bite. Even the most doubtful non-vegans won't believe how genuine it tastes.

I whipped up this version when a buddy dared me to create a vegan treat that would trick her Italian grandma. Nonna didn't just approve it—she wanted the recipe to make for her own dinner guests.

Ingredients

  • Aquafaba: The liquid from canned chickpeas works as our egg substitute for ladyfingers and gives that airy feel
  • Pistachio butter: Gives this version its standout nutty flavor
  • Silken tofu: Makes a smooth mascarpone alternative without tasting like beans
  • Dairy-free whipping cream: Brings fluffiness to the filling and topping
  • Coconut cream: Adds rich thickness to the ladyfingers
  • Fresh brewed coffee: Delivers that must-have tiramisu taste
  • Vanilla extract: Boosts all flavors while cutting sweetness

Step-by-Step Instructions

Preparing the Ladyfingers:
Beat aquafaba with cream of tartar until you see soft peaks. You'll need about 5-8 minutes using an electric mixer. The mix will get foamy and grow much bigger.
Add Sugar Gradually:
Bit by bit, put in caster sugar while beating at high speed until you get firm, shiny peaks. Try flipping your bowl—if the meringue stays put, you're good to go. This meringue is what gives our eggless ladyfingers their structure.
Create Wet Mixture:
Mix oil, yogurt, coconut cream, vanilla, and leftover sugar in another bowl. This adds moisture and richness to balance out the fluffy meringue.
Fold Components Together:
Gently mix the meringue into your wet mixture bit by bit with a careful folding motion. Try to keep as many air bubbles as possible for fluffy ladyfingers.
Add Dry Ingredients:
Sift baking powder, flour, and ground pistachios into the mix, then fold just enough to mix everything. Don't overmix or you'll lose all those nice air bubbles.
Pipe and Bake:
Put your batter in a piping bag and squeeze out 4-inch strips onto your baking sheets. Bake at 180°C fan for around 15 minutes until the edges turn golden.
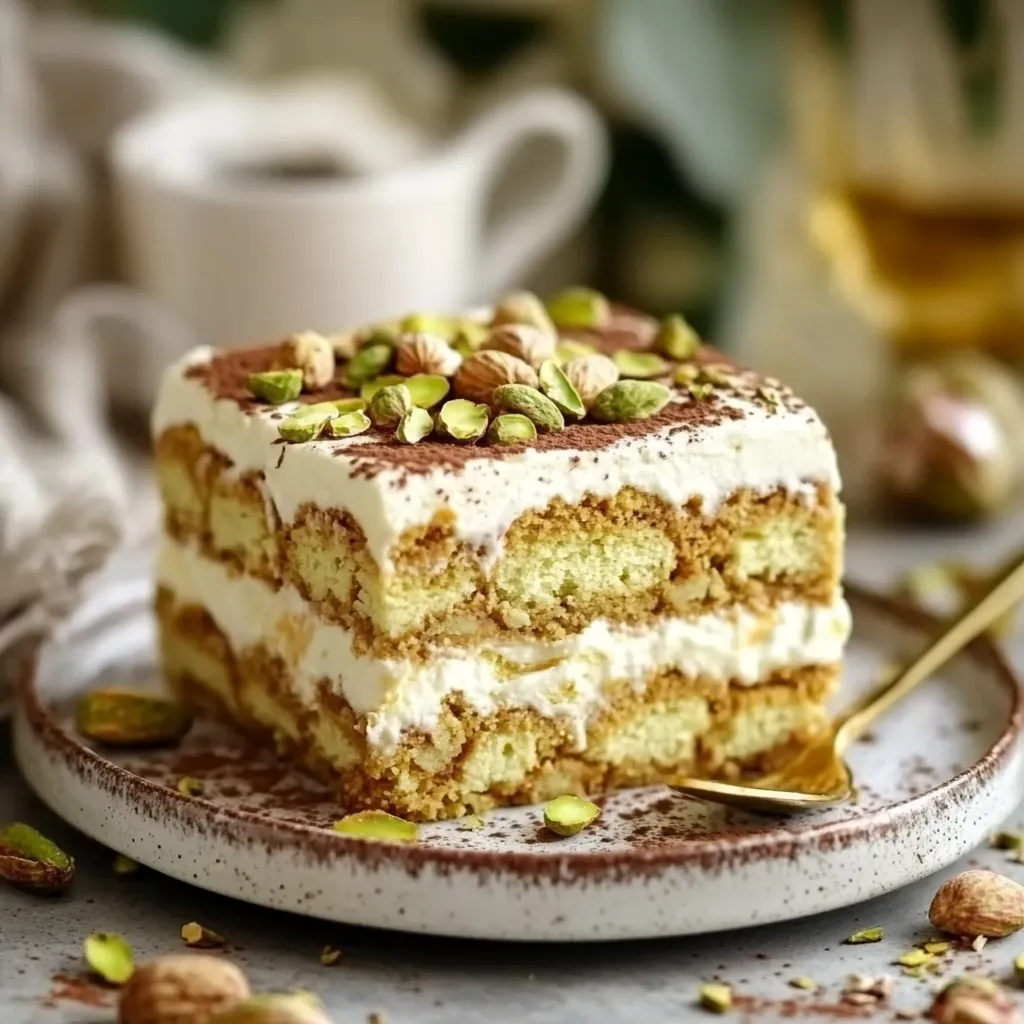
A slice of cake with almonds on top. Pin it
A slice of cake with almonds on top. | letscookiteasy.com

The pistachio butter really makes this dessert shine. I found this swap by accident during a kitchen cleanup day, and that rich nutty taste has turned this into the most requested treat at my gatherings. Even my nephew who says he hates all vegan desserts asks for this one by name.

Make-Ahead Tips

This tiramisu actually gets better after sitting in the fridge. The flavors blend together and the ladyfingers soften perfectly when it sits for at least 8 hours before eating. For the best results, make it a day before your party.

Texture Perfection

Getting that real tiramisu feel comes down to how you dip in coffee. Just a quick one-second dunk works best—any longer and your ladyfingers will turn mushy. If you like it firmer, dip even faster, just enough to get some flavor on the outside.

Serving Suggestions

Cut your chilled tiramisu using a warm knife, wiping it clean between slices for the neatest look. A metal cake server works great for lifting slices out without messing up the layers.
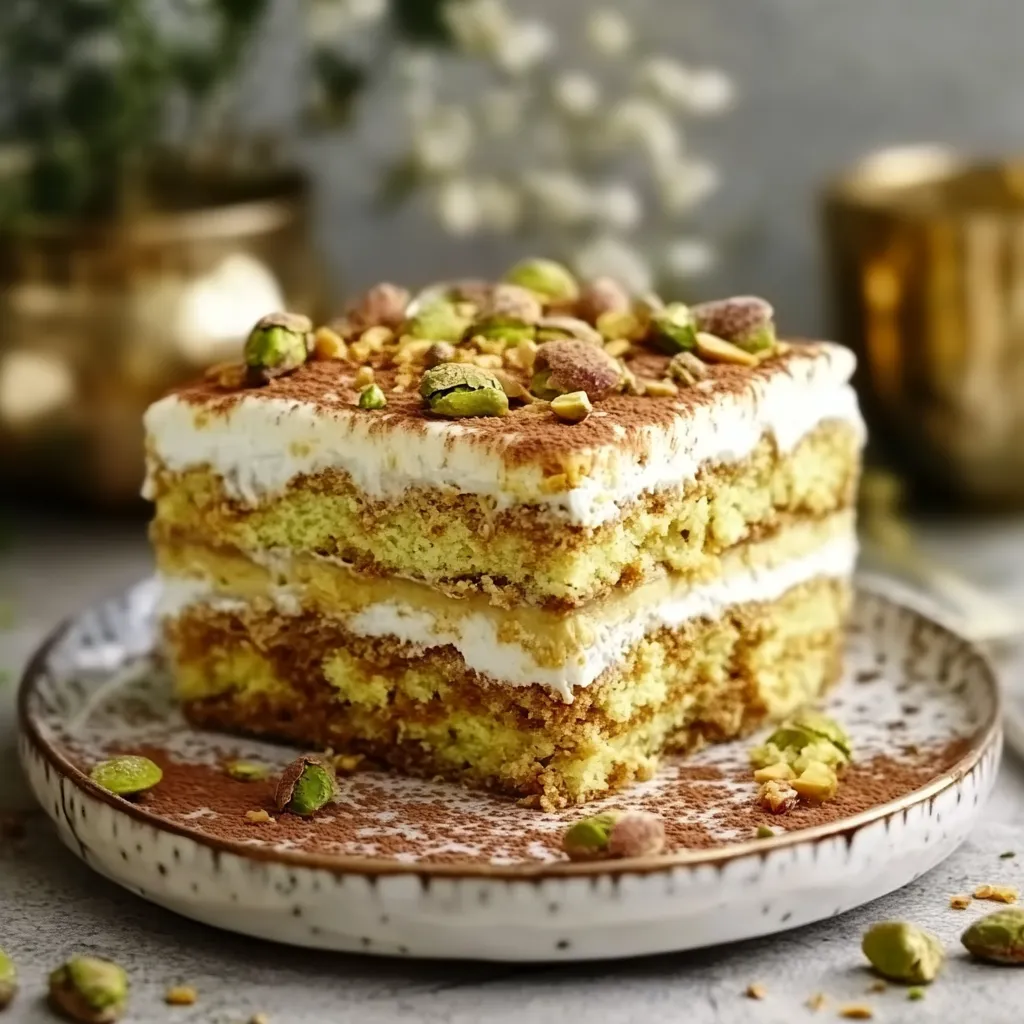
A slice of cake with white frosting and nuts on top. Pin it
A slice of cake with white frosting and nuts on top. | letscookiteasy.com

Each mouthful gives you that perfect mix of tastes and textures—a dessert you won't forget.

Frequently Asked Questions

→ Can I make this coffee-layer dessert ahead of time?

Absolutely! In fact, chilling it for about 6-8 hours or overnight brings out the flavors and sets the layers properly, making it even better for serving later.

→ What exactly is aquafaba, and how does it work?

Aquafaba is the liquid you find in canned chickpeas. It acts similarly to egg whites when whipped, creating that light, airy fluff for the ladyfingers, replacing eggs in this version of the dessert.

→ Can pistachio butter be swapped out for something else?

You could switch pistachio butter for almond or cashew butter, but keep in mind it’ll change the flavor and appearance quite a bit. Pistachio is the star flavor here, though!

→ How do I keep the ladyfingers from getting overly wet?

Avoid soaking the ladyfingers in coffee. Just give them a quick dip—about a second per side. They'll absorb more liquid in the fridge as the dessert chills.

→ Which kind of plant-based whipping cream should I use?

Pick a whipping cream made for plant-based desserts. Coconut cream is a solid choice because it's high in fat and holds its texture after whipping.

→ Can leftover coffee layers be frozen?

Yes, these can be frozen for about three months. Cut them into slices, wrap each piece in plastic wrap and foil, and let thaw in the fridge overnight before digging in.

Pistachio Coffee Layers

Rich coffee-infused layers with pistachio cream and plant-based ladyfingers. This dairy-free dessert is irresistibly silky and satisfying.

Prep Time
60 Minutes
Cook Time
45 Minutes
Total Time
105 Minutes
By Rosa: Rosa

Category: Sweet Desserts

Difficulty: Difficult

Cuisine: Plant-Based Italian

Yield: 12 Servings (One 20cm x 30cm rectangular dessert)

Dietary: Vegan, Vegetarian, Dairy-Free

Ingredients

→ Dessert Base

01 180g granulated sugar
02 2 teaspoons of vanilla essence
03 180ml water from canned chickpeas (aquafaba)
04 20g plain or vanilla non-dairy yogurt
05 80g shelled pistachios, finely blended into powder
06 300g regular-purpose flour
07 12g tartar powder
08 60ml vegetable oil (sunflower works great)
09 2 teaspoons baking powder
10 80g creamy coconut layer

→ Cream Filling

11 80g nutty pistachio spread
12 350g silken tofu, drained
13 170g spreadable plant butter
14 230ml plant-based whipping cream
15 160g fine sugar
16 120g dairy-free yogurt (plain or vanilla flavor)
17 2 small spoons of vanilla essence

→ Garnishes

18 Prepared coffee (cooled and brewed)
19 200ml plant-based whipping cream
20 40g silky pistachio butter
21 Crushed pistachios for topping

Instructions

Step 01

Turn the oven dial to 180°C with the fan setting on. Place non-stick paper over 2 trays. You need 3–4 trays in total, but bake them one after the other.

Step 02

Put aquafaba in a mixing bowl and switch on a whisk at a slow setting. Add tartar powder as it mixes. Use a handheld or stand mixer (balloon whisk attachment) at high power for 5–8 minutes until gentle peaks appear.

Step 03

While whipping, gradually shake sugar into the soft foam. Keep mixing on high for 5–8 minutes until peaks that hold stiffly form. Flip the bowl upside-down to test — it shouldn’t budge.

Step 04

Mix the yogurt, vanilla, sugar, oil, and coconut cream in a different bowl. Stir until smooth.

Step 05

Gently fold small portions of the foamy mixture into the wet bowl using a silicone spatula. Don’t rush, this keeps the fluffiness intact.

Step 06

Through a fine sieve, introduce the flour, powdered pistachios, and baking powder. Carefully mix without stirring aggressively — stop when there’s no dry material visible.

Step 07

Scoop the batter into a piping bag fixed with a large circular nozzle. Pipe logs roughly 10cm long and a bit thick (around 4cm wide). Spread them with enough space, as they grow while baking.

Step 08

Put one tray in the middle oven rack and bake for 15 minutes. You’re done when edges turn light brown. Keep watch so the cookies don’t burn.

Step 09

Leave the baked fingers on their tray to firm up. Then move them carefully to a wire rack until cold.

Step 10

Store the finished cookies in an airtight box where it’s cool and dry. Use them in 1–2 days so they stay crispy.

Step 11

Blend tofu, pistachio spread, sugar, dairy-free butter, yogurt, and vanilla in a strong blender. Keep blending for a minimum of 5 minutes until silky smooth.

Step 12

Beat the plant-based cream in a stand mixer (balloon whisk) until it forms stiff peaks.

Step 13

Slowly mix the pistachio blend and whipped cream by folding them together. Be careful not to lose the fluffiness.

Step 14

Stir hot water with coffee granules until dissolved. Let it cool to lukewarm before dipping.

Step 15

Quickly dip each cookie in the coffee soak (don’t leave them too long or they’ll get soggy). Form a single layer at the base of a rectangular dish.

Step 16

Use a wide spatula to evenly cover the first layer of cookies with creamy filling. Spread to all edges.

Step 17

Repeat dipping cookies, then spreading cream. Go until all elements are used.

Step 18

Place the dish in the fridge for a minimum of one hour before adding toppings.

Step 19

Whip plant-based cream until airy and fluffy. Spread it over the top layer so it’s completely smooth.

Step 20

Drizzle thin pistachio butter lines across the surface. Drag a toothpick through them for a cool feather design. Sprinkle pistachios around for the finishing touch.

Step 21

Refrigerate for a good 6–8 hours or overnight, so everything firms up and blends together.

Step 22

Cut portions using a sharp knife you clean after every slice. Use a flat spatula to carefully lift out pieces (especially the first one).

Notes

  1. Letting the dessert rest in the fridge overnight gives the best structure and flavor.
  2. Want coconut cream? Chill coconut milk cans overnight, then scoop the thickened part.
  3. Choose a dairy-free cream made from oat, soy, or coconut for whipping.
  4. A tiny drip of green food dye (vegan-certified) adds a pistachio vibe.

Tools You'll Need

  • Mixer with balloon whisk (hand or stand type)
  • High-powered blender
  • Piping bag with a round nozzle attachment
  • Flat spatula for spreading
  • Large rectangular dish, good for layering
  • Flat baking trays
  • Non-stick baking sheets
  • Wire rack for cooling cookies

Allergy Information

Please check ingredients for potential allergens and consult a health professional if in doubt.
  • Includes pistachios (nuts allergy)
  • Uses soy (in tofu)