
 Pin it
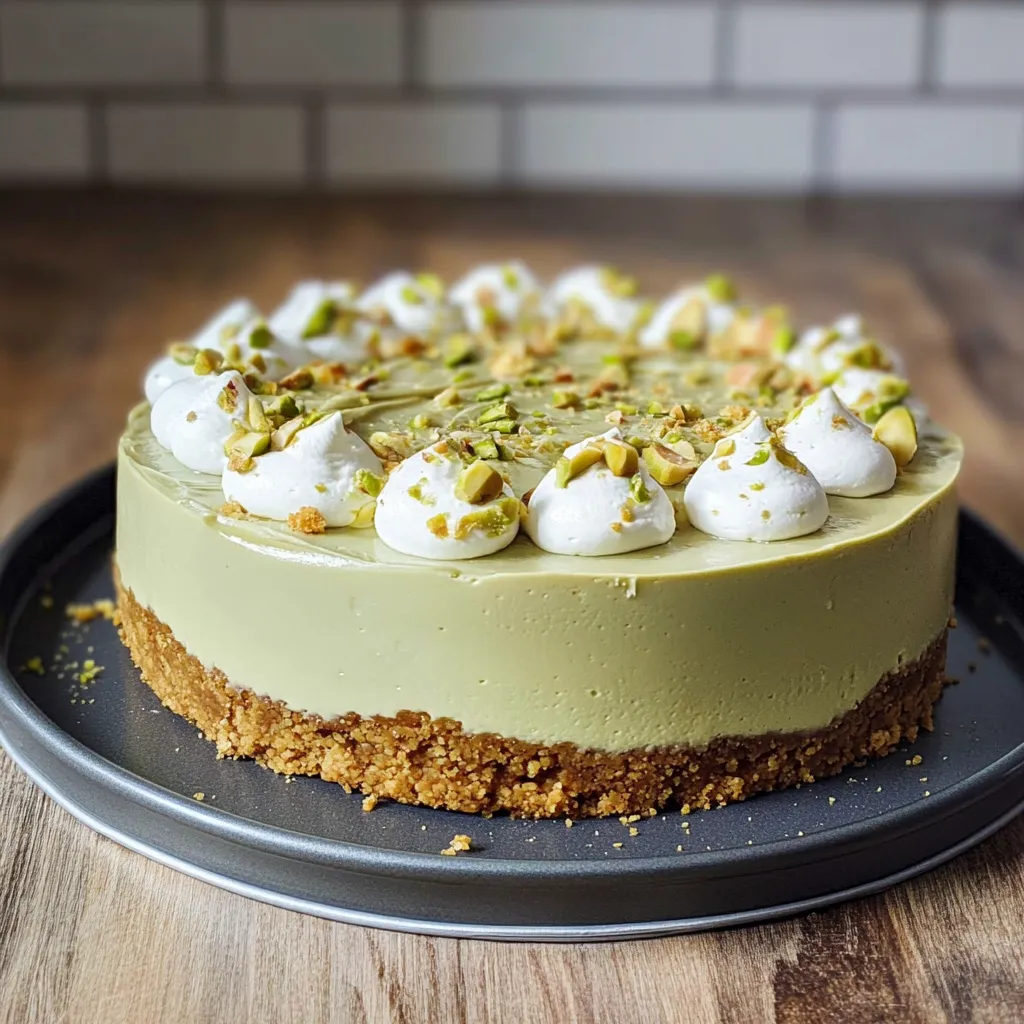
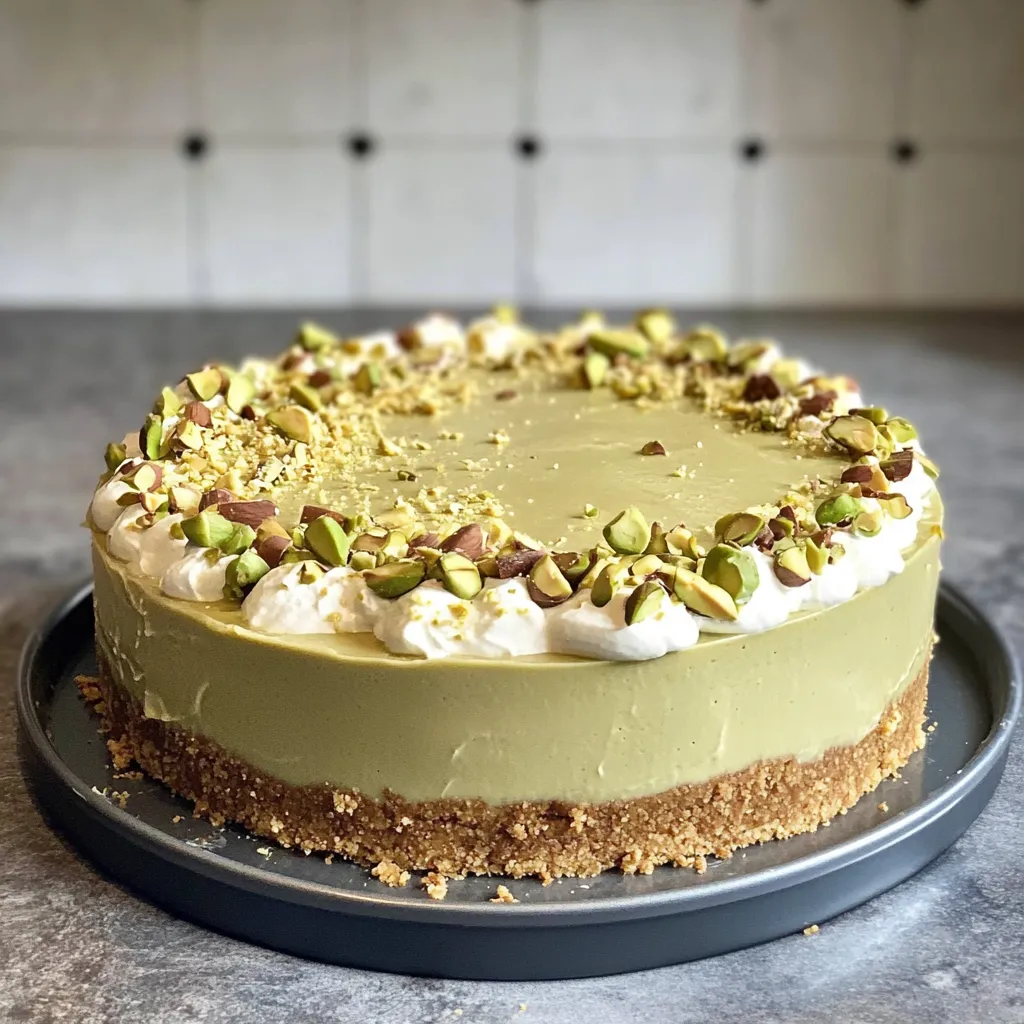
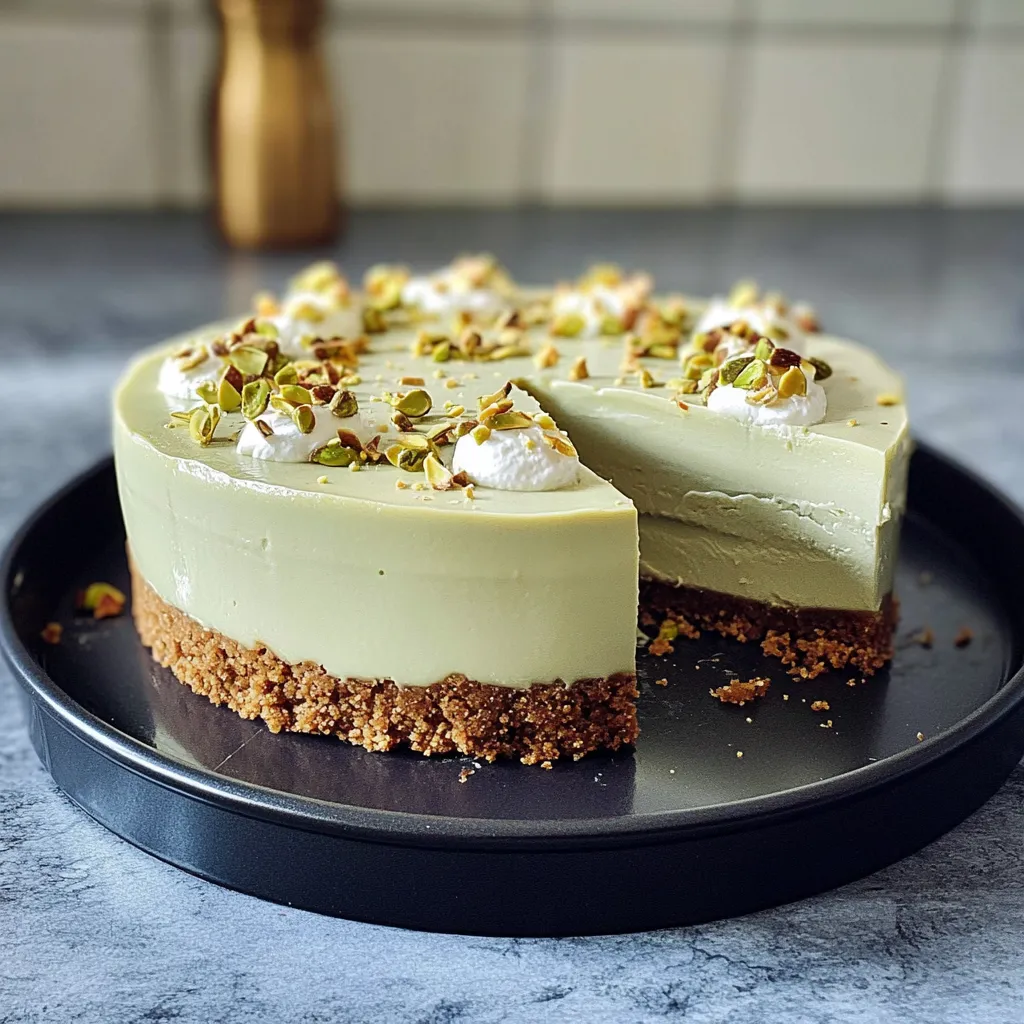
Pistachio cheesecake puts a whole new spin on a classic sweet treat. You get a bold nutty hit with that eye-catching green color. Creamy filling with pistachio spread gives you smooth and rich bites, striking just the right balance of sweet and nut. The crunch from chopped pistachios on top pops against the buttery biscuit base. Every forkful is dreamy and delicious.
The first time I made this, it was for my mom’s birthday in spring. I was bored of plain chocolate and vanilla, craving something surprising. Everyone loved how it looked, then tried a bite and wanted more—even the ones who usually say no to dessert got seconds. The pistachio stood out without being too much.
Essential Ingredient Picks
- Large eggs (3): Hold it all together and make everything rich
- White chocolate (100g): Sweetens and helps the filling stay firm
- Double cream (100ml): Makes the middle extra creamy and smooth
- Pistachio spread (200g): Brings all that nutty flavor to the party
- Corn flour (1 tbsp): Keeps the texture soft and smooth, stops cracks
- Granulated sugar (150g): Sweetens up the filling and keeps it together
- Full-fat cream cheese (500g): Gives the cake body and an ultra-rich feel
- Chopped pistachios (50g): Finishes the cake with a big crunch
- Unsalted butter (100g): Binds the biscuit crust for a firm, tasty bottom
- Digestive biscuits (250g): Form the base with their mellow crunch and gentle sweetness
Getting That Base Just Right
- Chill:
- Pop the tin in the fridge for half an hour, so the base gets nice and solid before you move on.
- Press into the pan:
- Take your crumb mix and form an even layer on the bottom of a springform pan, packing it down well.
- Prepare the base:
- Blitz biscuits into fine crumbs, then combine with your melted butter and some pistachios until the mix is sandy.
 Pin it
Making The Filling Extra Smooth
- Incorporate eggs:
- Add eggs one after the other, mixing gently so you don't whip in too much air.
- Melt and add white chocolate:
- Mix in melted and cooled white chocolate to take the richness up a notch.
- Mix in pistachio spread and cream:
- Fold in pistachio spread and double cream till it's creamy and fluffy.
- Add sugar and cornflour:
- Next, drop in sugar and cornflour and blend them through.
- Beat the cream cheese:
- Start by beating your cream cheese smooth, get out every last lump.
Water Bath Baking Made Easy
- Cool gradually:
- After baking, turn off the oven, crack the door, and let your cake sit for an hour before you stash it in the fridge.
- Bake:
- Cook at 150°C (300°F) for about 60-70 minutes. You want the edges set and just a soft wobble in the middle.
- Pour hot water:
- Pour hot water into the roasting pan till it comes halfway up your springform pan.
- Prepare the water bath:
- Wrap your cake tin in foil and nestle it in a deep roasting dish.
Luxe Finishing Touches
Once it's nice and cold, slather some warm pistachio spread across the top to make it glossy. Sprinkle over more chopped pistachios for crunch. If you want to get really fancy, pipe whipped cream round the edge and add a bit of edible gold leaf to impress.
Keep It Fresh
- Thawing:
- Move frozen slices to the fridge overnight, then let them sit out a bit before eating.
- Freezing:
- Wrap each piece in plastic wrap then foil before stashing them in the freezer, where they'll stay good for up to 3 months.
- Refrigeration:
- Pop it in a sealed container in your fridge, good for around 4 days.
 Pin it
I’ve spent years tweaking cheesecakes, and now this pistachio beauty is my top pick for family events. It’s got that gentle, nutty edge and creamy, melt-in-your-mouth filling that always gets people talking and coming back for more.
Frequently Asked Questions
- → Where do I get pistachio spread for this cheesecake?
- Hop over to specialty shops, international groceries, or online sellers. Some brands, like Nutella, have pistachio spreads too. DIY folks can blitz roasted, unsalted pistachios with a splash of oil and some honey until it’s smooth.
- → Is a water bath necessary for this Pistachio Cheesecake?
- You don’t have to use one, but it’s the way to go for a silky, crack-free cheesecake. If you skip it, bake lower (think 160°C/320°F) and put a little dish of water on a shelf below to keep things moist.
- → How early can I prep this Pistachio Cheesecake?
- You can make it three days ahead and stash it in the fridge. After a day or two, the taste actually gets even better. Want to freeze it? It’ll be good for a month—just thaw in the fridge overnight before serving.
- → Is there something I can use instead of cornflour in this Pistachio Cheesecake?
- Yeah, swap cornflour (cornstarch) for all-purpose flour—same amount works fine. Cornflour gives a nice set to the cake, but flour has your back if you’re out.
- → Tips for neatly slicing Pistachio Cheesecake?
- Warm up your knife in hot water, wipe it off, then slice. Do this between every cut and you’ll get really clean pieces, no mess.
- → Any way to make this Pistachio Cheesecake without white chocolate?
- You bet—you can leave it out, but it does make the filling richer and firmer. If you do skip it, pop in 30g more sugar and use 30ml less cream, so it’s still set just right.