
 Pin it
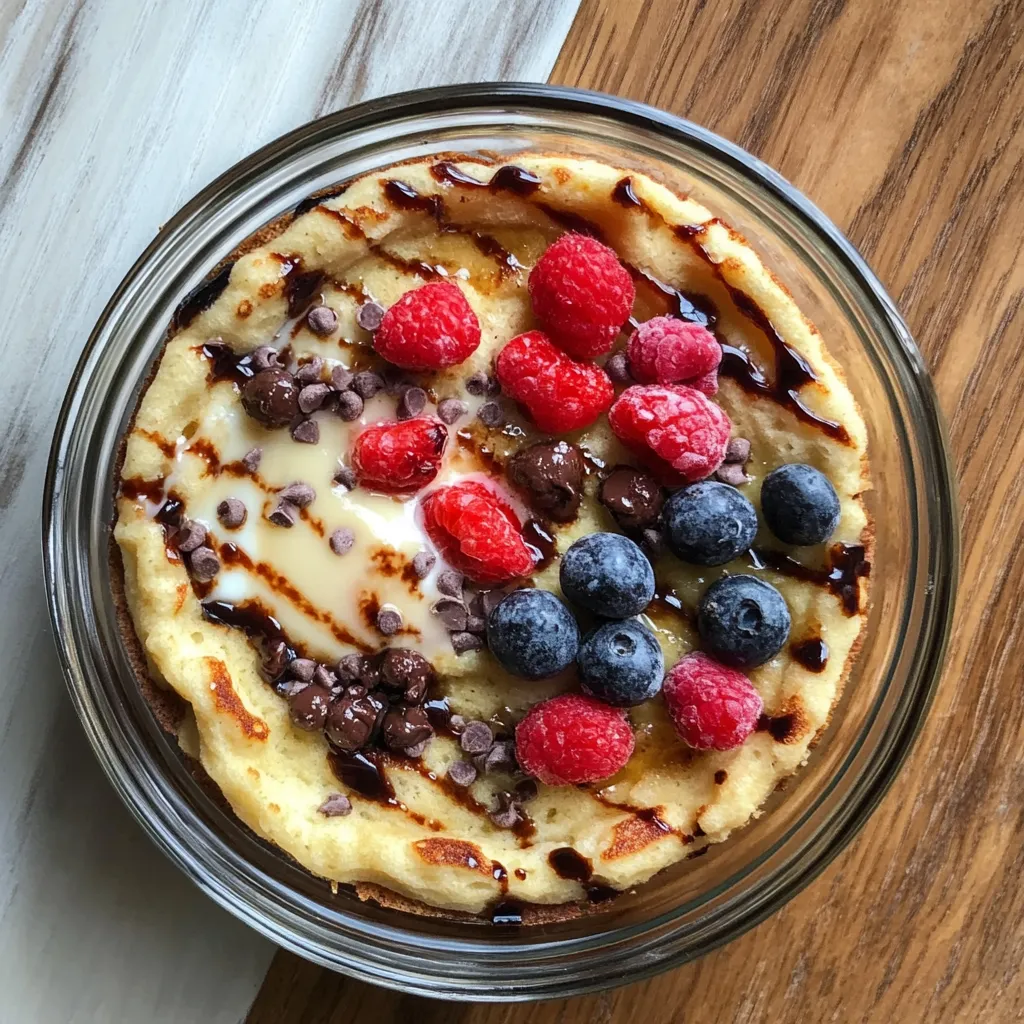
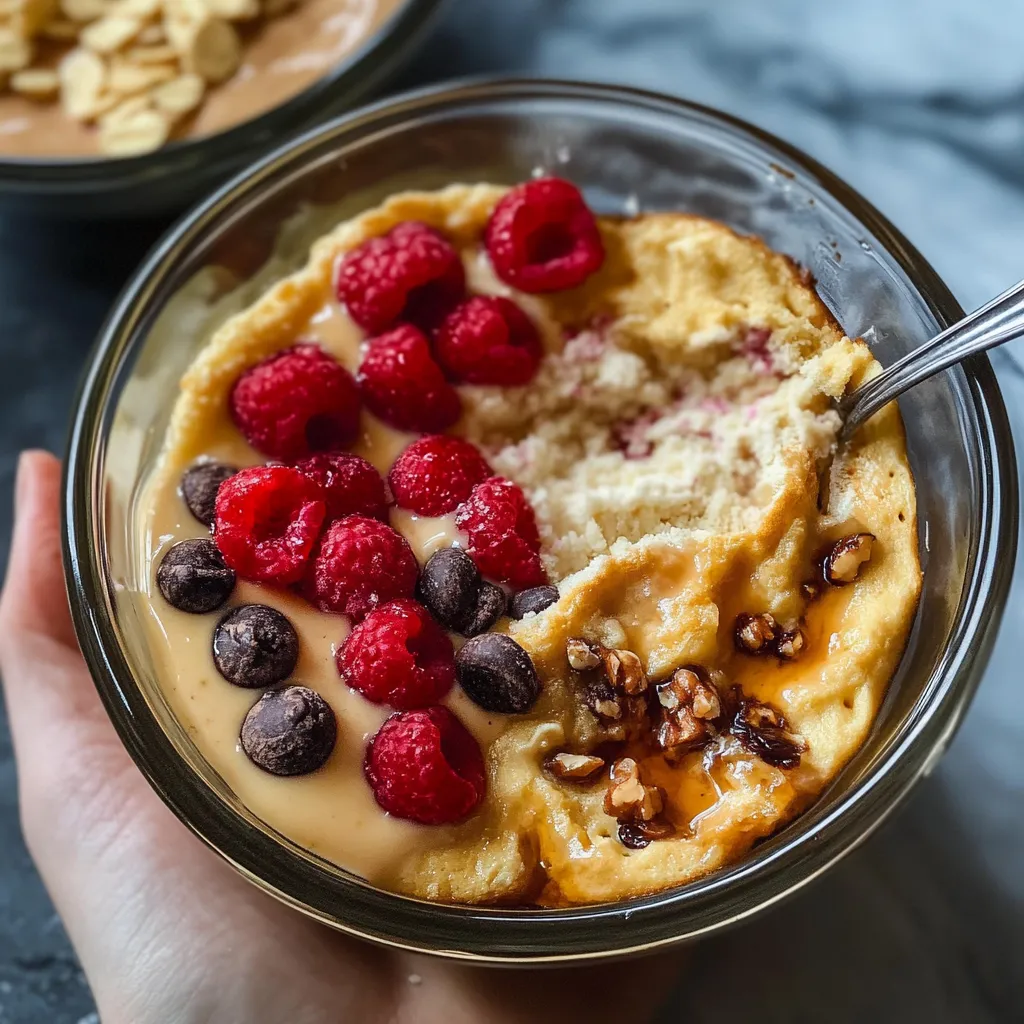
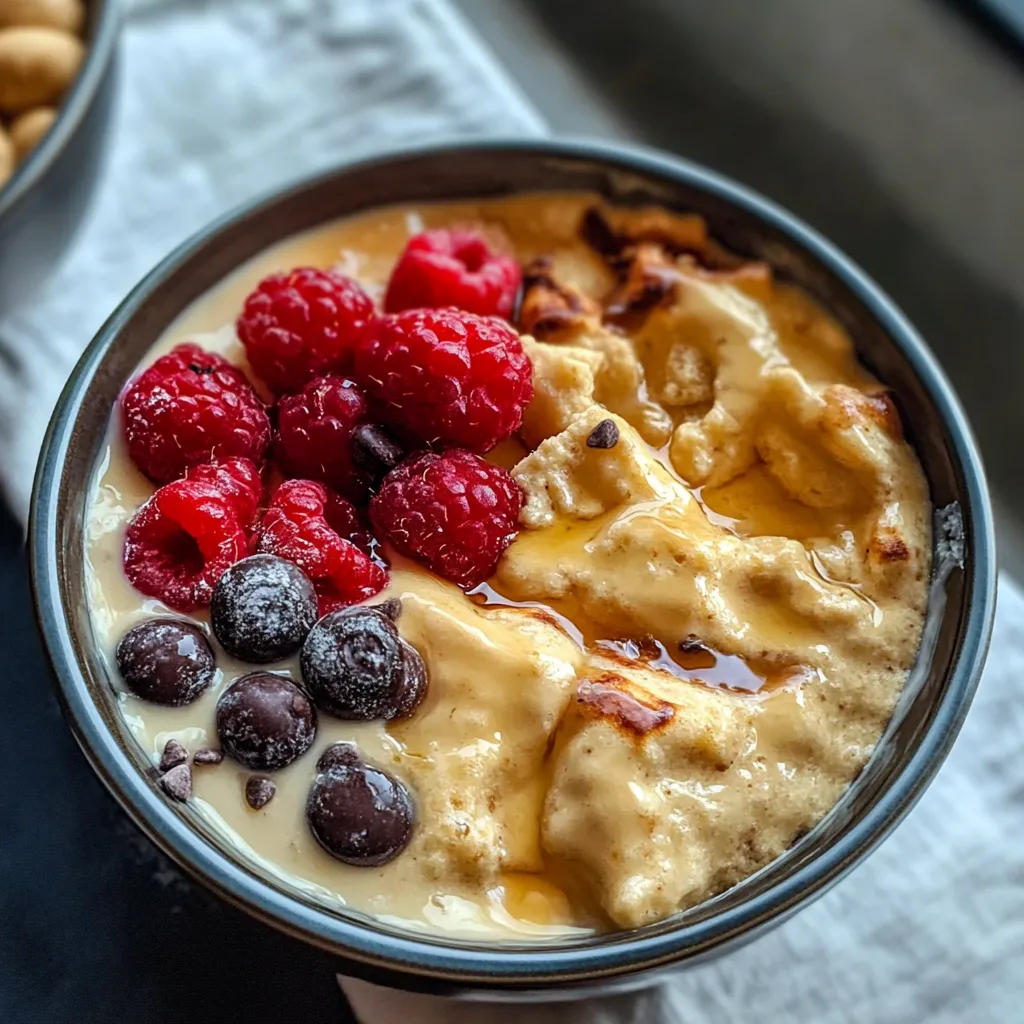
Making these single-serve fluffy protein pancake bowls has totally brightened up my mornings. Each one is packed with 31 grams of protein and still feels just like what you want from pancakes. I started making them when my job got super busy and flipping pancakes wasn’t even an option, but I still wanted something cozy to eat. What’s awesome is how quick and easy they are. I usually meal prep a few over the weekend, then just pop them in the microwave before work. Also, you won’t need bananas—just seven pantry staples and you’re set.
The first time I took these to my office, people were shocked I was eating pancakes so casually on a weekday. When they tried a bite, a bunch of them wanted to know how I made them. The biggest surprise was how soft and fluffy they stayed after reheating.
Unbeatable Ingredients
- 1/2 cup soy milk: Gives the batter a nice texture. Swap in your favorite milk—almond and oat milk totally work.
- 1 cup Greek yogurt: Makes everything moist and adds an extra protein kick. Bonus points if you use a high-protein kind.
- 2 large eggs: Brings it all together and makes the mix rise just right. Room temperature eggs blend in easier.
- 2 teaspoons baking powder: This is what makes them super puffy. Make sure it’s fresh.
- 2 scoops (60g) vanilla protein powder: Boosts protein without making it dry or weird. Whey isolate comes out great.
- 1 cup all-purpose flour: The base for that good pancake bite. Oat flour or gluten-free flour also work if you need to swap.
- 2 tablespoons sugar-free granulated sweetener: Adds a touch of sweetness. If you want, regular sugar does the job, too.
Easy Baking Steps
- Get Ready:
- Turn your oven to 350°F and pull out four ramekins or small baking dishes—about 4 inches across works best.
- Mix It Up:
- In a medium bowl, toss together the flour, protein powder, sweetener, and baking powder until it’s all the same color.
- Make It Smooth:
- In another big bowl, crack your eggs and beat them a bit, then whisk in yogurt and milk till it looks creamy.
- Bring Together:
- Ditch the dry ingredients into the wet mix and gently fold it together. Don’t overthink it, just mix until blended.
- Fill Them Up:
- Scoop the batter equally into your ramekins and sprinkle on whatever toppings you’re into.
- Bake Time:
- Bake for around 18-22 minutes. You’ll know they’re done if they’re golden and a toothpick poked in the middle comes out pretty clean.
 Pin it
Figuring out which protein powder works best was a learning curve. At first, I went plant-based and everyone noticed a weird gritty vibe. When I tried whey isolate, the whole thing turned out super smooth and way better.
Yummy Twists
Take things up a notch—stir in two tablespoons of cocoa powder for all-out chocolate, or add cinnamon and nutmeg (about a teaspoon each) to get those cozy spices going.
Awesome Topping Ideas
Pile on berries, a scoop of nut butter, or extra Greek yogurt to bump up the protein even more. If you like things sweeter, honey or sugar-free maple syrup both taste great.
Storing Tips
Let the bowls cool, then stash them in airtight containers in your fridge—they’ll last five days easy. Want to freeze them? Wrap each one in plastic, drop them in a freezer bag, and you’re set.
 Pin it
Making these protein pancake bowls totally changed how I stay on track with better eating and actually enjoy breakfast. They’re now a go-to at my place—easy, quick, and always hit the spot in the mornings.
Frequently Asked Questions
- → Is it possible to make these pancake bowls without gluten?
- Definitely! Just swap your flour for a gluten-free version you like. The texture might be a bit different, but still tasty. Remember to use gluten-free protein powder too.
- → How many days do these bowls keep in the fridge?
- If you pop them in airtight containers, they'll stay good for about 3 or 4 days. Freezing isn't great—the texture won't hold up once thawed.
- → What kind of protein powder should I use?
- Plant protein powders like pea or soy work great here. If you go for whey, use a little less milk because whey doesn't soak up much. For flavor, vanilla or white chocolate is awesome.
- → Can I skip protein powder for these?
- You can! Just sub in another 20g flour plus a bit more sweetener, like 5g. It’ll be more like a regular pancake texture, but still good.
- → How should I warm these up again?
- Microwave for 30 to 45 seconds is your best bet. Want the top a little crisp? Try 20 seconds in the microwave and a couple more minutes in a toaster oven. Toss on your toppings after.