
 Pin it
Zesty lemon and juicy raspberry come together in these treats for a flavor combo that's hard to beat. You get cake that's super soft with plenty of lemon punch from fresh juice and zest. Inside, there's a pocket of bright raspberry jam. On top, a swirl of lemony buttercream and a couple fresh berries make it look amazing. Add some crunchy pistachios for a pop of color and texture—trust me, it takes things to the next level. These are the kind of thing you make when you want something truly wow-worthy for a get-together or when you just feel like treating yourself to something awesome.
I put together a batch of these for my kid's graduation party last spring. Everyone thought I'd bought them at a fancy bakery—no kidding. Before the night was over, people were asking how I'd made them. My sister even called dibs for her anniversary party. Honestly, they just remind me of hot summer days in my grandma’s backyard with lemons and raspberries everywhere you looked.
Dreamy Cupcake Must-Haves
- Butter: Soft, unsalted butter is the way to go for smooth cake and frosting. Let it sit out awhile before using.
- Lemons: Grab two medium, firm lemons with skinny skin—they’ll give you more juice and fragrant zest for both cake and topping.
- Pistachios: Pick up green, already-shelled nuts for easy chopping and bright color. They work so well with lemon and raspberry.
- Cake Flour: This type of flour gives that extra tender bite you want. Less protein means a fluffier crumb.
- Raspberries: Use plump, fresh berries for filling if you can. If you’ve only got frozen ones, they’re perfect for cooking down into jam, too.
How to Nail Baking
- Jam Filling Steps:
- Start by letting cupcakes cool. Take a sharp knife or apple corer and scoop out a chunk from the middle about an inch deep. Cook up your raspberries with some sugar until jammy, then either spoon or pipe the gooey mix right into the hole—while it’s still warm if possible. That way the filling soaks in just a bit, for a juicy burst in the middle.
- Wet Mix Blending:
- In another bowl, whisk together eggs, sour cream, lemon juice, and vanilla until it looks all mixed and smooth. With your mixer running slow, pour this into the dry mix. Give the bowl a good scrape down, then blend again briefly so the batter just comes together—don’t keep mixing or cupcakes will get tough.
- Sugar & Zest Magic:
- Toss grated lemon zest with regular sugar in a bowl. Rub it together with your fingers until everything looks like damp sand and smells zippy. That gets all those lemony oils out and will make your whole cake taste fresh. Let it hang out while you bring the rest of your ingredients together.
- Add Butter to Dry Mix:
- Put cake flour, baking powder, baking soda, salt, and your lemon-sugar mix in the mixer bowl, then drop in pieces of soft butter. Mix on low until it’s crumbly and kind of sandy. This coats the flour, keeping your cupcakes extra tender and not chewy.
 Pin it
My mom always said using both the lemon zest and juice made desserts taste way better. She’d save the skins from juiced lemons in the freezer so there was always zest handy for baking. It cuts down on waste and means you’re never out of big lemon flavor—a habit I totally picked up from her.
Showstopping Serving Tips
Make them look next-level by swirling your frosting around the top instead of just plopping it on—leave the middle open so everyone sees the jam. This keeps the flavors balanced, too. After that, toss on a couple of fresh raspberries, some chopped pistachios, and maybe a tiny mint leaf for that wow factor. Fancy party? Pop each one in a pretty wrapper and pile them on a stand with extra berries and lemon slices for the full effect.
Keep Them Fresh
If they’re frosted, keep your cupcakes covered at a cool room temp up to two days—they stay soft and tasty. The fridge gets you another couple days, but the cake might get a little firm. If you chill them, let them sit out thirty minutes before digging in. Not ready to frost? Unfrosted cupcakes can be frozen for months. Just wrap each one up tight and stick them in a sealed container. Bring them back to room temp before filling and topping for peak flavor.
 Pin it
Frequently Asked Questions
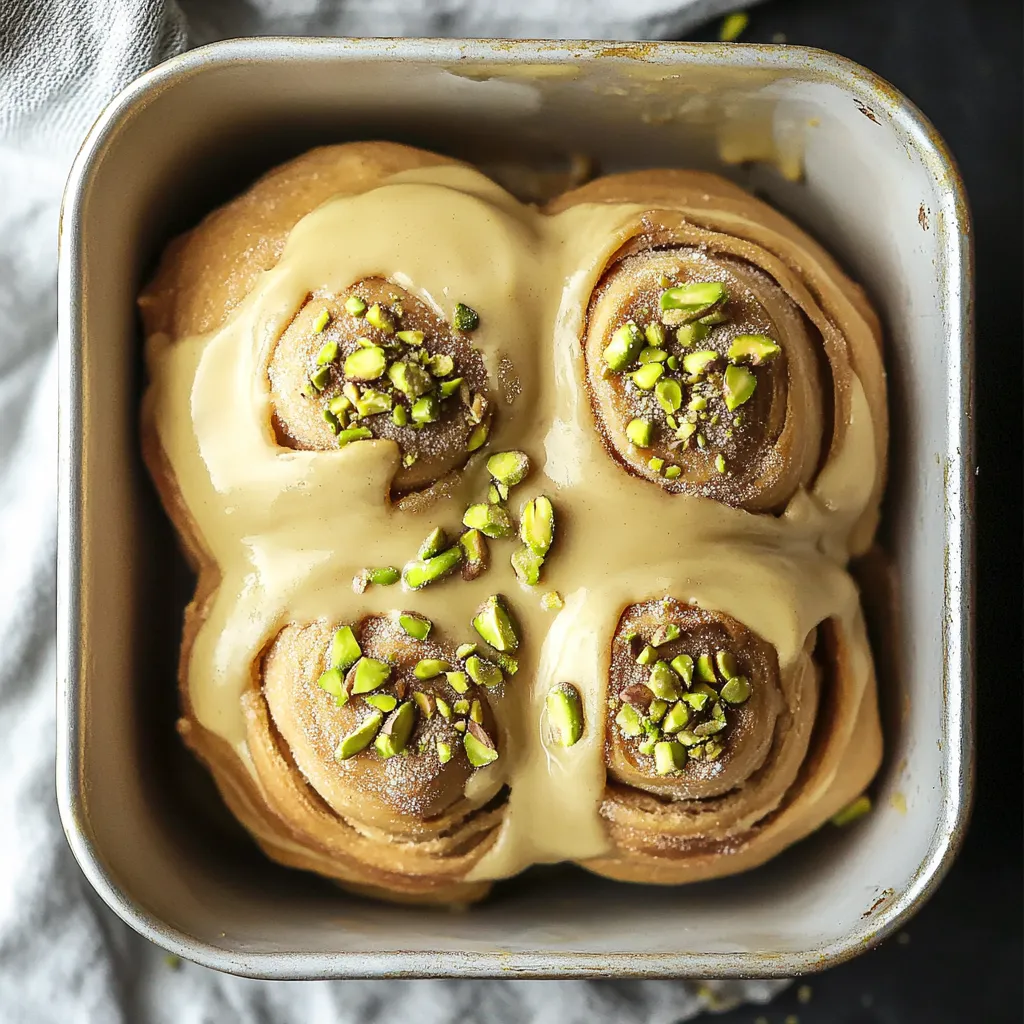
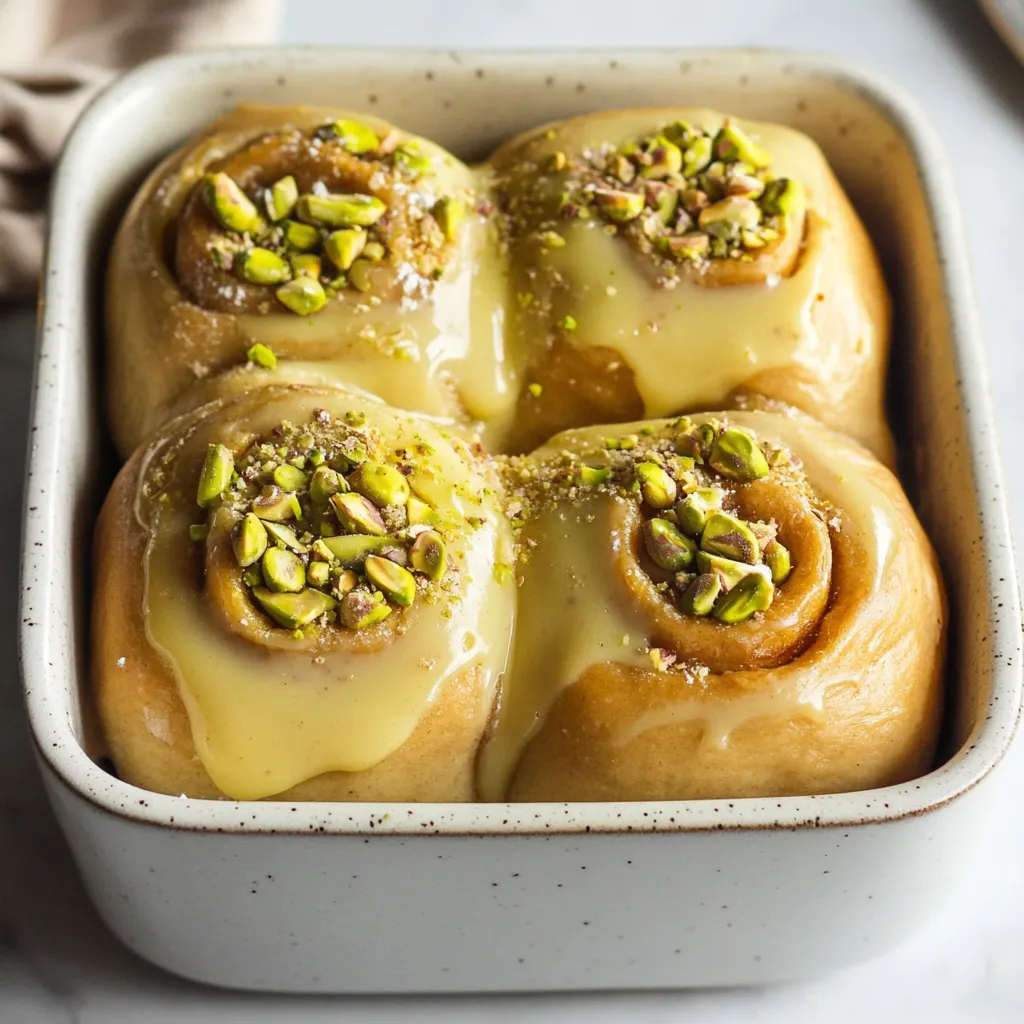
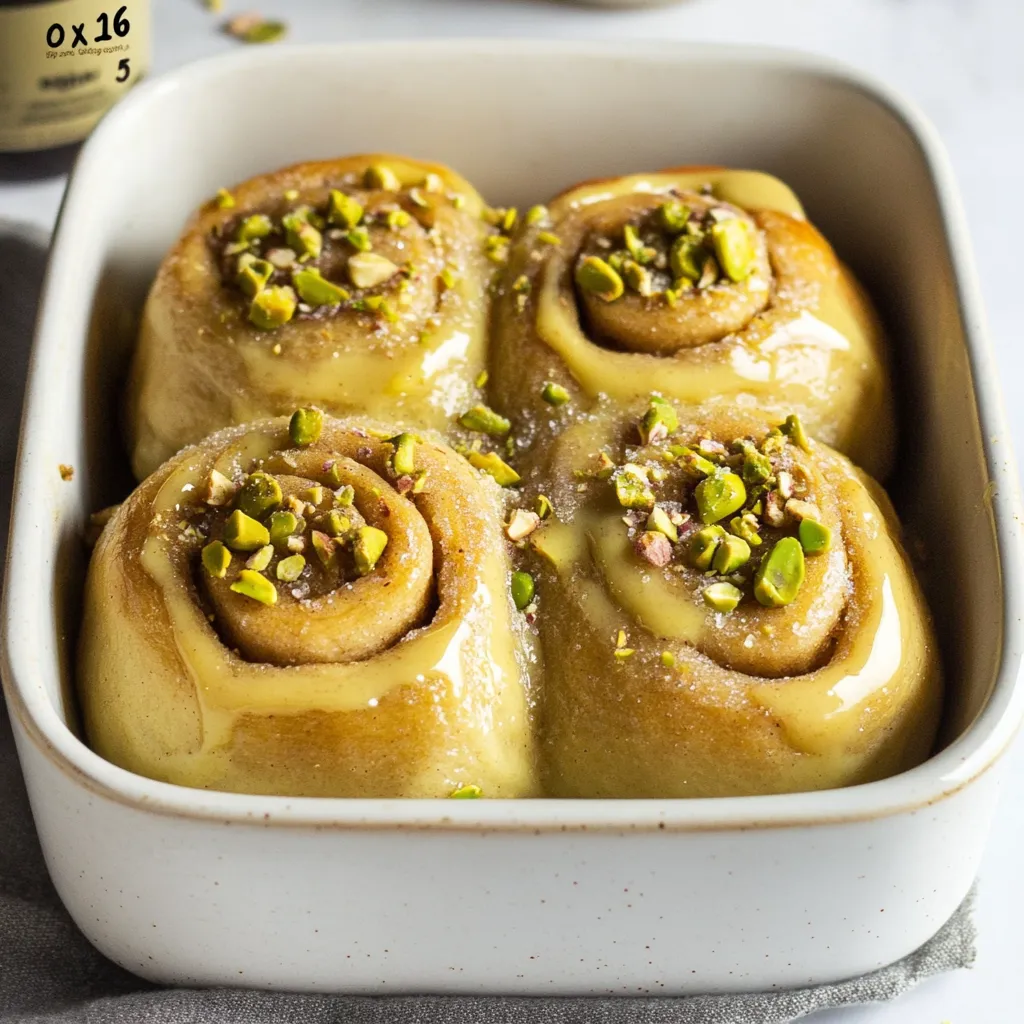
- → Can I make these pistachio rolls ahead of time?
- Definitely! Once you’ve shaped the rolls, pop them in the fridge overnight (up to a whole day). Done chilling? Bring them to room temp for a couple hours before you bake. Wake up to warm, ready-to-bake rolls and skip the early alarm.
- → What can I use if I can't find vegan pistachio cream spread?
- No vegan pistachio cream? Grab pistachio butter instead! Don’t forget to double the sugar in the filling so it’s sweet enough. Or toss roasted pistachios, a splash of oil, and some sugar in a blender and whip your own creamy spread.
- → Do I really need a stand mixer to make these rolls?
- You don’t need a mixer, but it does make mixing easier. Want to make them by hand? Just knead the dough for around 8 to 10 minutes till it’s smooth and stretchy. It’s a mini arm workout, but totally worth it.
- → How do I store leftover pistachio rolls?
- Keep your extra rolls in a sealed container at room temp and they’ll last 2 to 3 days. Want to stash them longer? Freeze them (with or without glaze) for up to 2 months. Thaw on the counter, then heat them up a bit before eating.
- → What's the difference between using the pouring cream and skipping it?
- Pouring cream makes the centers all sticky and soft. If you skip it, your rolls will still be fluffier than clouds, just a little less melty in the middle. It’s your call—super gooey or a bit less messy!