
 Pin it
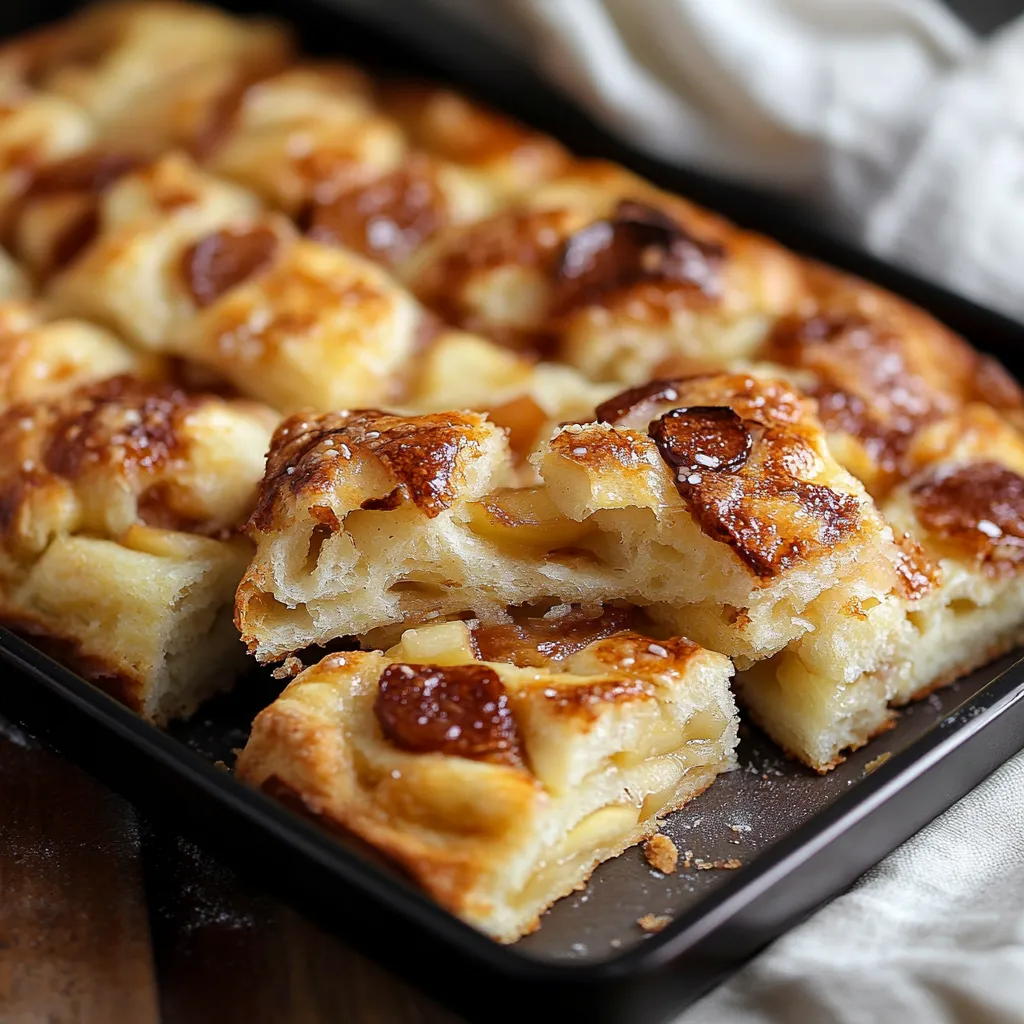
This unique apple fritter focaccia blends two favorites – chewy Italian bread with sweet-spiced apple fritter flavors. It's a one-of-a-kind treat that'll make both bread fans and dessert lovers happy.
I started making this during apple season last autumn, and it quickly turned into our weekend must-have. When those cinnamon apples bake into that soft focaccia dough, our whole house smells like the coziest bakery ever.
Ingredients
- Bread flour: Gives you that perfect chewy bite and holds everything together
- Instant yeast: Makes the dough rise without any extra steps
- Neutral vegetable oil: Keeps the bread's flavor light and balanced
- Honey: Brings a touch of sweetness and helps the yeast work better
- Tart apples like Granny Smith: Stay firm when baked and aren't too sweet
- Ground cinnamon: Adds that warm, familiar apple fritter taste
- Icing sugar glaze: Tops it all off with that classic fritter sweetness
Step-by-Step Instructions
- Mix the base:
- Stir together lukewarm water, instant yeast, vegetable oil, honey and salt in a big bowl or stand mixer. Dump in the flour and mix until everything comes together. This gets the flour wet and starts building those stretchy gluten strands for chewy texture.
- First rest:
- Throw a tea towel over the bowl and let it sit for 15 minutes. This quick break lets the flour soak up all the liquid and starts developing gluten without any kneading.
- Stretch and fold:
- Grab the dough edges and pull them up and over the middle. This builds strength without working the dough too hard. You'll feel it getting smoother each time you do this.
- Second rest and rise:
- Cover the bowl again and wait 15 minutes, then do another round of stretches and folds. Cover and let it grow for an hour. During this time, the dough makes those air bubbles that give focaccia its special texture.
- Pan preparation:
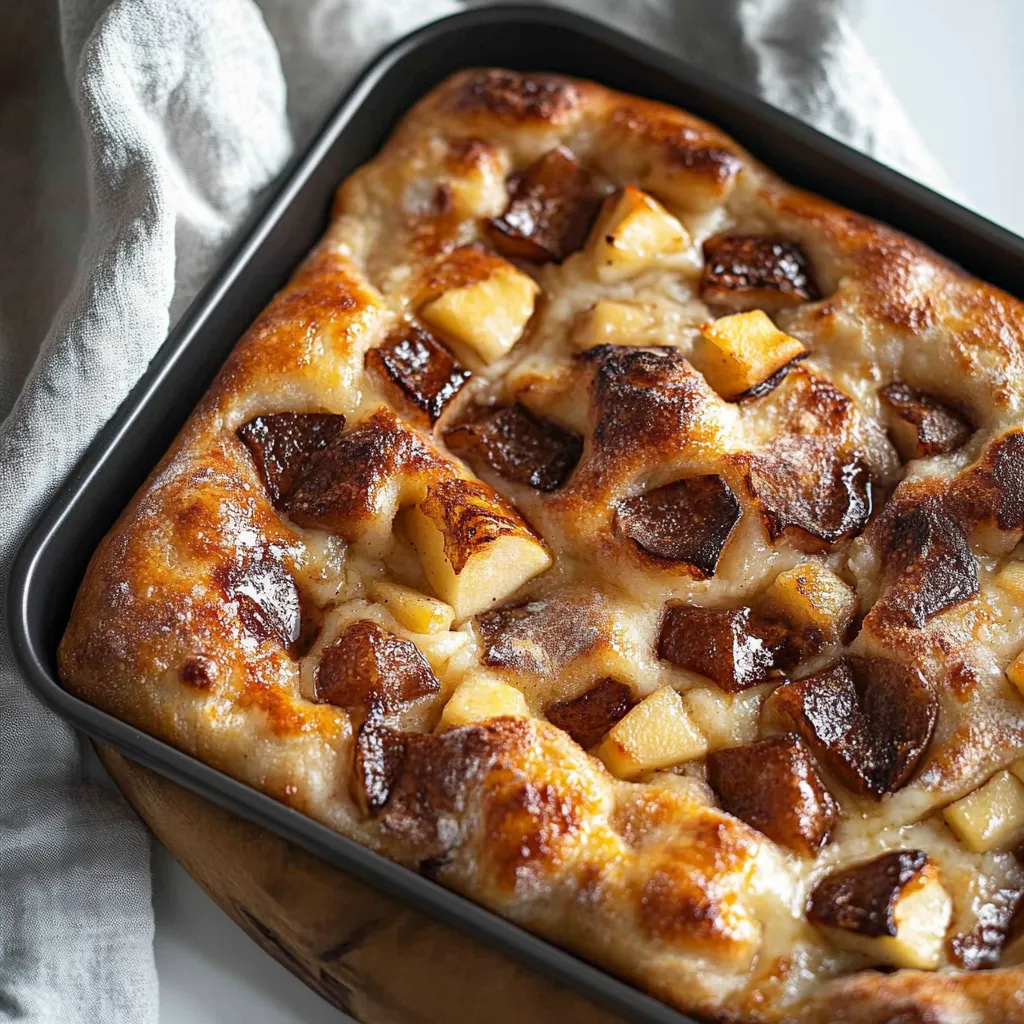
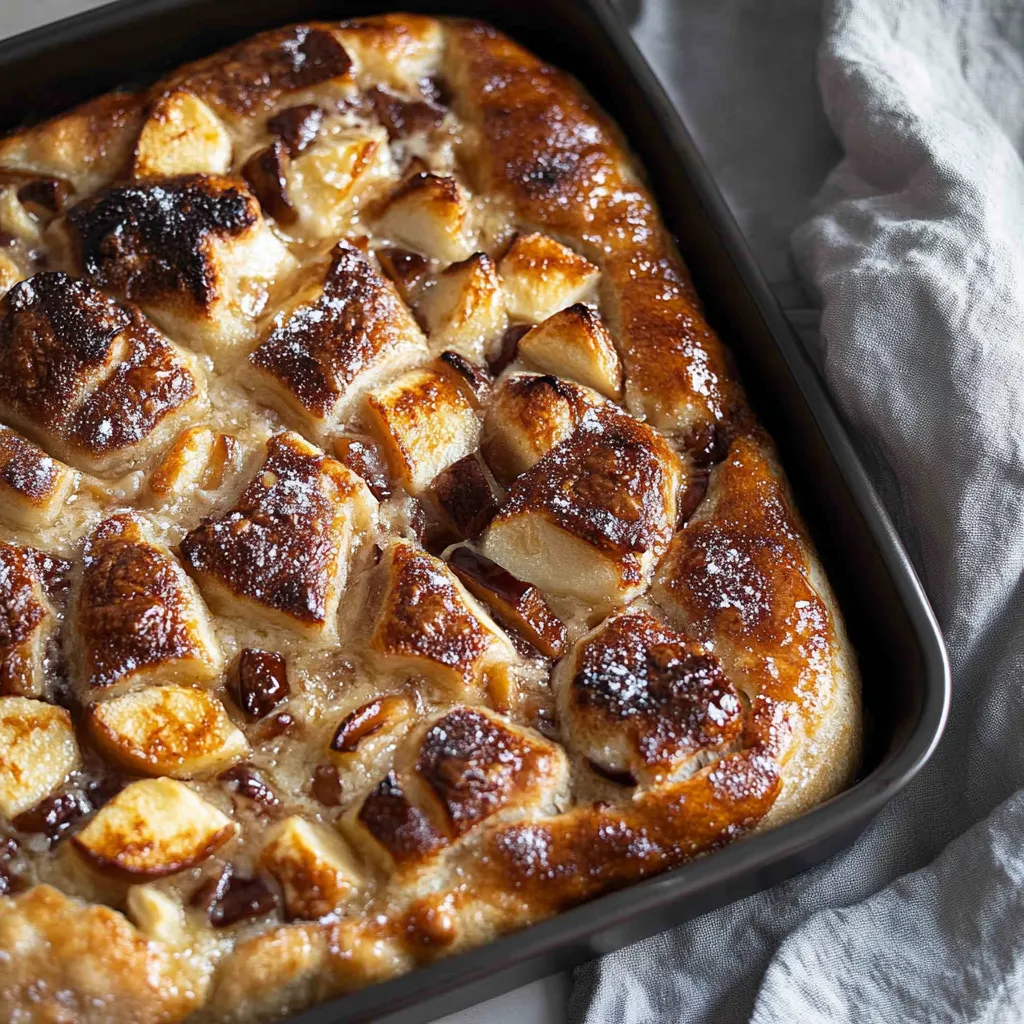
- Pour oil across the bottom of a 9×13 metal pan and spread it around. This oil is what gives you that amazing crispy bottom crust.
- Shape and second rise:
- Dump the dough into your oiled pan and roughly shape it into a rectangle without stretching it all the way to the edges. Cover and let it puff up for 90 minutes. This long wait builds flavor and makes the bread light and airy.
- Apple preparation:
- Simmer diced apples with sugar and lemon juice until they're soft and the liquid's gone. Stir in cinnamon and flour to make a tasty filling that'll hold up well during baking.
- Dimpling and topping:
- Scatter your cinnamon apples over the puffy dough. With oily fingertips, poke holes all through the dough, pushing apples down into it. These little dents give focaccia its rustic look and create pockets of flavor.
- Baking:
- Bake at 425°F for 19-23 minutes until it's deep golden brown. The hot oven creates steam that helps the bread rise and makes that perfect crust.
- Glazing:
- Drizzle your sweet fritter glaze over the warm focaccia and spread it across the top. Let it set before cutting so your slices stay neat and you get that perfect sweet finish.
 Pin it
My favorite moment is watching friends try to figure out what they're eating when they first taste it. They can't decide if it's bread or dessert! That confusion quickly turns into smiles as they reach for another piece. My daughter now asks for this instead of cake on her birthday.
Perfecting the Stretch and Fold
The stretch and fold method in this recipe builds gluten without the heavy kneading that can make bread tough. It's more like gently guiding the dough rather than forcing it. Just grab a section from the edge, pull it up until you feel some resistance, then lay it over the middle. Turn your bowl and do it again until you've gone all the way around. Each time you do this, you'll notice the dough getting smoother and stretchier.
Choosing Your Apples
While we call for tart apples, you can switch things up based on what you like. Granny Smiths keep their shape and balance out the sweet glaze nicely. Honeycrisps give you a good mix of sweet and tart with great texture. Stay away from Red Delicious as they turn mushy when cooked. For amazing flavor, try mixing different kinds of apples. Just make sure to cut them all the same size so they cook evenly.
Prep-Ahead Tricks
You can get a head start on this focaccia if needed. Make your dough through the first rise, then stick it in the fridge overnight. The slow, cold rising actually makes it taste even better. Just pull it out 2-3 hours before baking so it can warm up and finish its second rise. You can also cook your apple mixture a day early and keep it in the fridge in a sealed container.
 Pin it
This apple fritter focaccia brings together comfort and creativity in one delicious package that's perfect for any occasion.
Frequently Asked Questions
- → What type of apples work best for this focaccia?
Go for tangy varieties like Granny Smith, Honeycrisp, or Pink Lady as they balance the icing's sweetness and hold their shape while baking. The recipe mentions tart apples specifically because they create the perfect flavor contrast in the finished bread.
- → Can I prepare the dough ahead of time?
You can totally make the focaccia dough up to a day ahead and let it slowly rise in your fridge. This actually makes it taste even better! Just let it sit out for about 30-60 minutes to warm up before you shape it and add your apples.
- → Is there a substitute for corn syrup in the glaze?
As the recipe mentions, you can swap corn syrup with equal amounts of honey or golden syrup. These will give you that same shiny look and stop sugar crystals from forming in your glaze.
- → How should I store leftover apple fritter focaccia?
Keep any extra focaccia in a sealed container at room temperature for a couple days. If you want it to last longer, stick it in the fridge for up to 5 days. When you want some, just pop a slice in the microwave or toaster oven for a few seconds to warm it back up.
- → What's the purpose of the stretch and fold technique?
Stretching and folding builds strength in the dough without hard kneading, which gives you those big air bubbles and soft texture. This easy method creates that open, airy inside that makes focaccia so special, and it's much easier than traditional kneading.
- → Can I add other toppings besides apples?
You can definitely jazz this up with extras like chopped walnuts or pecans, some dried cranberries, or a sprinkle of chunky sugar before it goes in the oven. A light dusting of cinnamon or cardamom mixed into the dough can also add amazing flavor.