
 Pin it
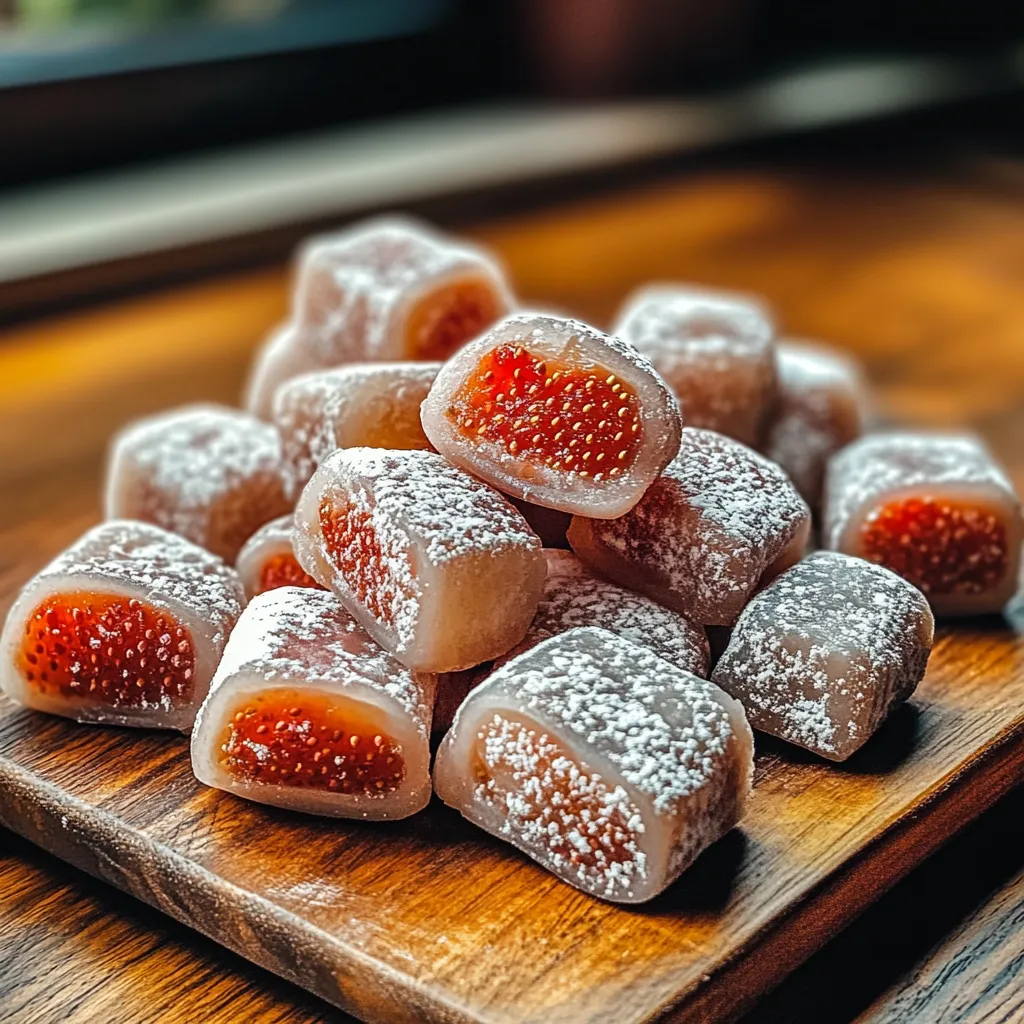
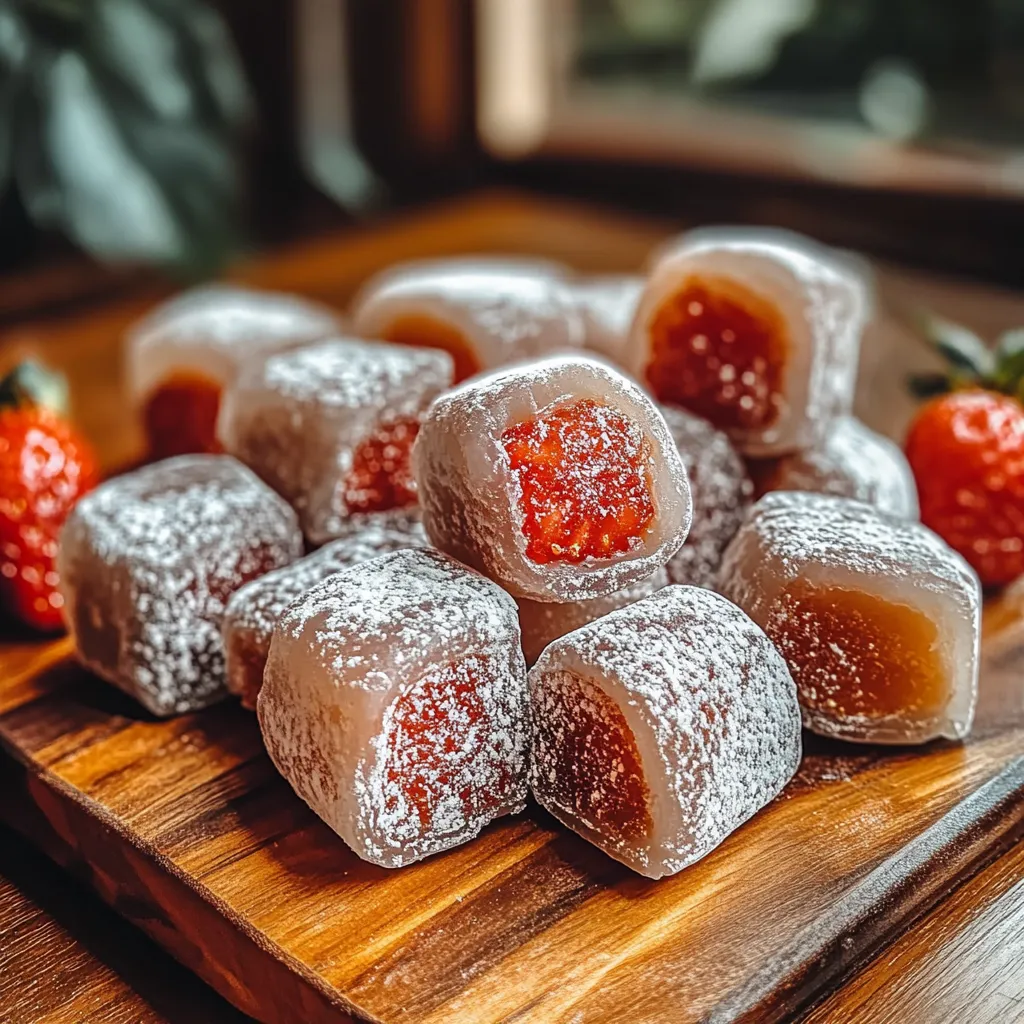
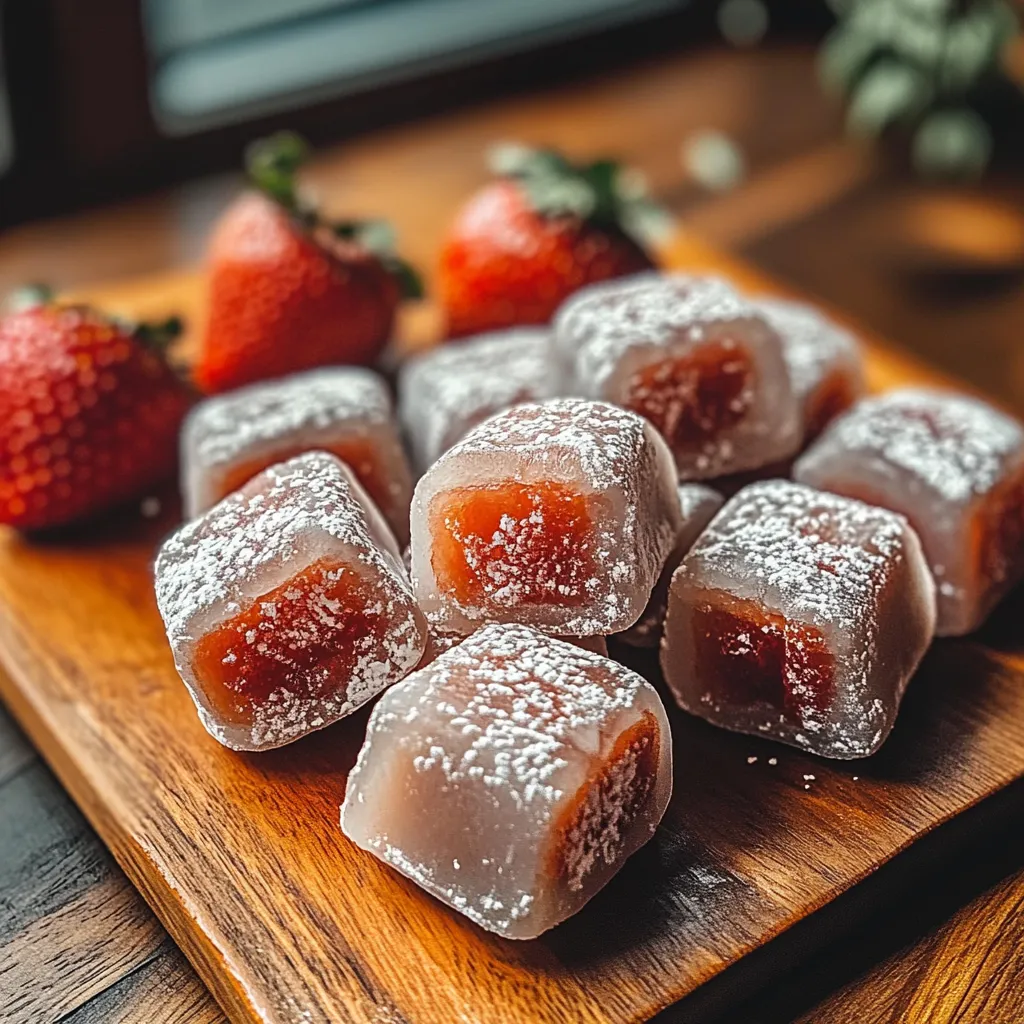
This chewy strawberry mochi blends the bouncy texture of classic Japanese mochi with juicy, fresh strawberries for an amazing warm-weather treat. You'll love how the mild sweetness of the rice wrapper perfectly balances the bright, natural tang from the fresh berries.
I first created these strawberry treats for a friend's hanami party, and they've turned into my go-to dessert for get-togethers. Everyone always smiles when they see the pretty pink color from the strawberries.
Ingredients
- Sweet rice flour: Sometimes called mochiko or glutinous rice flour, this creates that stretchy, bouncy bite that makes good mochi special
- Granulated sugar: Adds just enough sweetness without taking over the gentle flavors
- Water: Wakes up the rice flour starches to make that famous stretchy texture
- Vanilla extract: Brings a hint of flavor that works well with the strawberries
- Cornstarch: Keeps everything from sticking and makes that nice powdery outside
- Fresh strawberries: Add natural sweetness and gorgeous color; try to find plump, bright red ones
- Red bean paste (optional): This classic Japanese sweet filling goes perfectly with strawberries
Step-by-Step Instructions
- Prepare the Batter:
- Mix the sweet rice flour and sugar in a bowl until they're completely blended. Make sure the sugar is spread evenly through the flour. Pour in water and vanilla extract, and stir constantly until you get a smooth mix with no lumps. Your batter should be a bit thick but still pourable, kind of like pancake mix.
- Cook the Mochi:
- Put your batter in a microwave-safe dish lined with parchment paper so it won't stick. Cover it with plastic wrap, but leave a tiny gap for steam to get out. Microwave on high for 2-3 minutes, keeping an eye on it as it cooks. You'll know it's done when it turns see-through and puffs up a little. It'll change from liquid to solid but stay very soft.
- Cool and Prepare Surface:
- Let the mochi cool about 5 minutes until you can touch it but it's still flexible. While waiting, cover your work area with lots of cornstarch. This step is super important because mochi gets really sticky. Move the warm mochi onto your cornstarch-covered surface and sprinkle more cornstarch all over the top.
- Shape and Fill:
- With a rolling pin, carefully roll the mochi into a flat sheet about 1/4 inch thick. Try to keep the thickness even all over. Cut it into 3-inch squares with a sharp knife or cookie cutter. Put a strawberry slice and small amount of red bean paste (if you're using it) in the middle of each square. Fold the edges up and over your filling, and pinch the edges together to close it completely.
 Pin it
The first time I made strawberry mochi for my grandma, she wasn't sure about mixing strawberries with mochi. After trying one, she told me they were even better than the traditional red bean ones she ate growing up in Japan. Now we make them together every spring when strawberries look their best.
Make Ahead and Storage
These mochi treats have the perfect texture right after you make them, but you can keep them for up to 2 days. Store them in a sealed container at room temperature with a light coating of cornstarch between layers so they don't stick together. They'll get hard in the fridge, but you can warm them up to room temperature or pop them in the microwave for 5-10 seconds to soften them again. If you want to save them longer, wrap each one in plastic and freeze them for up to a month. Let them sit out for about 30 minutes before eating.
Flavor Variations
Fresh strawberries make an awesome filling, but you can try lots of different things with this recipe. For a more traditional Japanese style, skip the strawberries and just use sweet red bean paste. You can make colorful mochi by adding a few drops of food coloring to your batter, or mix in some matcha powder for a green tea flavor. If you love chocolate, try tucking a small piece in with the strawberry - it'll get a bit melty from the warm mochi. You can also play around with different flavors like almond or coconut extract instead of vanilla to match your fillings.
Cultural Significance
Mochi plays a big role in Japanese traditions, especially during New Year when families make kagami mochi for their home altars. Its stretchy texture stands for long life and strong family ties. Old-school mochi usually has red bean inside, but newer versions often include seasonal fruits like strawberries. This twist keeps the cultural roots while adding a fresh take that people love today. In Japan, sharing mochi means showing goodwill and connecting with others, which makes these strawberry treats perfect for bringing friends and family together.
 Pin it
Strawberry mochi brings together old traditions and new ideas in the most delicious way. Have fun making and sharing this wonderful dessert!
Frequently Asked Questions
- → Can I use other fruits instead of strawberries?
Definitely! This works great with lots of different fruits. Try chunks of mango, peach slices, plump blueberries, or thin kiwi pieces. Just make sure your fruit isn't too soft or it'll squish when you're wrapping the dough around it.
- → Why is my mochi too sticky to work with?
Stickiness happens a lot with this dough. Don't be shy with the cornstarch when you're handling it. If it's still giving you trouble, pop it in the fridge for 10-15 minutes and it'll get easier to shape.
- → Can I make strawberry mochi ahead of time?
These treats taste best when eaten within 24 hours. You can make them a few hours before serving and leave them out at room temp. If you need longer, they'll last in the fridge for up to 2 days, but they'll get a bit harder.
- → What is sweet rice flour and can I substitute it?
Sweet rice flour (also known as glutinous rice flour or mochiko) can't really be swapped out - it's what gives that stretchy, chewy texture everyone loves. Normal rice flour won't work because it doesn't have the stickiness needed to make proper dumplings.
- → Can strawberry mochi be frozen?
You can freeze the plain dough for about a month with no problem. But once you've added strawberries, freezing isn't a good idea. When the berries thaw, they'll release water and make your dumplings soggy. Better to freeze just the dough and add fresh fruit after it thaws.
- → Is there a stovetop method instead of using a microwave?
You bet! Just put your mixture in a bowl that can handle heat, and steam it over simmering water for around 15-20 minutes. Stir it now and then until it looks clear and gets sticky. Many folks think this old-school way actually makes the texture come out more even.