
 Pin it
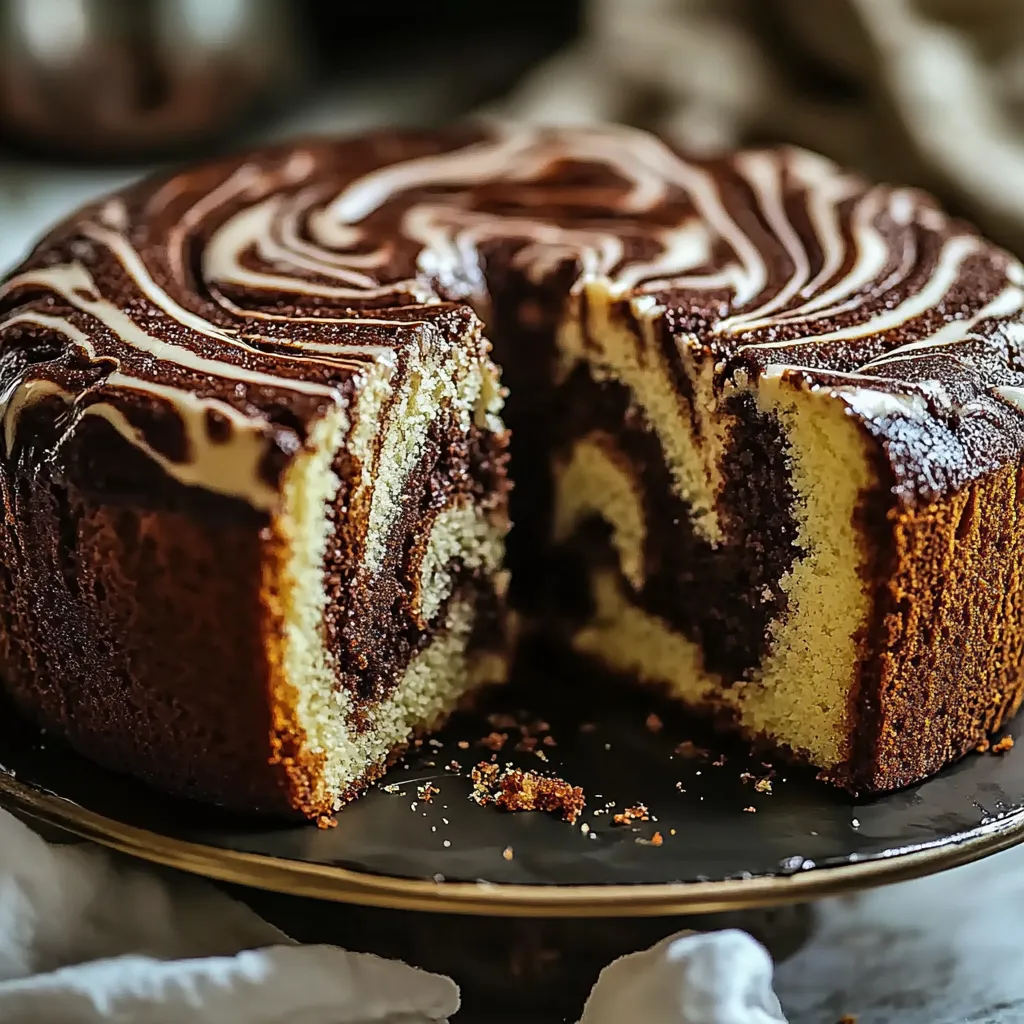
I've been bringing this swirled cake to family events and celebrations for years now. When vanilla meets chocolate in those beautiful twists, you get something that looks amazing and makes everyone happy – no matter which flavor they usually go for.
The story behind this cake started when my daughter turned five and couldn't pick between chocolate or vanilla for her birthday. When she saw both swirled in one cake, her eyes lit up, and that's when I knew this would be our family's special treat forever.
What You'll Need
- All purpose flour: Gives your cake the right texture while staying soft
- Baking powder and baking soda: Team up to make the cake puff up nicely
- Unsalted butter: Brings a rich taste and soft texture – try the European kind for extra goodness
- Granulated sugar: Adds sweetness and helps brown the outside beautifully
- Large eggs: Hold everything together and add moisture – make sure they're not cold from the fridge
- Vanilla extract: Adds that warm, familiar smell and taste – don't go for the fake stuff
- Milk: Makes everything tender and moist – whole milk works best
- Cocoa powder: Brings the chocolate flavor, Dutch processed gives a deeper color
- Hot water: Wakes up the flavor in the cocoa – just-boiled water works wonders
Easy Steps To Follow
- Get Ready First:
- Turn your oven on to 350°F and get all your stuff ready based on when you'll use it. Grease your pan really well, making sure to get into all the corners. This prep work makes everything go smoothly and keeps your cake from sticking later.
- Mix Your Main Batter:
- Start by sifting the dry stuff together to get air in there and mix the rising agents evenly. Beat your soft butter and sugar for at least 3 minutes until it's really fluffy and lighter in color. This long mixing puts air in the batter that makes your cake soft.
- Add The Wet Stuff:
- Put in eggs one by one, letting each one mix in before adding another. This keeps the batter smooth. Add the vanilla next and enjoy that amazing smell. Then add your flour mix and milk back and forth, starting and ending with flour. Mix slowly just until it's combined so your cake stays tender.
- Make The Chocolate Part:
- Split your batter between two bowls, with vanilla staying in one. For the chocolate part, mix cocoa and hot water in a small bowl until smooth with no lumps. This brings out the full chocolate flavor. Gently fold this chocolatey mix into one of your batter bowls, being careful not to mix too hard.
- Create Those Swirls:
- With a big spoon, drop spoonfuls of each batter into your pan, taking turns between vanilla and chocolate. Try layering them for a cool look. When all the batter's in, take a knife or stick and swirl through it just 3 4 times. Don't go overboard with swirling or you'll lose those nice separate colors.
 Pin it
I'll never forget when I first brought this cake to our family get-together. My grandma, who hardly ever gives out praise, asked me how I made it. She told me it reminded her of what her mom used to bake for holidays back in Vienna. That moment made this recipe extra special in our family.
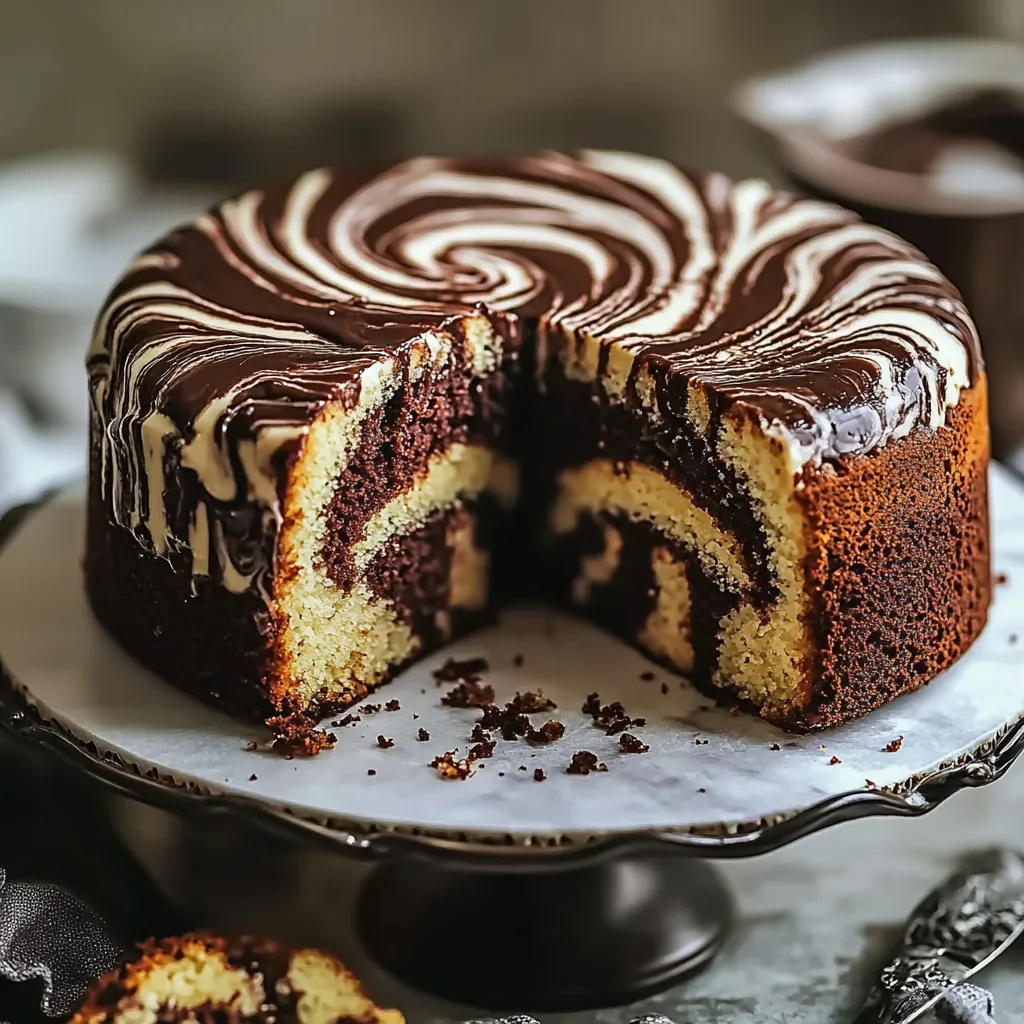
Getting Amazing Swirls
The biggest mistake people make with swirled cakes is mixing too much when making the pattern. For those striking swirls, hold back on the mixing. You want clear lines between the vanilla and chocolate parts while still making it look pretty. After you've added spoonfuls of both batters to your pan, stick a knife or skewer straight down and make just 5 6 figure-eight moves. This gives you that perfect balance of distinct colors that still flow together nicely.
Keeping It Fresh
This swirled cake stays tasty and moist for a surprisingly long time if you store it right. After it's totally cool, wrap it tightly in plastic and keep it at room temp for up to 3 days. Want to save it longer? Cut slices, wrap each one in plastic then foil, and freeze them for up to three months. Let frozen slices sit out for about an hour before eating, or warm them in the microwave for 15 20 seconds. The cake actually tastes even better after sitting for a day, so it's great to make ahead for parties.
Ways To Enjoy It
This cake tastes great just as it is, but you can dress it up for special times too. For a fancy dessert, add a spoonful of whipped cream with just a touch of sugar and some fresh berries. A light sprinkle of powdered sugar looks pretty without hiding those beautiful swirls you worked hard to make. If you love chocolate, drizzle some simple ganache made from equal parts hot cream and melted chocolate. This cake goes perfectly with coffee or tea for afternoon snacks, or with a glass of milk for a satisfying treat.
 Pin it
You'll definitely turn heads with this cake's beautiful swirls and rich taste, making it the star of any dessert table.
Frequently Asked Questions
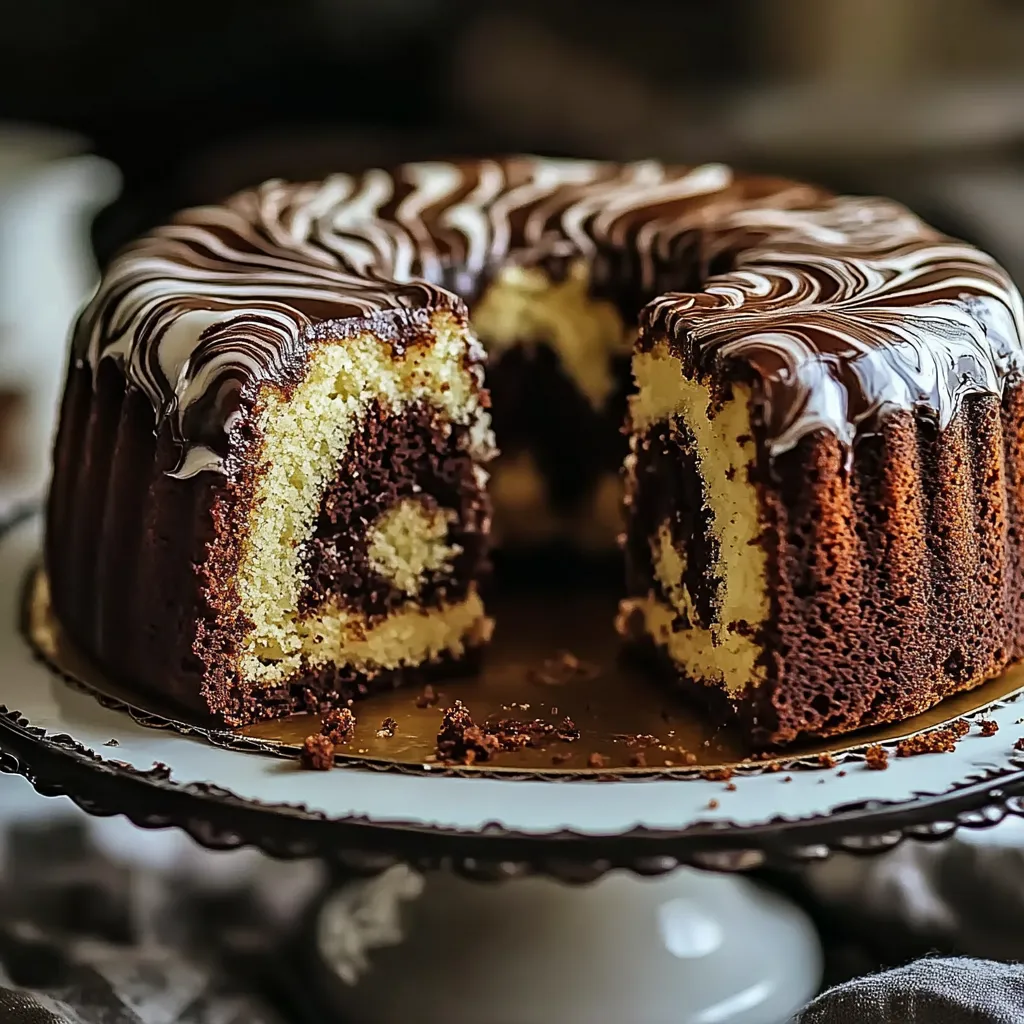
- → What type of pan works best for marble cake?
You can use either a bundt pan or a loaf pan for great results. Bundt pans give you a fancier look with more space for those pretty swirls, while loaf pans make cutting and serving much easier. Just remember to grease and line your chosen pan well.
- → Can I add more chocolate flavor to the marble cake?
You sure can! Want a stronger chocolate taste? Just bump up the cocoa powder to 1/3 cup and add 1-2 tablespoons of hot water to keep the batter smooth. Another trick is to mix some mini chocolate chips into the chocolate portion of your batter.
- → How do I get the perfect marble effect?
For those Instagram-worthy swirls, put spoonfuls of each batter into your pan, going back and forth between flavors. Then take a knife or skewer and gently make a few figure-eight moves through the batter. Don't go overboard with mixing - just 3-5 gentle swirls will do the trick without making the colors muddy.
- → How can I tell when my marble cake is done baking?
Your cake is ready when you stick a toothpick in the middle and it comes out clean or with just a few moist crumbs. The top should bounce back if you lightly touch it, and you'll notice the edges pulling away from the pan sides. Start checking around 45 minutes, since baking times can vary with different ovens.
- → Can I make this marble cake in advance?
You bet! This cake actually tastes better the next day as the flavors get cozier together. You can keep it in an airtight container at room temp for up to 3 days. Want to store it longer? Pop it in the fridge for a week or freeze it for up to 3 months.
- → What frosting pairs well with marble cake?
This cake goes great with chocolate ganache, vanilla buttercream, or cream cheese frosting. If you want something simpler, just sprinkle some powdered sugar on top or drizzle a quick glaze made from powdered sugar and a splash of milk.