
 Pin it
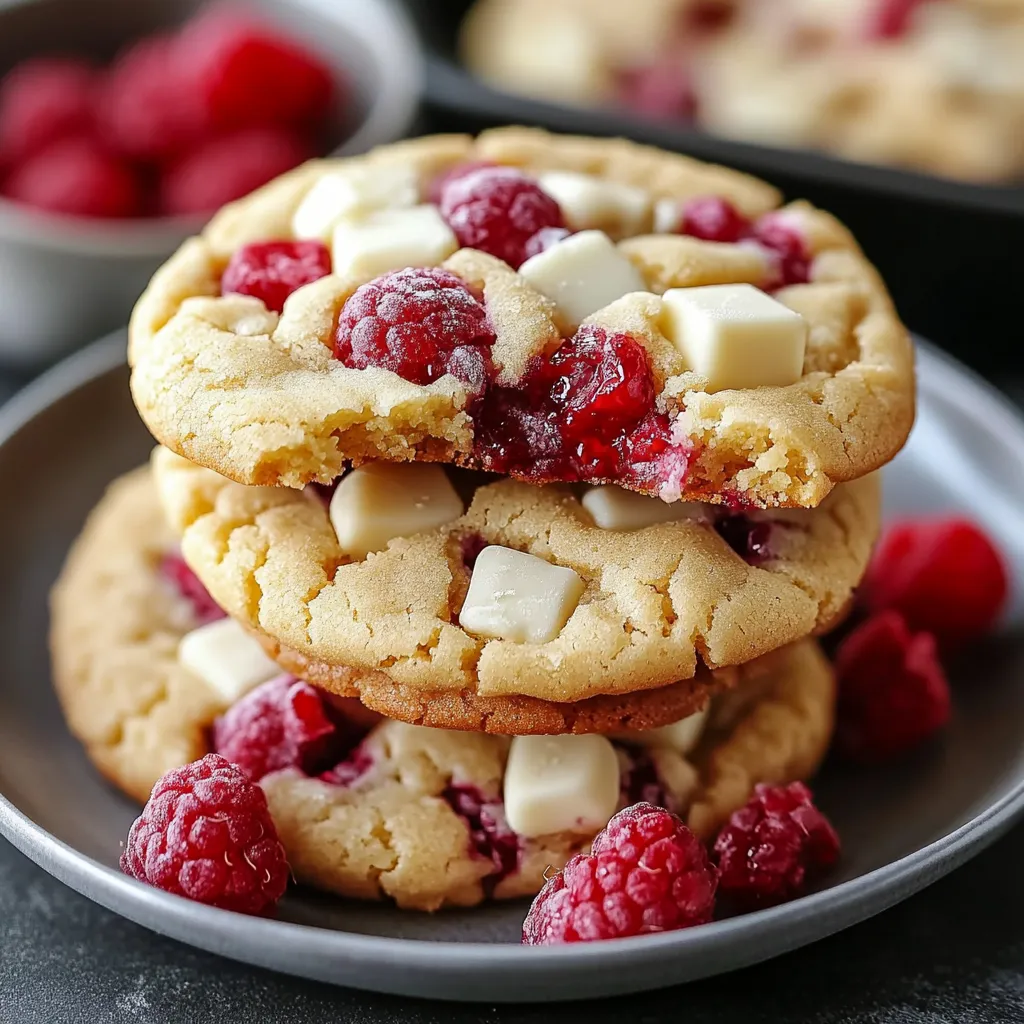
These white chocolate raspberry cookies hit all the right notes—each bite pops with sweet and tangy flavor. They’re just crispy enough on the outside and turn into total gooey goodness inside, with melty white chocolate chunks and juicy raspberry spots. Forget your usual chocolate chip routine; these are on a whole new level. What really makes them stand out? Well, it’s all about that mash-up between creamy white chocolate and zippy raspberries, all tucked into a buttery vanilla dough that stays chewy for days.
Years back, when raspberries were everywhere at the farmers market, I couldn’t resist trying something new besides jam. I threw them into cookie dough out of curiosity. The cookies vanished fast—family grabbed them off the rack almost before they cooled. Now, whenever friends stop by or there’s a party, everyone asks if I brought a batch of these along.
Irresistible Cookie Basics
- 1 1/2 cups fresh or frozen raspberries: Tangy and bright, these scattered berries add pockets of flavor everywhere; use frozen ones if you don’t want them to fall apart in the mix.
- 1 1/2 cups top-notch white chocolate chips: They melt into creamy puddles that play off the tart raspberries; go for chips with real cocoa butter if possible.
- 1/2 teaspoon salt: Cuts down the sweetness a bit and brings out the flavors; kosher salt works great, but any kind is fine.
- 1 teaspoon baking soda: Lifts the dough just enough so the cookies aren’t too dense; check it’s still fresh for best results.
- 2 1/4 cups all-purpose flour: Gives the cookies their shape but still keeps things soft; it’s best to weigh your flour to get it right every time.
- 2 teaspoons vanilla extract: Brings together all the flavors; real vanilla gives the deepest flavor punch.
- 2 large eggs: Help hold everything together and make the cookies nice and chewy; take them out of the fridge early so they blend well.
- 3/4 cup light brown sugar: Adds a dash of moisture and a gentle caramel kick that matches perfectly with the other flavors.
- 3/4 cup granulated sugar: Makes the cookies sweet and helps those edges crisp up just right.
- 1 cup unsalted butter: The base of it all, giving rich flavor and making the dough super gooey; always use butter that's softened to room temp when you start.
Easy Baking Steps
- Let Them Cool Down:
- After baking, don't rush—leave the cookies on hot trays for around 5 minutes before scooping them onto cooling racks.
- How Long To Bake:
- Bake for 11 minutes, then peek. You want the edges set, but the middle should still look a little soft and underdone.
- Scoop and Set Up:
- Drop generous dough balls on your lined trays, and don’t crowd them—keep about 2 inches of space between each.
- Add In the Goodies:
- Toss in white chocolate chips first by hand, then gently fold in raspberries with just a few strokes so they don’t get too smashed.
- Mix Together Gently:
- Add your dry mix slowly with the mixer on low—stop as soon as you don’t see flour anymore so the cookies stay soft and not tough.
- Bring Wet Ingredients Together:
- Blend in eggs one by one, mixing fully after each and pouring in vanilla too. Scrape the bowl once or twice as you go to keep it even.
- Cream the Butter and Sugars:
- Start by beating soft butter till it’s pale and fluffy, then add in white and brown sugars while you keep mixing. Whip for a good 3 minutes for lightness.
- Blend the Dry Things:
- In a new bowl, whisk together flour, salt, and baking soda so everything is spread out nice and even.
- Get Your Supplies Ready:
- Turn the oven on to 350°F and line up your pans with parchment so cookies don’t stick and keep their shape.
 Pin it
For me, raspberries always bring back baking memories. My grandma’s yard was full of raspberry canes, and grabbing sun-warmed berries right off the bush spoiled me for anything store-bought. There’s just nothing quite like that pop of flavor.
Smart Storage Tips
They keep well for days if you pop them in a sealed container with parchment or wax paper between layers. Want that fresh-from-the-oven feel? Nuke one for 10 seconds, and it’s just as gooey as day one.
 Pin it
Pro Baker Thoughts
A bit of white sugar for crunch and brown sugar for chew does magic. If it’s warm in your kitchen, letting the dough chill for a half-hour will help keep the cookies thick and stop them from spreading out too much—think classic bakery style.
Frequently Asked Questions
- → Can I swap fresh raspberries with frozen ones?
- Frozen raspberries are actually easier to use here because they don’t mash up as easily when folding them in. Toss them straight from the freezer into your dough—don’t thaw first, so things don’t get wet and messy. They’ll thaw on their own while you mix and bake, making this step so simple.
- → When do I pull these cookies out of the oven?
- Look for golden edges and a soft, kind of underdone middle if you want them gooey. Take them out after 12–15 minutes, even if the centers feel soft—they’ll firm up on the hot tray as they cool. Don’t wait until they look totally done or you’ll lose that soft texture.
- → How come my white chocolate darkened while baking?
- If your chocolate turned tan or brown, your oven might run hot! Double check it’s at 350°F and try putting your tray in the middle of the oven instead of the bottom. Good-quality white chocolate with real cocoa butter keeps its creamy color better, too.
- → Is it okay to make the dough in advance?
- Totally fine! You can stash the dough in the fridge for up to a day before baking. Or, scoop balls, freeze on a tray, then toss them in a bag and keep them in your freezer for a few months. Pop them right onto the sheet and bake straight from the freezer—just give them a few extra minutes.
- → Why did all my cookies go pink?
- Pink all over usually means you mixed too much after tossing in raspberries. To keep those cute berry bursts, stir them in gently at the very end using a spatula instead of a mixer. It’s normal to see a little pink swirl, but most berries should stay whole. Frozen berries help keep them looking great, too.