
 Pin it
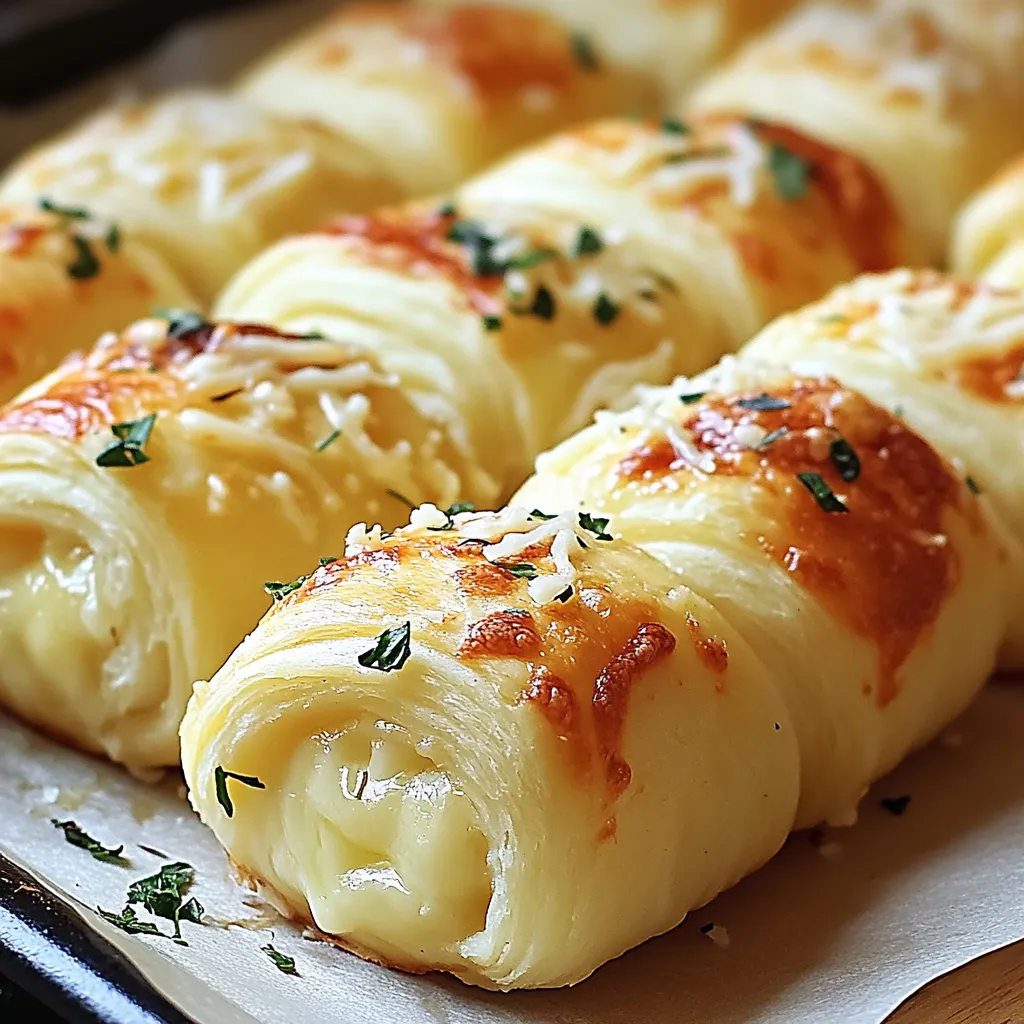
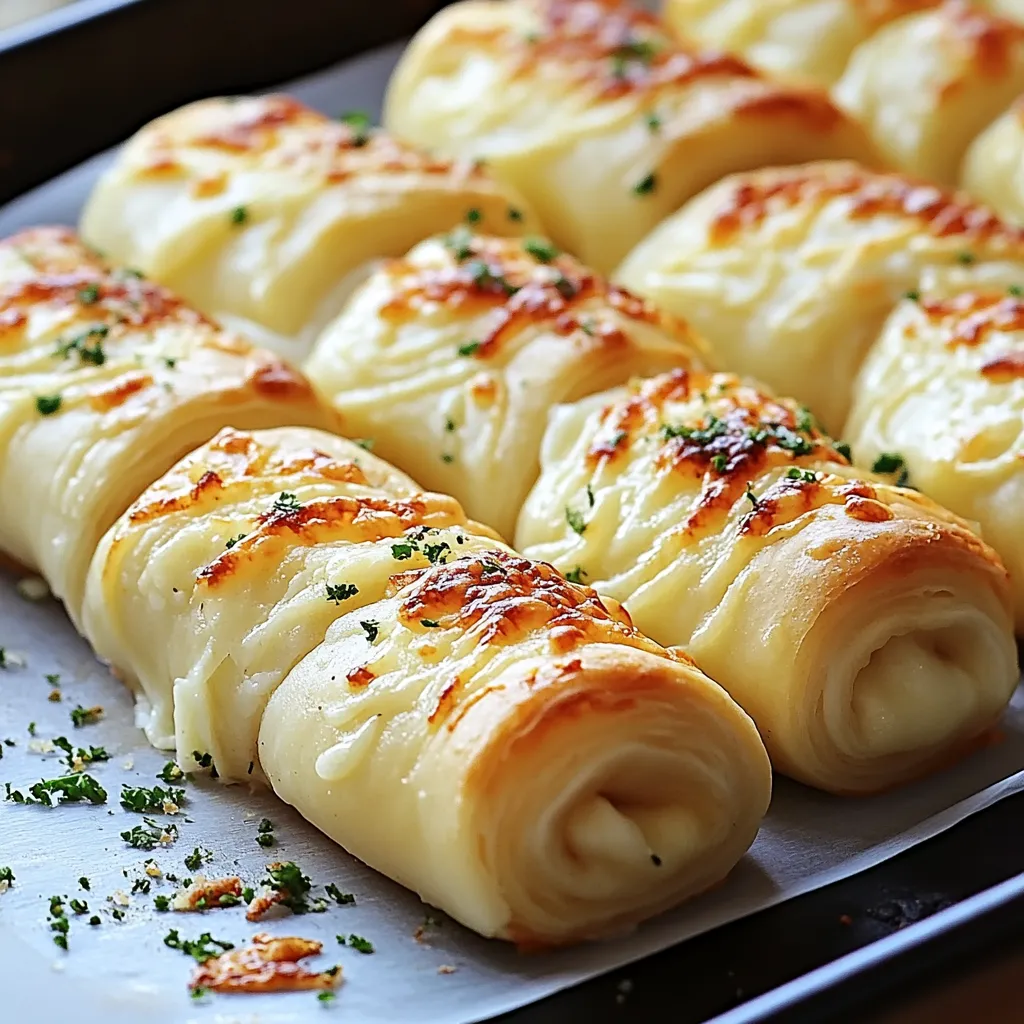
Fluffy dough spirals hugged around melty cheese, all brushed with buttery garlic, are the kind of snack that barely lasts five minutes on the table. They’ve got that amazing mix of stretchy cheese and garlicky butter that makes everyone—kids and adults—reach for seconds. Even with common grocery staples, you’ll end up with a snack that’s big on cozy vibes and still nice enough to wow guests. These are awesome with a bowl of pasta or all on their own for a quick bite. Seriously big flavor, barely any work.
Unbeatable Perks
- They photograph super well thanks to the epic cheese pull—the perfect thing for Instagram bragging rights
- No fancy shopping trips since most stuff is already in the pantry, so you can whip them up anytime company drops by
- These are fast—just minutes to make, so you’ll be done with prep and able to relax in under thirty minutes
- They’re flexible: pile them on as party snacks, slip them into lunchboxes, or serve next to your favorite pasta and you’re set
The first time I put these on the table was at my kid’s birthday bash. I needed to feed extra guests and threw these together last minute. People couldn’t stop raving—parents even texted asking for the details after. But honestly, watching how excited my kids get for these on movie nights is the best part. I love seeing those big smiles when they snag a hot, golden roll.
Key Components
- Butter: Gives these a rich, golden outside and tons of flavor. Go for unsalted so you’re in charge of the salt level.
- Fresh garlic: Chopped up and thrown in the butter, it adds a real kick and layers of flavor. Pick nice, firm garlic for punchy taste.
- Grated Parmesan cheese: Sprinkled on top, it’s salty and savory—freshly grated melts the smoothest.
- Mozzarella cheese: Stretchy, gooey, classic cheese pull. If you're using the fresh kind, squeeze out extra water for the best melt.
- Refrigerated crescent roll dough: Super convenient and puffs up golden every time. The all-butter ones give you the best bite, but any will do.
- Fresh parsley: A shower of green keeps everything from tasting too heavy. Flat-leaf has the most flavor, but curly works too.
Simple Instructions
- Preheat and Prep
- Flip your oven on to 375°F (190°C) so it’s hot and ready for baking. Lay down parchment on a baking sheet so you won’t have to scrub baked-on cheese later.
- Get the Garlic Butter Ready
- In a tiny bowl, melt four tablespoons of butter and add in three minced garlic cloves. Let your melted butter cool for a sec before stirring everything together. You’ll want the garlic evenly mixed in so every bite’s full of flavor.
- Unroll the Dough
- Pop open that tube of crescent dough and spread it out gently on a floured counter. Break it along the perforations into triangles—have the wide ends nearest you for easier wrapping. Pat back together any rips before you start stacking cheese.
- Add the Cheese
- At the bottom wide edge of each dough triangle, set down half a cheese stick or pack on a couple spoonfuls of shredded mozzarella. Either squish the shreds a bit to make ’em stick or use the stick version for less mess.
- Roll ‘Em Up
- Begin at the cheese-loaded end, then roll it toward the point. Make sure you’re rolling it snug. Tuck the pointy end under so the roll doesn’t come undone while baking, and pinch the sides shut if you’re worried about cheese leaks.
- Brush on the Good Stuff
- Set your rolls on the tray with a couple of inches between each. Take a pastry brush and paint on the garlic butter, catching all the creases. Save a tiny bit for one last coat at the end.
- Bake ’Til Golden
- Slide the tray into the oven’s center and give them 12 to 15 minutes. Watch for deep golden brown and a little cheese seeping out. When you poke one, it should feel baked but not too stiff.
- Top And Serve
- As soon as they come out, brush them again with that leftover garlic butter. Sprinkle on chopped parsley and Parmesan, and let them chill just two or three minutes—just enough to avoid burning your mouth while keeping that epic cheese stretch.
Must-Know Tips
- If you wrap the dough tight, the cheese stays inside and won’t leak while baking
- Choose block mozzarella and cut it yourself for gooier melting (it’s better than using the pre-shredded bags)
- Let them hang out for a couple minutes before anyone digs in—no burned tongues!
- Mix up the garlic butter a few days ahead if you want to be speedy—just stash it in the fridge until you need it
- If you want a soft, fluffy texture instead of crispy, pull them out after about eleven minutes in the oven
 Pin it
Serving Inspiration
These are killer dunked in tomato soup on a cozy night in—the tangy soup cuts through all that cheese and butter. If you’re feeding a crowd, pile them on a tray with bowls of ranch, pesto, or marinara for dipping. Want an Italian snack spread? Set them out next to some antipasto skewers and briny olives. Or, for an easy lunch, pair them with a simple salad tossed in lemony dressing—light but filling.
Fun Variations
Feel like mixing it up? Tuck a little pepperoni inside the dough and dust dried oregano into your garlic butter for an Italian twist. Or go breakfast mode—scrambled eggs and cheddar in the middle, with a shake of everything bagel seasoning on top. For something fancier, try caramelized onions and gruyere with fresh thyme in the butter for a French vibe. You can even swap in feta and sun-dried tomatoes, plus some extra dried oregano, for a Mediterranean flavor bomb—serve with cool Greek yogurt for dipping.
Staying Fresh
Pop leftover rollups in a container and refrigerate for up to three days—but honestly, they’re at their best right after baking. Warm them in a 350°F oven for about 5 or 7 minutes to get them crispy again (skip the microwave, it ruins the texture). To get ahead, build your rollups, skip the butter, cover, and refrigerate up to eight hours. Slather on butter, then bake when you’re ready. Got extras? Cool, freeze, then reheat them at 350°F straight from frozen—plan on ten minutes and you’ll be golden again.
 Pin it
Pro Tips
I started making these just to use up bits and pieces in the fridge, but now people ask for them whenever we have friends over. Nothing’s more fun than turning out something tasty with almost no effort. Even if you’re new to cooking, these are pretty much impossible to mess up. That’s what makes them great—you’ll feel like a pro, and everyone at the table gets in on the happiness.
Frequently Asked Questions
- → Could I toss in different cheeses for these rolls?
- For sure! Mozzarella gives you that stretchy cheese pull, but cheddar, provolone, pepper jack, or mixing them up totally works. Just pick ones that melt smooth.
- → What's the trick to stopping cheese leaks while baking?
- Roll your dough real snug, start from the big end, and lay them on the baking tray with the seams down. Go easy on cheese – try not to overload – and pinch the ends shut if you need to.
- → Can I prep these ahead so I'm not rushed later?
- Yep, you can roll them up a day before. Just stash them covered in your fridge and save the garlic butter for right before baking. Leftovers? Reheat in the oven at 350°F for about five minutes and they're good as new.
- → What sides or dips go well with these buttery rolls?
- They're tasty solo but awesome for dipping into marinara or ranch. They sit perfectly alongside a salad, soup, or whatever pasta you've made.
- → Can I toss in extra fillings with the cheese?
- Absolutely! Bacon bits, a thin pepperoni slice, some chopped spinach, or a bit of pesto – all can get rolled up too for extra flavor.