
 Pin it
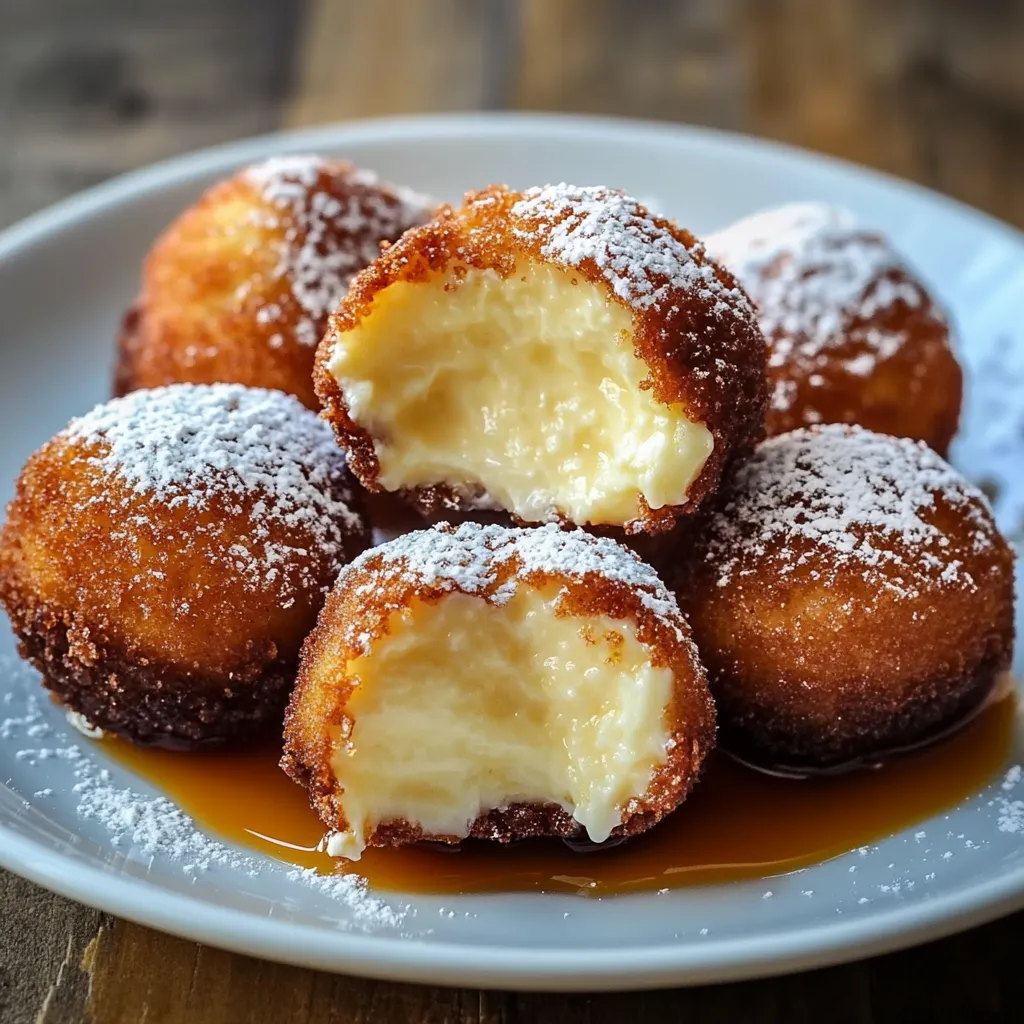
Picture smooth cheesecake tucked inside crispy golden wrappers. These treats have become the thing everyone begs me to make for get-togethers. After loads of kitchen experiments, I've figured out that getting the oil temperature just right and wrapping them up carefully is what makes these bites next-level. It's a wild upgrade from regular cheesecake. That mix of hot crunch outside and cool creamy center is pure happiness every time.
At Christmas, even my father-in-law—who's not into desserts—kept sneaking more. Chill the filling really well and get the crust nicely golden. That's what makes 'em addictive.
Luxe Ingredients Rundown
- Fresh Berries: Pick berries that are bright and firm if you want to garnish. Give them a good rinse just before serving and check for soft spots underneath
- Vegetable Oil: Choose clear oil like Chosen Foods or Wesson, so your coating fries up super crispy with no weird flavors. No cloudy oil allowed
- Sour Cream: Daisy full-fat works great and blends easily, especially if you let it warm up to match your cream cheese
- Spring Roll Wrappers: Twin Dragon is spot on—no holes or dry bits. Keep them covered while you work so they don't dry out
- Powdered Sugar: C&H confectioner's is extra fine. Sift it before you dust, or you'll get clumps
- Cream Cheese: Philadelphia full-fat, left out a bit so it softens for mixing. Always check that expiration date
- Vanilla Extract: Nielsen-Massey's dark Madagascar stuff packs great taste—just double-check it's real vanilla. Dark bottles help keep the flavor from fading
- Granulated Sugar: C&H cane sugar, nice and fine, melts in easily and won't clump if you keep it in a sealed tub
Making Dessert Magic Happen
- Golden Transformation:
- Carefully drop the cold cheesecake bites into hot oil in small groups. Watch for that golden-brown crisp after a couple minutes per side. The wrappers should puff and the seal should stay tight.
- Temperature Mastery:
- Get that oil to 350°F—don't guess, check with a thermometer. Keep an eye on it while frying. If it's too cold, they'll get soggy; too hot and they'll burn.
- Freezing Wins:
- Line up the wrapped goodies on parchment, keep some space between them, and freeze till rock hard. Takes about two hours but keeps the filling from oozing out in the fryer.
- Wrapping Secrets:
- Lay the wrapper at a slant, cover the others so they don't dry out, and scoop about two spoonfuls of filling in the middle. Fold the corners in like an envelope, press the sides with a dab of water, and really seal it up tight.
- Flavor Upgrades:
- Mix in the vanilla and sour cream next, just 'til it all comes together. Add an egg (room temp's best), stir gently—stop as soon as it's smooth and shiny so you don't lose that silky feel.
- Creamy Base:
- Smooth out the softened cream cheese with a hand mixer or spoon, making sure there aren't any bits left. Add sugar bit by bit—let each spoonful blend in completely so you get a mix that's super fluffy and light when you lift it.
 Pin it
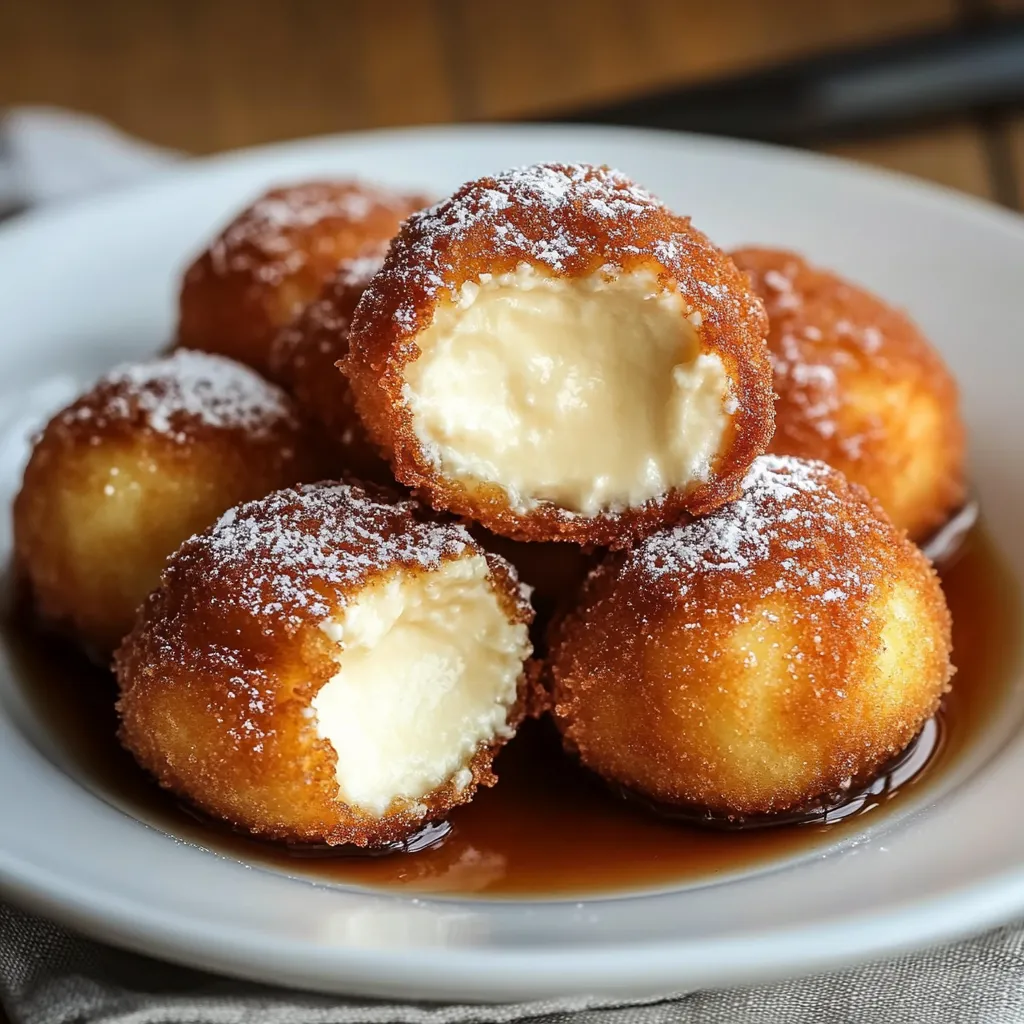
This idea came from my grandma, who showed me that taking your time really pays off. Years of freezing cheesecake before frying finally revealed the best way to guarantee perfect bites every time.
Awesome Pairings
Set out a dipping station with stuff like dark chocolate sauce, caramel drizzle, or fresh berry compote. If it's a fancy party, toss the bites on a big platter sprinkled with mint and some pretty edible blooms.
Fun Twists
Switch things up by mixing in lemon zest, cocoa, or a swirl of your favorite jam. Want to go bigger? Stir in chocolate chips or try crushed Oreos—my bunch can't get enough of those versions.
Keep It Fresh
If you haven't fried them yet, keep the bites in the freezer (wrapped up tight) for a month max. As soon as you fry them, eat up for the crunchiest shell. If they cool off, just warm them in a 350°F oven for a couple of minutes—good as new.
 Pin it
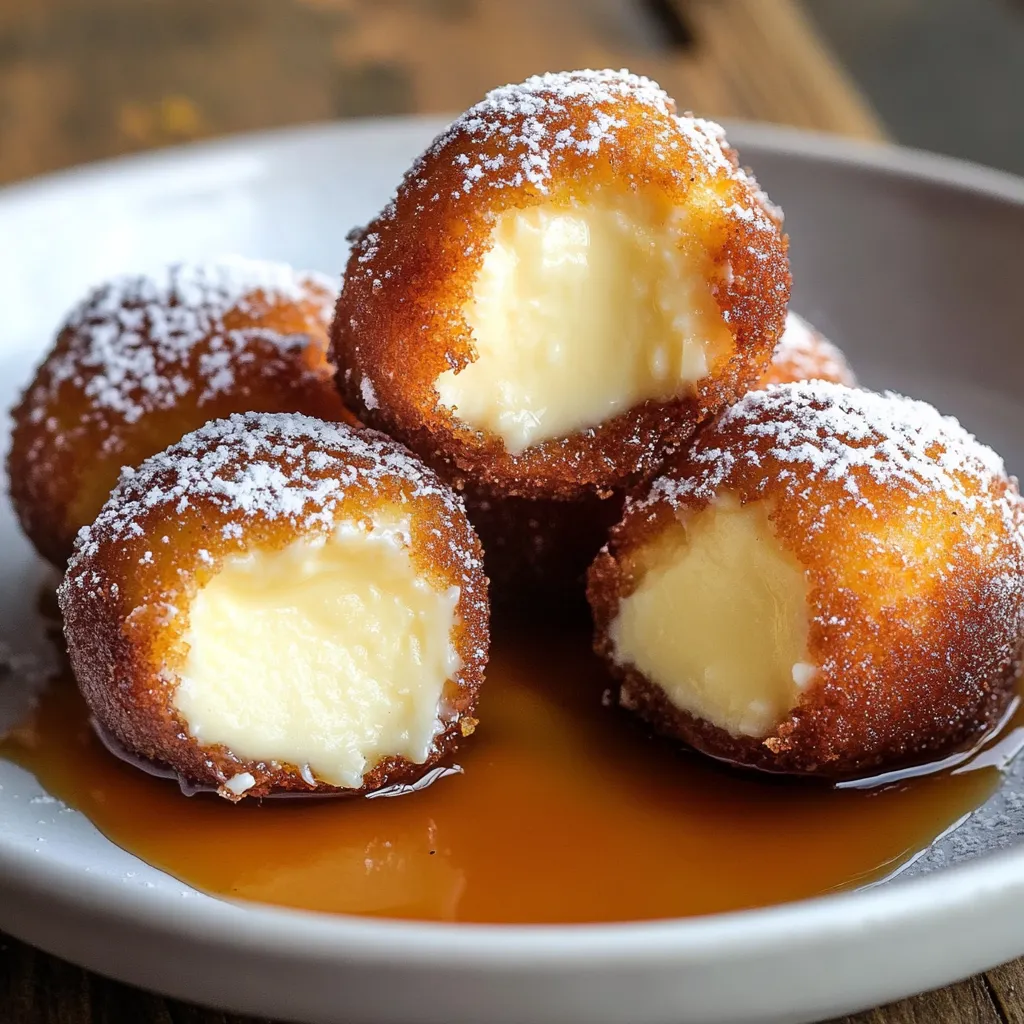
After years of whipping these up for everything from laid-back hangouts to dressy dinners, I know for sure—little details make a big difference. No matter the crowd, these crunchy, creamy bites always impress.
Frequently Asked Questions
- → Do I really have to freeze the cheesecake balls first?
- Yeah, freezing keeps the bites solid so they won’t fall apart or melt away in the hot oil while you’re frying.
- → Got any ideas for dipping sauces that are tasty?
- Go for caramel, rich chocolate, sweet strawberry, or tangy raspberry sauce. Any of those work great!
- → Is it OK to prep these in advance?
- Absolutely, make the cheesecake balls and freeze them for up to a week, but wait to batter and fry until just before people eat.
- → How should I keep any leftovers?
- Just stash them in a tight container in the fridge for a couple days. Re-warm them in the oven at 350°F to get them crunchy again.
- → What kind of oil is best for frying these up?
- Pick oils like canola, veggie, or any basic one with a high heat point to keep it easy and mess-free.