
 Pin it
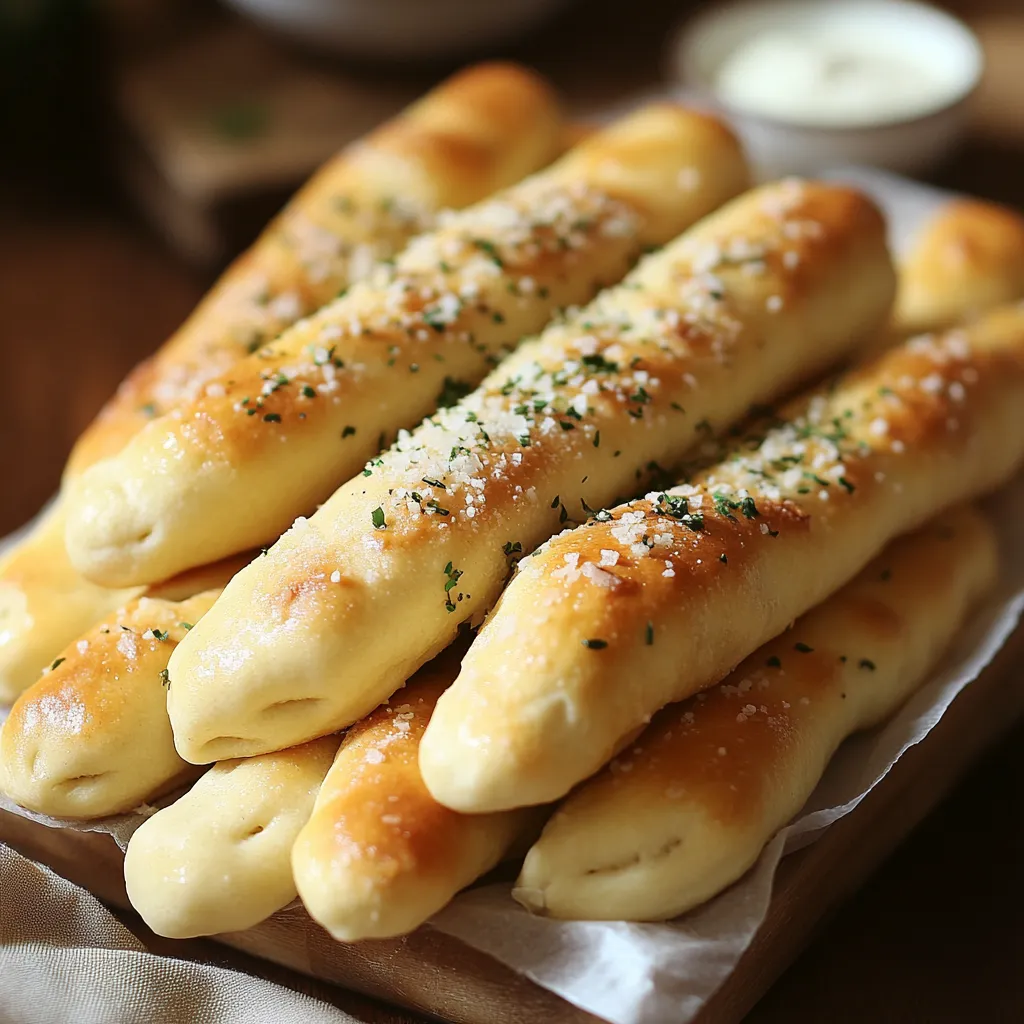
Cushiony breadsticks coated with garlicky butter and a sprinkle of salt are just what you need to mop up pasta sauce—or snack on by themselves. This Olive Garden Breadsticks version brings the restaurant classic into your own kitchen. The trick is nailing the perfect feel: fluffy and soft on the inside, a bit chewy with buttery outsides that'll leave your hands shiny. You might find these homemade ones so good, you'll keep reaching for more without even realizing it.
Irresistible Features
- Throw together a few basic kitchen staples and good technique turns them into unbelievable breadsticks
- That iconic garlic butter top is what makes every bite so craveable
- Freeze extras and heat whenever you need—no flavor lost
- The key is a double rise, giving you that light, airy texture everyone loves at Olive Garden
I whipped up a big batch for an Italian dinner a few weeks ago and you'd think I hid a bag of the real thing in the kitchen. I had folks asking how to make them before we even got to dessert! The best part? My father-in-law, who's not usually a bread fan, ate three and kept saying he just couldn't stop.
Core Components
- Unsalted butter: makes everything richer without making things too salty—try the European stuff for extra taste
- Garlic powder: packs the topping with flavor but doesn't burn like fresh garlic can—look for the pure kind with no weird fillers
- All-purpose flour: builds the right bite—unbleached flour works great for flavor and texture
- Fine sea salt: really pulls together all the other flavors—fine grains mean every bite is seasoned right
- Active dry yeast: is what gets the dough to puff up—make sure it's fresh for best results
- Granulated sugar: helps feed the yeast and gives a slight sweetness—plain old white is perfect here
Simple Baking Steps
- Finishing Touch:
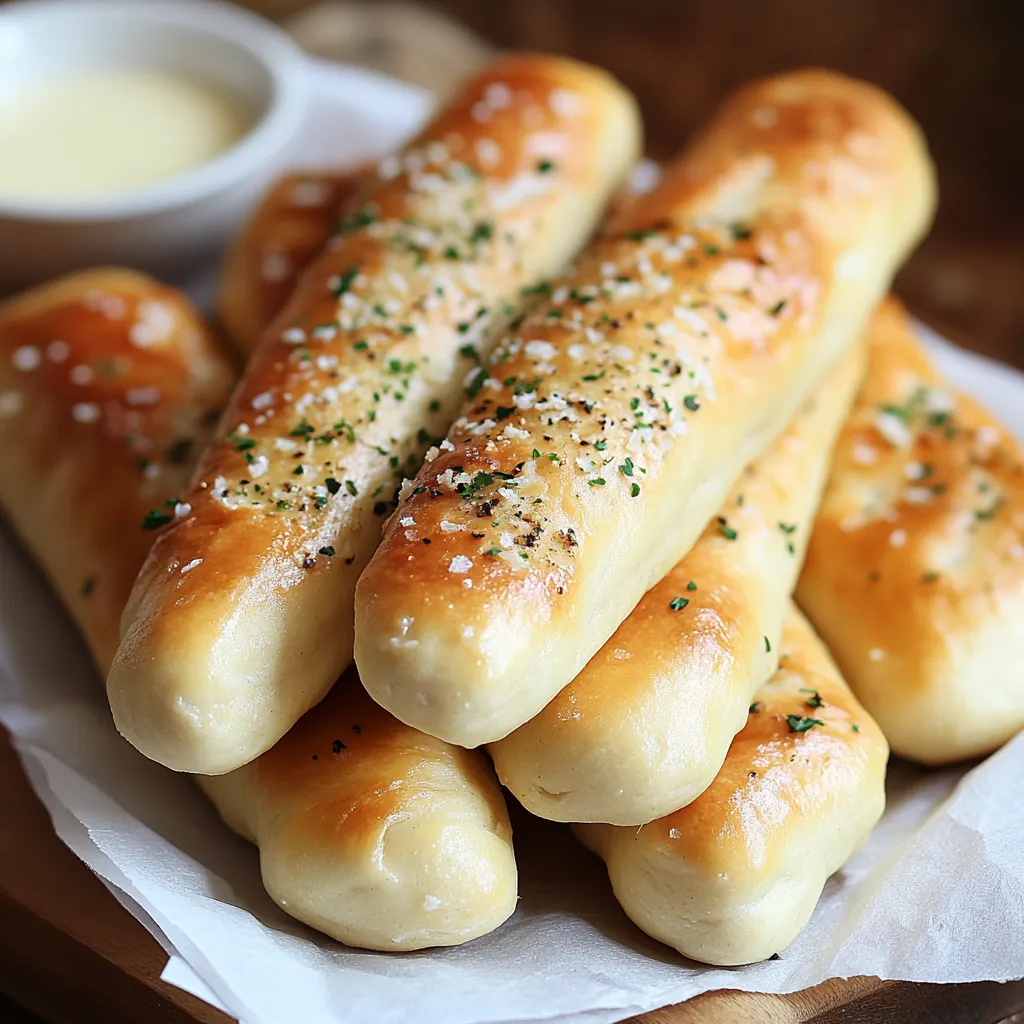
- Melt butter while the breadsticks are in the oven—use a saucepan on the stove or pop it in the microwave. Mix in some garlic powder and salt till it’s all blended. Once you pull the breadsticks out of the oven, generously brush them with the butter mix while they're hot. That way, it soaks right in and oh man, the smell is incredible.
- Baking Technique:
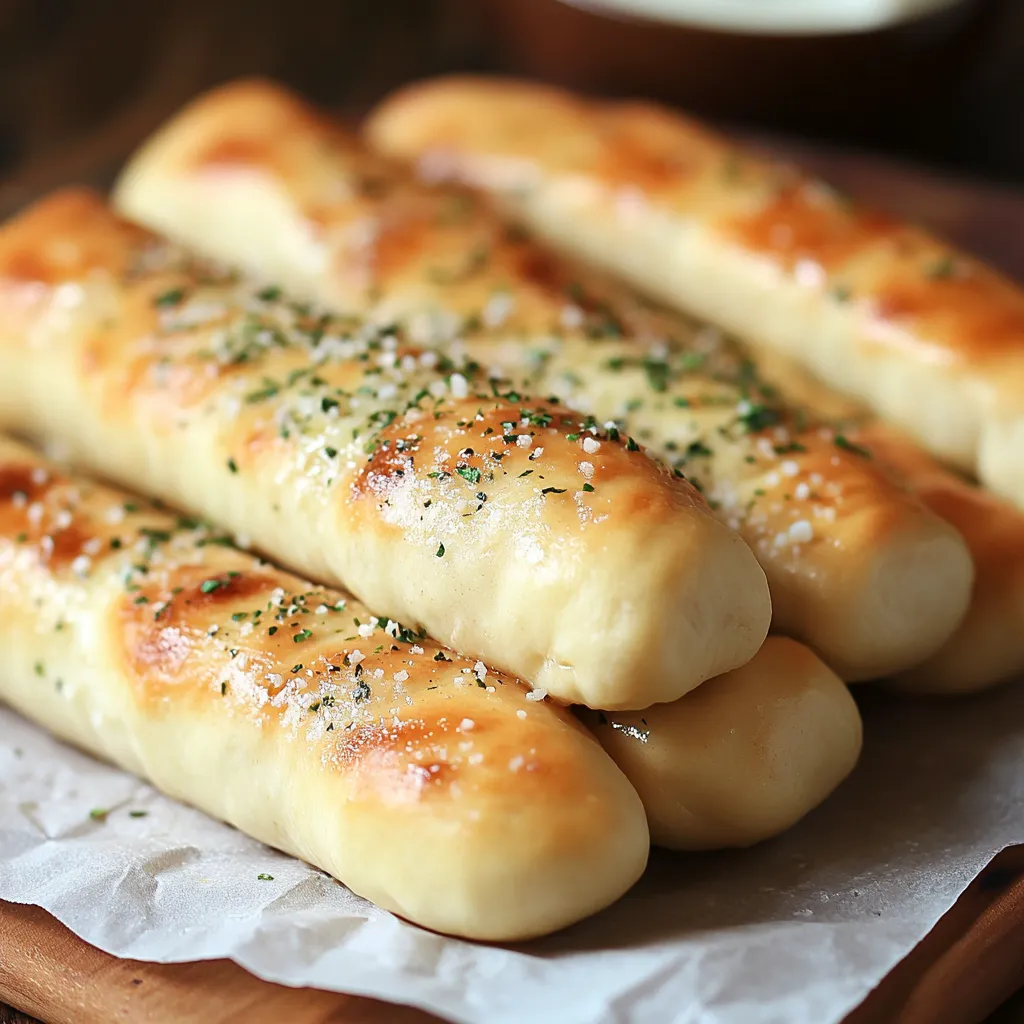
- Bake that tray in the middle of your oven for about 12-15 minutes. Spin the pan halfway through so they brown evenly. Keep an eye out in the last couple minutes—they can go from golden to overdone pretty quickly. You want them pale on their sides and lightly golden on top. Give one a tap; if it sounds a little hollow, they're good to go.
- Oven Preparation:
- Before shaping your breadsticks, get your oven hot—set it to 400°F, with the rack in the middle. If you’ve got an oven thermometer, use it! It’s common for ovens to be off by a bit. Getting the right temp is what gives that golden crust without drying things out.
- Secondary Rising:
- Let the shaped dough ropes rest on a parchment-lined tray, cover lightly with a towel, and let them get puffier for about 20-30 minutes. Don’t let them double—just enough for them to feel bigger and a bit airy. This makes sure they turn out super light inside.
- Shaping Method:
- Once your dough has puffed up, punch it gently and place it on a floured surface. Slice it into 12-14 pieces. Roll each one into a rope, about 6-7 inches long, with the ends a little thinner. Space them apart on your tray so they have room to get bigger while baking.
- Initial Rising:
- Move your dough to a bowl rubbed with a bit of olive oil (keeps it from drying out). Flip it to coat. Drape a towel or bit of plastic wrap over the top. Leave the bowl somewhere warm until doubled—usually about an hour, but it depends how toasty your kitchen is. Press it with your finger—if it's light and doesn't spring right back, it's ready.
- Dough Formation:
- In a big bowl (or stand mixer with a dough hook), toss in flour, a little softened butter, and salt. Pour in the bubbly yeast mix from earlier and go slow with the mixer until just combined, then crank it to medium. Let it knead 8-10 minutes until it pulls away cleanly and feels smooth but a bit sticky. Don't add extra flour unless really needed.
- Yeast Activation:
- Add your dry yeast and some sugar to warm water (aim for 110-115°F) in a small bowl. Give it a gentle stir and just let it sit in a cozy spot for five to ten minutes. Once you see a frothy top like a latte, it’s good to use.
Handy Tips
- Always check water temp for your yeast—too cold and it'll barely bubble, too hot and it's game over
- Kneading builds up gluten and that's what gives a chewy, soft bite—not worth skipping!
- Don't rush rising time if you want that classic light texture, let it get big and puffy
- Brush with butter as soon as they come out for the best flavor and soft, glossy tops
- Parchment paper stops sticking without making the bottoms greasy
 Pin it
Pairing Suggestions
Dunk these warm breadsticks in minestrone soup and you won’t miss a drop of broth. They go perfectly with pretty much any pasta—from saucy spaghetti to creamy Alfredo. For parties, stand them up in a tall glass as an edible bouquet and set out dips like marinara, Alfredo, or herby olive oil on the side. Or, lay them out with a board of cured meats, cheese, and pickled veggies for a crowd-pleasing starter.
Personal Twists
Want them cheesy? As soon as they come out of the oven, sprinkle hot breadsticks with pecorino, asiago, or parmesan. Mix up some dried Italian herbs—oregano, basil, thyme—into your dough and butter for a punchy upgrade. If you're craving sweet, brush on some melted butter blended with sugar and cinnamon and serve with a side of cream cheese spread. Or, how about rolling in some mozzarella sticks inside the dough for a gooey center?
Keeping Them Fresh
Once cooled down, keep breadsticks in a sealed box on the counter—they’re best that day, but fine for a couple more. Need to freshen them up? Sprinkle lightly with water and pop ‘em in a 350°F oven for a few minutes. For longer stretches, stash fully cooled sticks in a freezer bag; they’ll be tasty for a month. Thaw on the counter for half an hour and warm in the oven for five minutes. Feeling organized? Shape your dough, freeze unbaked sticks, then bake right from the freezer and just tack on a few extra minutes.
Expert Shortcuts
- Steam up your oven by putting a pan of water at the bottom as it preheats—makes the crumb extra nice
- For each one to be the same size, weigh dough balls on a kitchen scale
- Brush with a bit of whipped egg white before that last rise for a golden, delicate crust
- Let your ingredients come to room temp before mixing—it’ll make the process way smoother
- If you want a chewier bite, swap in bread flour instead of all-purpose
 Pin it
Getting these breadsticks just right became my mission after a fun Olive Garden meal where my quiet grandpa kept talking about them nonstop. I started trying different combos at home to bring that happiness to my own table. After lots of trial runs, I’m convinced these hit the spot. The soft, pillowy bread with that garlicky topper isn’t just food—it’s pure comfort. Share them with pasta, soup, or by themselves, and you’ll see that sometimes the simplest things really do make the best memories.
Frequently Asked Questions
- → Can I make the dough ahead of time?
- Definitely! Let it rise once, cover and pop in the fridge overnight. Take it out about an hour before you want to shape so it can lose the chill.
- → How do I know if my yeast is still good?
- When you mix yeast with warm water and some sugar, watch for bubbles and foam after about 5 or 10 minutes. No bubbles? The yeast's probably no good—grab a new packet.
- → Why didn't my breadsticks rise properly?
- Chances are, your yeast wasn't active, maybe your water was too hot and killed it, or your kitchen was too cold. For best results, let dough sit somewhere warm—like inside an oven with the light on.
- → Can I freeze these breadsticks?
- For sure! Bake them, cool completely, and stash in an airtight container for up to three months. To warm up, cover in foil and heat at 350°F for 10-15 minutes.
- → What can I serve with these breadsticks?
- They go great with soup, pasta, or salads. Want that Olive Garden feel? Just dunk them in marinara or alfredo sauce.