
 Pin it
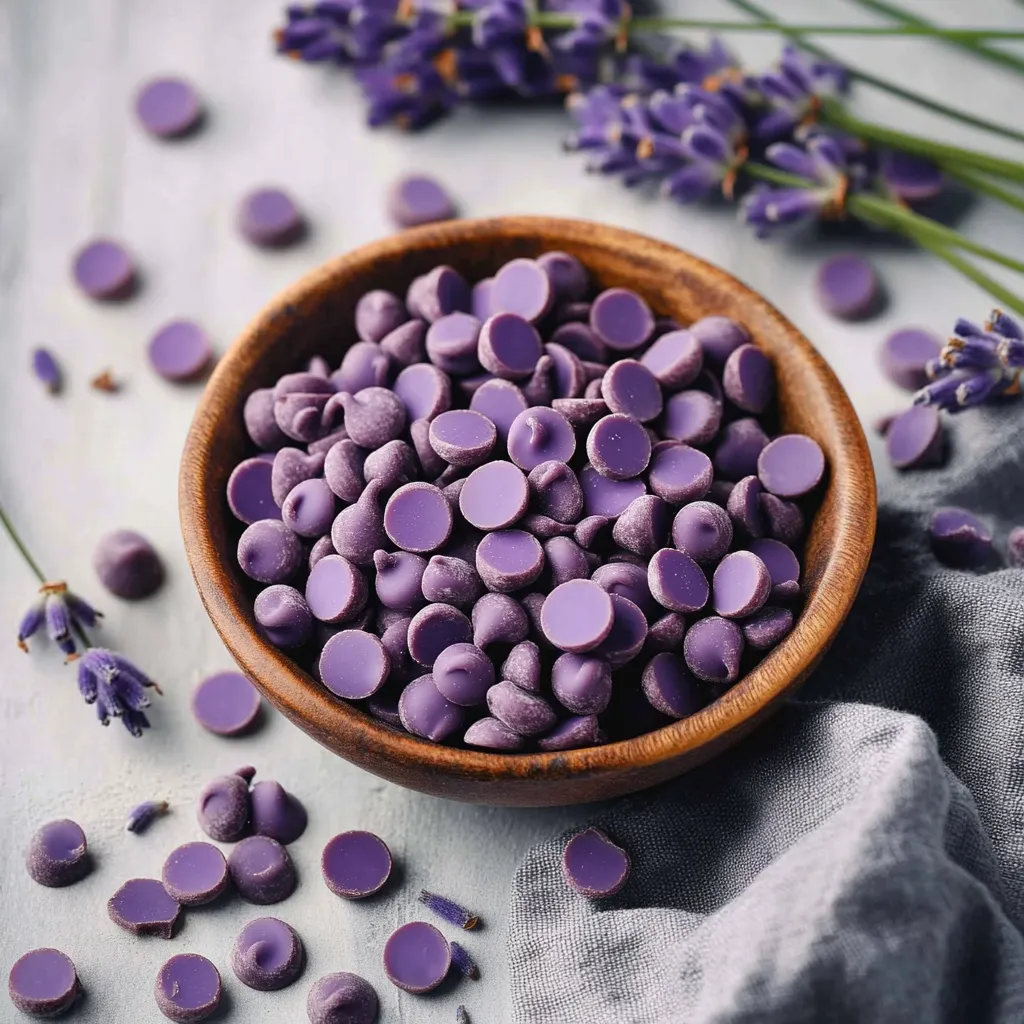
These DIY purple lavender chocolate chunks turn plain white chocolate into fragrant, eye-catching violet bits that'll jazz up any baking adventure. Making your own specialty morsels at home means you can tweak the lavender punch exactly how you want, bringing something special to your cookies, cakes, and sweet treats.
I whipped these lavender bits up for my kid's birthday tea gathering first, and now they're our hidden trick for turning basic cookie batches into treats everyone talks about.
Ingredients
- White chocolate chips: Go for good ones with actual cocoa butter since they're your foundation. Premium brands melt better and taste richer
- Coconut oil: Makes the chocolate flow easier for piping and gives your finished bits a nicer texture
- Lavender candy oil: Gives that floral kick without any gritty bits you'd get from dried flowers. Check specialty baking shops for this
- Purple food coloring: Pick oil-based ones that mix well with chocolate. Gel or powder types made for chocolate work best
Step-by-Step Instructions
- Get Your Chocolate Melted:
- Dump white chocolate chips and coconut oil in a microwave-safe container and zap for 20 seconds at a time, giving it a stir between each burst until it's totally smooth. You can also try putting a bowl over some simmering water, just don't let the bowl touch the water. This gentle heat stops the chocolate from burning.
- Add Your Flavoring:
- Mix in the lavender candy oil and purple food coloring into your melted chocolate. Start small with both since they pack a punch. The warm chocolate will make the lavender smell stronger, so go easy.
- Mix Everything Well:
- Stir it all together until you've got an even mix with no streaky bits. This makes sure every chip tastes and looks the same. Your mix should look pretty purple and pour smoothly off your spoon.
- Get Ready to Pipe:
- Pour your lavender chocolate into a disposable piping bag and cut a tiny hole at the end. No piping bag? A sandwich bag with a small corner snipped works too. Keep the opening tiny so your chips aren't huge.
- Make Your Chips:
- Cover a cookie sheet with wax or parchment paper so chips won't stick. Squeeze out little teardrop shapes onto the paper, like regular chocolate chips. Work quickly before the chocolate starts hardening.
- Let Them Harden:
- Stick your tray of chocolate drops in the freezer for about 10-15 minutes until they're completely solid. Quick cooling helps them keep their shape and gives them that nice snap.
- Collect Your Chips:
- Once they're hard, bend the paper gently to pop them off, or carefully pick them up one by one. Keep them in an airtight container until you're ready to bake with them.
 Pin it
The lavender oil really makes these chips something special. My favorite thing about this recipe was watching my husband (who usually avoids chocolate) sneaking handfuls of these, saying they were "totally different" from normal white chocolate.
Nailing The Right Shade
Getting that perfect purple takes some trial and error. Begin with just a drop or two of coloring and slowly add more. White chocolate gives you a clean slate, but too much color looks fake. For a more natural look, try steeping some food-grade dried lavender in your coconut oil first, then strain it before mixing with the chocolate. This gives natural color and flavor at once.
Creative Variations
Don't stop at lavender! Make a rainbow of flavored chips. Try rose oil with pink color, mint with light green, or orange oil with a soft peach tone. These fancy chips make awesome gifts when packed in small clear bags tied with matching ribbons. Throw in a little card with ideas for using them or a cookie recipe to complete the gift.
Perfect Pairings
These lavender bits work best in mildly flavored recipes. They go great with vanilla shortbread, light sugar cookies, or white chocolate macadamia cookie bases. For a fancy dessert, scatter them over vanilla ice cream with a honey drizzle, or use them to decorate frosted cupcakes. The floral notes really shine with citrus flavors, so lemon-lavender combos taste amazing.
 Pin it
These lavender bits will knock your socks off and make your desserts fancier than you ever thought possible. Have fun with the touch of elegance they bring to everything!
Frequently Asked Questions
- → Can I use regular food coloring instead of oil-based?
We really suggest sticking with oil-based food coloring for this. Water-based colors might make your melted chocolate turn lumpy and rough. If you only have the water-based kind, try using tiny amounts or look for oil-based options made specifically for working with chocolate.
- → What can I substitute for lavender candy oil?
Don't have lavender candy oil? You can try 1/4 teaspoon of cooking-grade lavender flowers soaked in the warm melted chocolate (remember to strain them out), or go with 1/2 teaspoon of lavender extract. The strength will be different, so add a little at a time and taste as you go.
- → How long do these homemade chocolate chips last?
Keep these lavender white chocolate morsels in an airtight container somewhere cool and dry, and they'll stay good for about 2 months. Want them to last longer? Pop them in the fridge for up to 4 months. They might get a whitish coating over time but they're still totally fine to eat.
- → What desserts pair well with lavender chocolate chips?
These lavender morsels taste amazing in shortbread cookies, vanilla or lemon cake, scones, white chocolate macadamia cookies, and cheesecake. The light floral hints work really well with citrus and vanilla flavors especially.
- → Can I make these chocolate chips without coconut oil?
Sure thing! You can use the same amount of shortening instead of coconut oil, like we mentioned in the ingredients. Food-grade cocoa butter works great too. That small bit of fat helps the chocolate melt smoother and gives your finished morsels a better feel.
- → How do I prevent the chocolate from seizing?
Make sure everything's completely dry before you start since water will ruin your chocolate. When using the microwave, go for short bursts and stir a lot between each one. If you're using a double-boiler setup, don't let your bowl touch the water below, and watch out for steam or water drops getting into your chocolate.